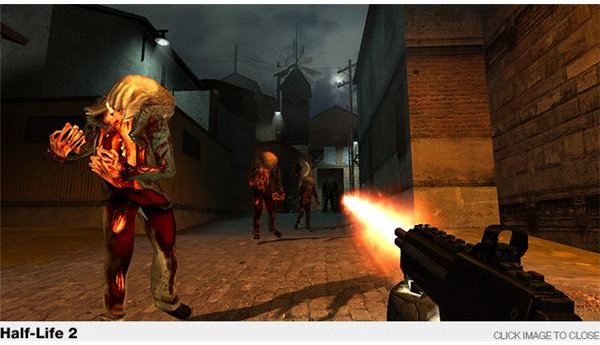
Chapter 9 features two separate parts that will require Gordon to do everything from commanding Antlions to setting up a fortress to hold out against Combine Assaults. If you need any help with the many challenges in Nova Prospekt, then look inside.
Overview
Gordon’s assualt on Nova Prospekt can now begin. The horde of antlions is charging ahead to slaughter the guards while Gordon deals with the few strongholds still left and looks for Eli. This chapter requires a number of different talents. You’ll first have to fight your way through Combine soldiers, zombies, and antlion guards. You’ll have to properly command your antlion army. You’ll even have to use the Combine’s own defenses against them.
Key Objectives
Find and Kill the First Antlion Guard - You have to do a bit of exploring and fighting to get to this first battle. After you find it, you just need to use standard skills to finish it off.
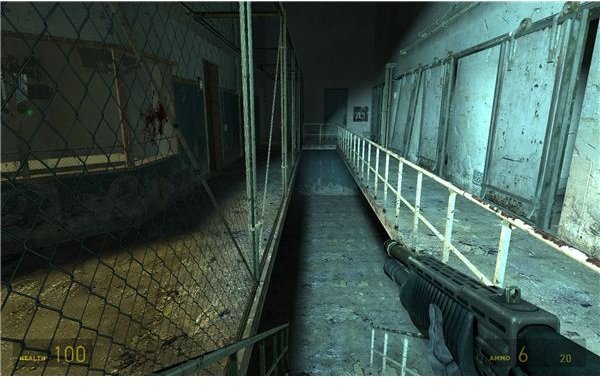
Attack the Control Rooms - This series of control rooms is heavily occupied by Combine guards. You’ll need to use your antlions and all of your firepower to clear a path.
Attack the Laundry Room and Kitchen - This complex is full of Combine soldiers and Turrets. It will take a good bit of skill to properly flank and attack the enemy and make it past this last stronghold.
Kill the Second Antlion Guard - This second antlion guard marks the end of the first part of chapter 9. Tactics don’t differ much for this second battle.
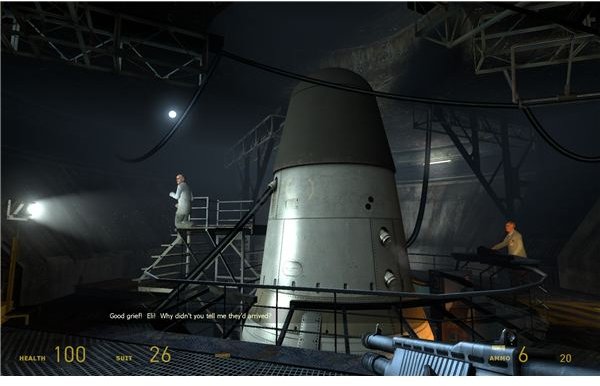
Reunite with Alyx and Find Eli - A fairly simple case of fighting alongside Alyx as she works on the computer systems in Nova Prospekt.
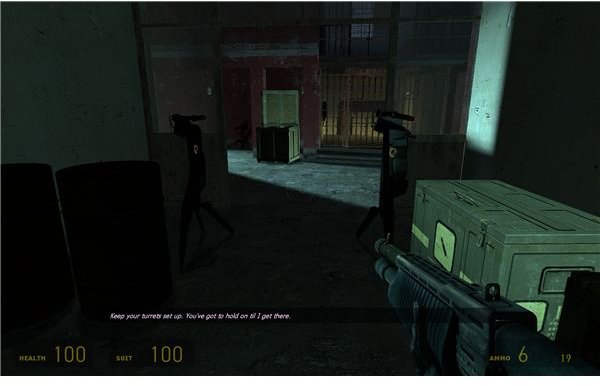
Defend the First Control Room - A simple training battle. Hold off a few waves of Combine soldiers with two turrets while Alyx catches up with you.
Cross the Electrified Water - Use the gravity gun to beat this little puzzle by creating a bridge to the other side.
Defend the Second Control Room - A very tough turret battle. You’ll have to hold off a 5-minute assault on a Nova Prospekt cell block with three turrets and your limited firepower.
Win the Flare Battle - About 10 Combine soldiers attack you and Alyx in the darkness. Use their flares and the glow of their eyewear to take out the soldiers and survive the ambush.
Defend the Teleporter Room - This final turret battle is a bit easier. Just keep the three turrets standing while you and Alyx kill any stray Combine.
NPCs
Antlions - These antlions are now your new allies thanks to the pheropods. Your four antlions will steadily respawn, so use them as bullet shields and diversions.
Alyx - You’ll have Alyx’s help on this level too. She’s pretty strong with her customized pistol.
Enemies
Headcrabs - There are only a few of these in Nova Prospekt. Just blast them and move on.
Fast Headcrabs - You’ll only see these twice. Just wipe out both groups with some hits from the crowbar or even shots from the shotgun.
Gun Turrets - These gun turrets aren’t too difficult. You just have to use barrels as shield and survive long enough to flip them over. Grenades also work well against them.
Antlion Guards - These Antlion Guards are still hostile to you. You’ll need a lot of firepower to take these guys out, but you have plenty of room to get away from them.
Combine Soldiers - These Combine soldiers are quite strong. The prison guards carry SMGs and shotguns and will also throw frag grenades when they get the chance.
Manhacks - These standard manhacks attack during the turret defense sections. They can be difficult for two reasons. They distract the turrets and can cause a lot of damage while you’re focusing on keeping your turrets upright.
Basic Tips
Use the pillars to distract the antlion guards and hide from their attacks.
Your antlion army is more than happy to die for you. Send them ahead to set off mines, wear away at Combine, or just distract turrets.
The shotgun is ideal for close quarters and clearing the many narrow hallways you’ll go down.
The AR2 is perfect for the longer range fights in the prison blocks and the laundry room.
Don’t worry about Alyx. She’s tough and has a huge amount of health. She can take care of herself.
Don’t rush your turret placement. The enemies don’t spawn until you put the last one down, so there’s no rush. Heal and put them all where you want them.
This post is part of the series: Half-Life 2 Walkthrough - Chapter 9: Nova Prospekt
This series covers both parts of chapter 9. This includes chapter 9 and chapter 9a. If you need any help killing the Combine guarding Nova Prospekt, defeating the antlion guards inside, or winning the turret battles, then just look inside this walkthrough series for tips and tricks you need.