This handy little guide will give you some tips and tricks on how to get the most out of your drives, chips, and putts while playing this great golf game from EA Sports.
Tiger Woods 10
Tiger Woods PGA Tour 10 is one of those games that is easy to play, but hard to master. The real game of golf is pretty much the same way. The very basic controls in this game are not complicated to learn, and from there it is up to the gamer to be able to land that precise shot. When you add varying weather elements like wind and rain, it makes the game of golf even more difficult. This guide is designed to give you help with the three major parts of the gameplay – Driving, chipping, and putting.
Driving
The first swing you take at any hole is crucial to how you’ll play the rest of that hole. Driving the ball is your chance to make one big swing and put it as close as possible. A solid drive will help make the rest of your swings a little easier, provided that you keep the ball in the fairway.
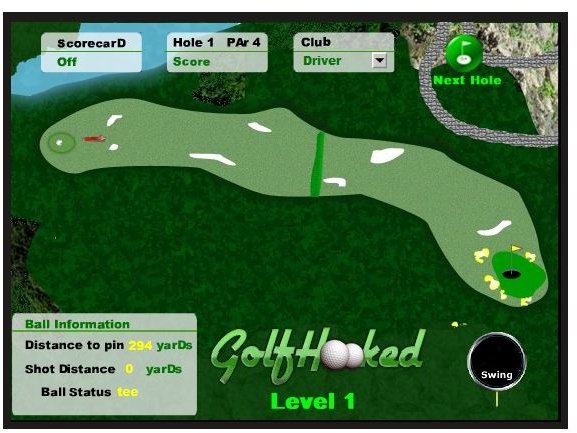
When you pull the stick back to swing your club, you can rapidly press the X button to increase power. You’ll see a red circle form within the icon of the ball on the lower left corner of your screen. If you hit the X button fast enough and then quickly make your swing, you can add as much as a 20% power boost to your shot. Be careful when using the boost, because you don’t always need that extra power just to stay on the fairway, especially if the hole is not a straight shot. On the longer holes, learning how to best use the boost will save you a stroke or two.
In this game, heavy winds affect your drive more than anything else. This is because the ball stays in the air longer and goes farther when driving, so more airtime means more push from winds. When you drive, the game presents you with a large circle around your target area. This circle represents the relative area where the ball will land if you hit it perfectly. What I figured out is that if the winds are blowing from either side for more than five miles per hour, then you need to move that targeting circle over to one side in a distance equal to half of the circle’s width. If the wind is behind you then it will help carry the ball farther, so make sure you line up the shot to avoid going into the rough. The same applies if you are hitting into the wind.
Rain doesn’t seem to bother your drive too much as far as when the ball is in the air, but it will prevent the ball from rolling quite as far once it gets on the ground.
Chipping
I think chipping is the hardest part of this game because it is so easy to undershoot or overshoot the hole. A good chip will help save you a lot of trouble when it comes to putting, but it’s easy to mess it up and make more work for yourself. When chipping, most of the time you will swing at much less than 100% power.
The key thing to remember with chipping is that loft plays a big factor in ball movement. You’re using wedged clubs that get under the ball and toss it up so that it goes up and down in an arch. The purpose is to lift the ball out of rough areas like tall grass or sand. In this game, I have found that on many of the holes that the ball will tend to roll backwards after being chipped onto the green. You’ll have to look at the landscaping to see the contours of the land, and then over or undershoot appropriately. Unless you think you can chip the ball directly into the hole, you should try to land the shot so that you have to do as little putting as necessary.
High winds will affect a chipped ball while it is in the air, so take that into account when aiming. If it is raining, also be prepared for the ball to roll much less. Sometimes that can work to your advantage.
Putting
The default location for your putt aim is almost never right, so be prepared to move it before each shot. When in putting mode, you will be shown a grid pattern over the green and it will have moving green and red lines to show you the lay of the land. If you are putting uphill, then you should move the target back a little in order to compensate for the extra power needed to push the ball up the hill. You’ll also need to adjust your shot depending on how much the ground banks to the left or right.
As an example of how to use the grids for aiming, I have found that if you are three or less grid squares away when putting, and the angle to the left or right is represented with green moving lines, then you should adjust your aim to the side equal to the width of the hole.
It should be obvious that winds don’t bother your putts, but rain plays a big part in putting mechanics. When the ground is wet, the ball won’t roll as far or as fast, and you’ll have to compensate for that in your aim and swing. If you are putting across a relatively flat surface, push the target back one full grid square to help get the ball to the hole. If you are putting uphill, you might need to go as far as two grid squares back. If the ground slants left or right, you will need to push the target back some, but also remember to go out to either side, but not as much as if it were dry ground because you are targeting an area farther back.