Another issue in the series of Gears of War walkthrough, helping you to defeat the Corpser without the Hammer of Dawn and fight off some really angry Theron guards.
Belly of The Beast: Angry Titan
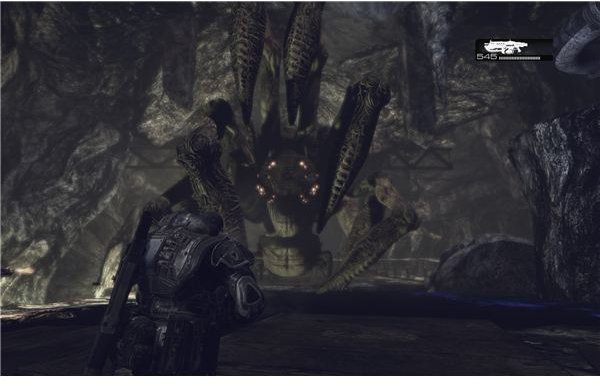
So finally you have reached a point in the game where you will have a proper, old-fashioned and gritty boss fight. You are deep underground, so Hammer of Dawn cannot help you, and you have an angry Corpser blocking your path.
So, walk forward and let the beast come. There are two ammunition boxes in the area if you find yourself lacking in ammo. Do not get too close and evade the claw attacks, as they are easily predictable. Aim for the belly of the beast (ain’t that a hidden hint in the name of the Act 3?) and shoot. When the Corpser roars in pain, concentrate your fire in it’s mouth, precisely the glowing part. Attacking forces the monster to step back and lets you get the ammo more easily.
After some time, Lambent Wretches will enter the fray, teaming up with the Corpser. Defeat them, then focus your fire on the beast again.
When you have pushed the beast as far as you can, look down upon the platform it’s standing on. Notice two clamps holding it? Well, shoot them off and let the alien monstrosity fall drown in the liquid Emulsion.
Run forward and meet up with the rest of your team, then leave in the direction they came from.
Belly of The Beast: Tip of The Iceberg
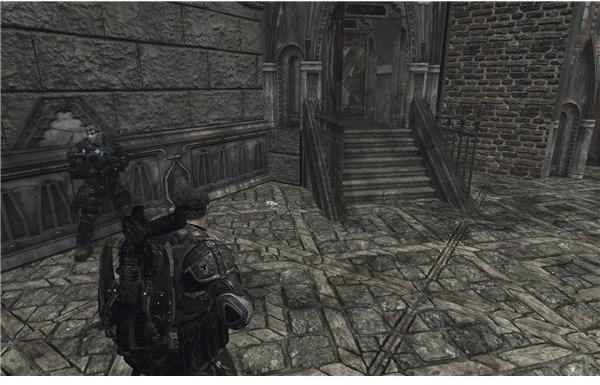
Run forward until you reach the ammo box. Pick it up. See the path splitting in two? First run to the right and pick up my personal
favorite weapon in the game - the Theron Bow. It’s a weapon carried by the elite enemy troopers called Theron Guards. The mechanism is simple: you have to hold the shooting button long enough to fully charge the bow. A fully charged arrow will fly straight and pierce into any armor or wall, exploding shortly afterwards. This usually means certain death to your enemy. If the bow is not fully charged, the arrow will fall down after some distance and bounce off armors and walls.
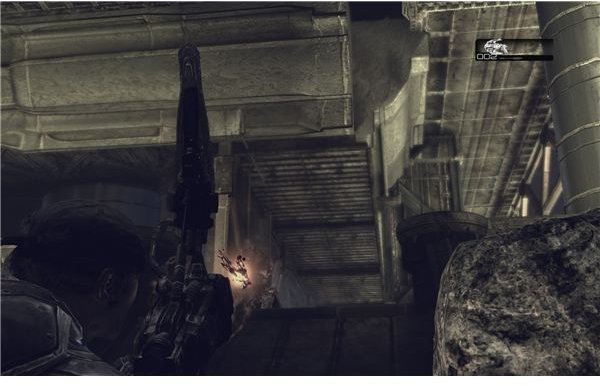
Now, armed with your new toy, go up the left path. After giving orders, take the straight path to the facility. Continue moving until you have completed half of a circle around the building and see a ramp leading up. Be careful as here you will face the aforementioned Theron Guards themselves. They are carrying their namesake bow as well, so, when you see the bow charging up, immediately dodge and take cover.
Remember that you are able to get bow ammunition from the bows the Guards drop. As soon as you have slain them all in your immediate vicinity, get up the ramp and run left. Defeat any remaining enemies that Cole and Baird are fighting with. When you hear the sound of completion, pick up any ammunition you might need and head back down. Reach the power button - it’s near the second column - and press it.
Congratulations on completing Act 3! Now watch the cinematic…so it appears that the plan didn’t work out as well as expected, so welcome to Act 4, which will be covered in the next parts of this walkthrough.
This post is part of the series: Gears of War Walkthrough, Part 3
The walkthrough for Gears of War continues, showing you the locations forr the COG Tags as well as some tactical advice to help you in your fight through the Locust.