If you’re looking for information on what to do for the first three levels of Crysis on the PS3, then you’ll find the help you may require here. Directions are given, alongside details of some of the obstacles you may face, and weapon and ammo locations are also described.
Contact - Level Start
After you parachute out of the plane, follow the on-screen button prompts that help you become acquainted with the game’s controls. When you land in the water, head to the beach. Once there, listen to the talking and press the various buttons when prompted. After you’ve pressed the buttons and the talking has finished, move straight ahead following the river and respond to any more button prompts that appear.
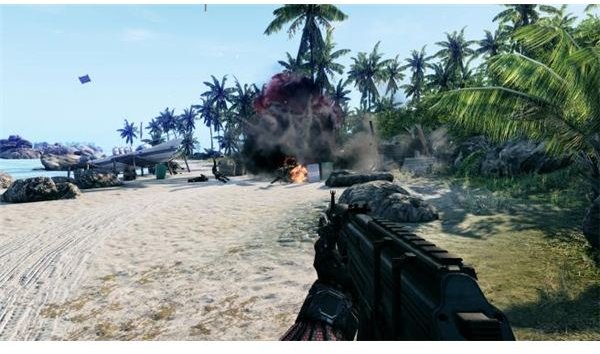
After being asked to attach your silencer, you’ll encounter your first enemy just a bit ahead. After he’s dead, there’ll be another two enemies by the flare. Take them out and proceed on along the coastline until you meet up with a team-mate. Follow him and a cutscene will eventually play.
After it’s finished, follow the green circle on your mini-map and take out the two enemies en route to the destination. Eventually, a yellow circle will appear on the mini-map and you’ll come to a hill, which marks the point when the game world starts to open up. First, we’ll tackle the secondary objective, shown by the yellow marker.
Contact - First Light
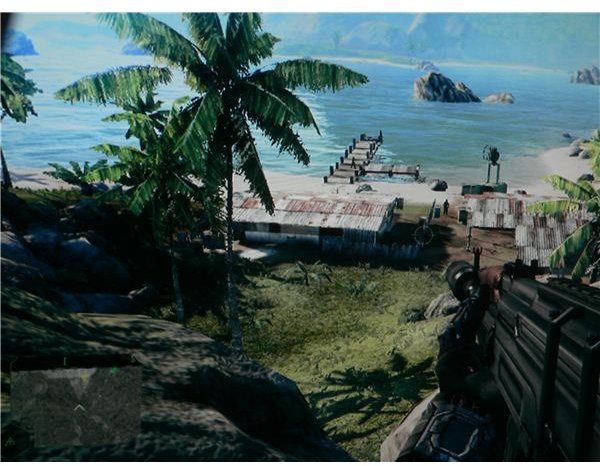
When you’ve reached the hill, move to the edge and press up on the d-pad to look at the surrounding area with your binoculars. Use the binoculars to highlight points of interest and the enemies on your map. You want go around the left of the hill and down the path to the enemy encampment. Be wary of the enemies on the boat and by the car, though. After the enemies are taken out, go up to the yellow indicator on the mini-map and press the square when the panel is highlighted.
Next, you want to head to the road and follow it until you receive a new objective. Turn around when you do and head towards the new objective via the sea. As you approach it, you’ll get a new secondary objective, indicated by the yellow light. Change direction and head for it via the water again.
As you close in on it, you’ll get another message suggesting that you cloak to infiltrate the area. Do so. Take out any enemies you come across and make sure you clear the walkways as well, then enter the building and use the laptop.
After doing so, follow the road out and get into a vehicle to drive to the KPA checkpoint. En route, you will want to clear the local compound out and perhaps drive the vehicle there that has a weapon.
Contact - Breaking Through the KPA Checkpoint
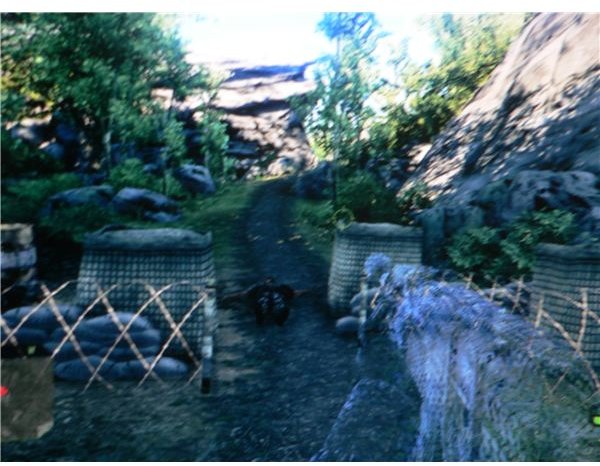
Once you reach the checkpoint with the barbed wire and the turrets, switch to the vehicle’s weapon and kill the enemies before getting out, rather than resort to using grenades. After that, walk past the barbed wire and up the path to the right, to continue taking out the remaining enemies.
After the enemies have been taken out up the path, loot all of the ammo and head to the next objective marker, through the other barricade. Once you reach it, a cutscene will play and you’ll need to chase an enemy after it. Once you’ve chased them, the first level will come to a close.
Recovery - Level Start and Accessing the Network

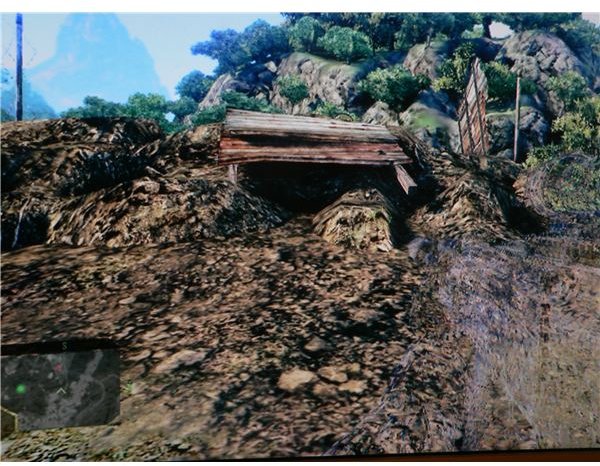
After the cutscene at the level’s start, follow your companions and move to the left one, Prophet. He’ll tell you to move to the trailer, so do so. After that, you’ll get a new objective, but before following the dirt road and heading to it, make sure you gather any weapons and/or ammo you may want. Also, you may want to use the vehicle down the road that has a mounted weapon to reach the objective area which is the local village. Take out any enemies that appear as well.
Eventually, you’ll get a secondary objective, so you should head in that direction as soon as it pops up on your mini-map. Once you’ve cleared out the area around the secondary objective, head into the building with the network you need to access. Also, keep in mind there’s a missile launcher here and a weapon with an assault scope attachment.
Recovery - Reaching the Village and Finding the Hostage
After accessing the network, come back to the dirt road and follow it to the left when you’re coming from the building that housed the network to reach a bridge that leads into the village where your objective is. Once you reach it, you’ll want to observe the surroundings and you should get a message mentioning about the gas pumps making for a nice distraction. Ignore them though.
After you’ve done that, head into the water and make for the building to the far left, rather than going across the bridge. Now then, walk around the left of the building and to the right of the danger signs. When you come to a slope, take it. You should have reached a new checkpoint now. If so, go to the left and enter the school building. Once in there, take everyone out. Once everyone’s dead in the surrounding area, open the door on the second floor and a cutscene will play.
Recovery - Reaching the Rendezvous Point
After the cutscene, equip your missile launcher and go to the top of the building. From here, you can take out both of the armored vehicles that attack you. There will also be a few ground troops who attack. Once the vehicles are taken out though, you’ll get another objective, which is to go to the rendezvous point.
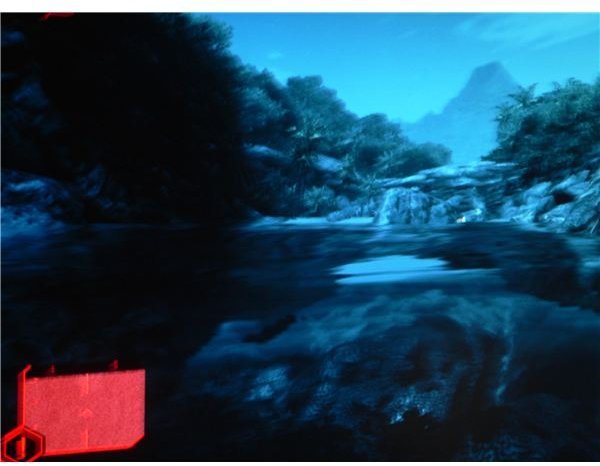
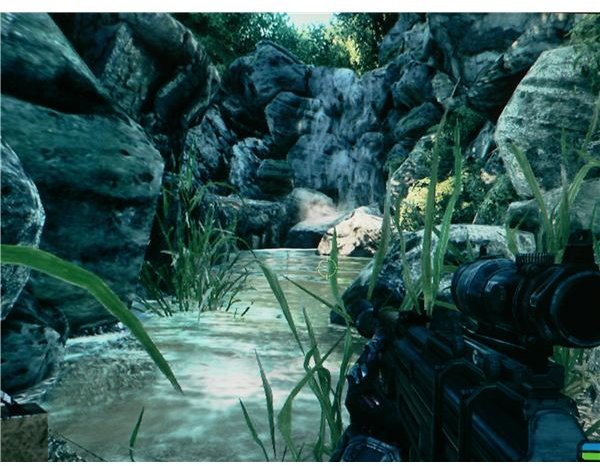
So, make your way there and you’ll find that you’re ambushed by KPA troops. You’ll want to take the river route to the objective, while evading enemies. Eventually, you’ll come to a waterfall and it is here that you’ll want to jump up some rocks to the high ground and continue on from there to meet up with Prophet. This will signal the end of the second level.
Relic - Disabling the Jammer and Reaching the KPA Base

After the cutscene, head down the path you begin looking down and pick up the grenade launcher attachment when you come across some weapons. This will lead to what looks like a plantation. The area is crawling with enemies, so you’ll want to keep to the left of the area as you sneak about. When you come to a wall that prevents you from moving to the left any further, kill the patrolling guard and then take out the other guards that rush you. Eventually, this will clear the way for you to disable the jamming device.
From here, head towards the KPA base, indicated by the green objective marker. To get there, you’ll have to follow the road once you find it, which will lead you into a small enemy compound. After you’ve cleared the area, proceed on and duck into the foilage and cloak to avoid a vehicle when notified. Continue following the road after it passes.
Relic - Getting into the KPA Base
Once you see the bridge and the base up ahead, you’ll want to keep to the right of the base and jump down into the water. Continue moving to the right of the foot of the base, while looking for a path leading up. When you leave the path that leads up to the base, you should be by a red car. Proceed down this road to the base and make your way through the enemies here.
Once the area is safe, gather the intelligence from inside one of the buildings. After that, grab a vehicle and head to the next objective. Be wary of the watery area though and when you reach it, take out the enemies on foot. In a nearby building, there is also a laser sight attachment and missile launcher. You can skip the next group of enemies and continue onto the excavation site when you’ve crossed the small river, by driving past them.
Relic - Excavation Site
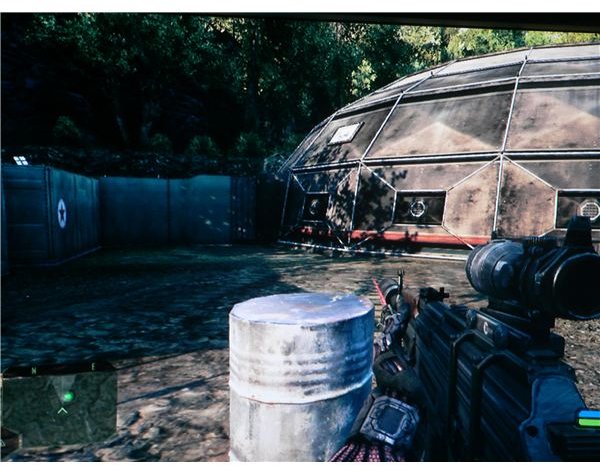
When you’ve reached the excavation site, the area will be swarming with enemies as usual and some will be in watchtowers. Take out the enemies in the watchtowers first, then work your way through the rest of the site. Once the area is cleared, move into the dome like building.
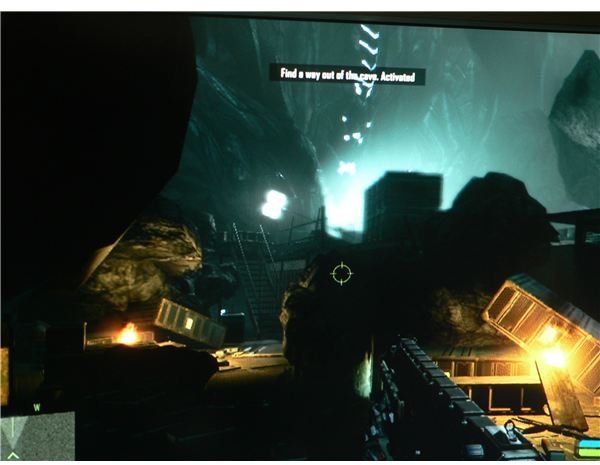
After you enter the dome and enter a room, a cutscene will play. After it ends, make your way out of the dome and fight your way through the enemies who have arrived. As you prepare to leave the excavation site, a vehicle may arrive, so be careful. Once the driver and passengers are dead, commandeer it and drive it towards the green marker while keeping on the road.
Once you reach a bridge past a winding road, get out of the car and move down the river. Ignore the helicopter and when you reach the extraction point, you’ll need to take out enemies who are stealthed, though they’re pretty tough. When they’re dead, the level will be complete.
References
- All references and screenshots from Crysis.
This post is part of the series: Crysis PS3 Walkthrough
A walkthrough for Crysis on the PS3.