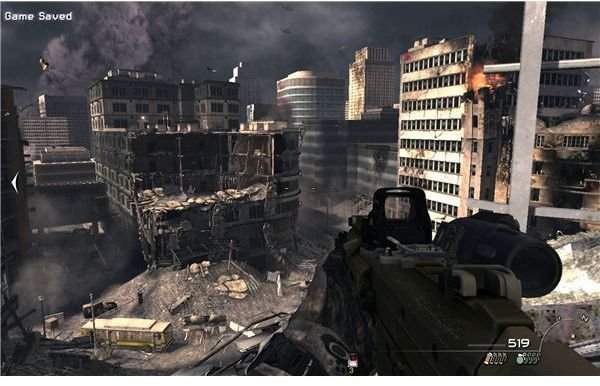
It’s time for the big finale. We’ve got to raid Makarov’s hideout in Stronghold, rescue the Russian president and his daughter in Scorched Earth and Down the Rabbit Hole and finally get your revenge in Dust to Dust. If you need some help with the final missions, just look inside for a few tips.
Sneaking into the Castle
We’re going to start with a little sneaking. Price will get both of the guards on the ground. Just wait to land and then turn off your nightvision goggles. Move up to the rocks and wait for Price’s signal to move up. Wait again at the next set, then drop off into the yard. Stick behind him and hold your fire. You can kill the guards to the left if you want, but it isn’t necessary. Crawl under the truck, then move forward with Price. When he gives you the signal, put a silenced round into the guard’s back. After he stores the body, follow him under the platform.
Wait in the center for the light to pass, and plant the C4 on the center plate. Wait a little more and follow him to the security post. Price will be able to kill all three guards, so just let him. While you’re here, trade out your pistol for an automatic shotgun from one of the dead guards. Wait for Price to open the security door, then move down to the prison level.
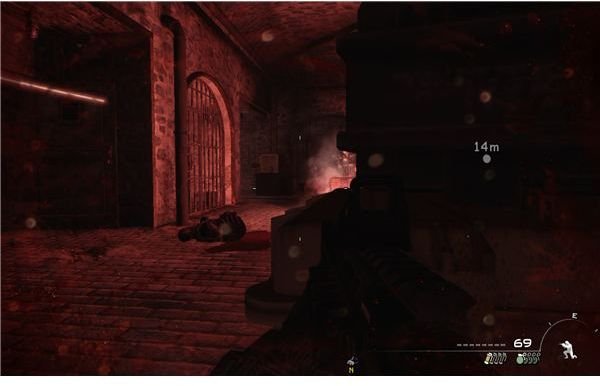
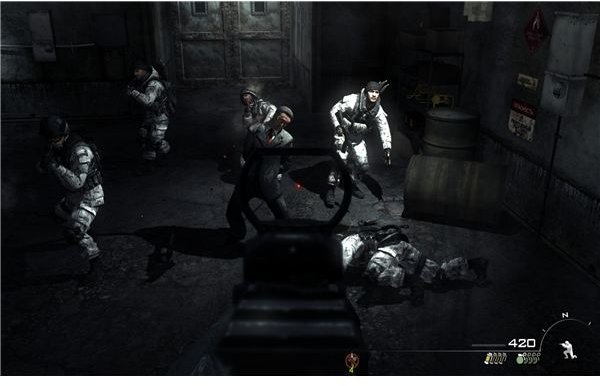
After he kills the lights, turn on your nightvision and just run and gun through the prison until one of the guards throws a flare. Turn off the goggles and get ready for a standard engagement. Use the rifle to pick off the ones up front, and then get behind the crates. Trade fire with the first group, and try to cut down the reinforcements that come in from the security office with one long burst.
Switch to the shotgun and aggressively push forward. You should be able to seize the security office, then use the doorway for cover to kill the third wave. Watch out for one last guard that will try to use a human shield. If you can’t make the shot, note that you won’t be punished for hitting the hostage.
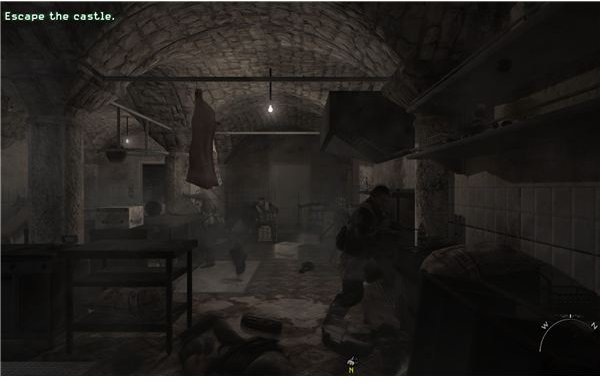
Follow Price out of the prison and onto the scaffolding, and plant the explosives on the bridge. Go across the ledge and then wait for him to put the charge onto the wall. Watch his hand and wait for the thunderclap. He’ll give you the signal and you’ll be able to blast a hole in the wall without being noticed.
Climb up the pipes as you would a ladder, and then just watch the scene play out. After Price throws the grenade, get ready to fight your way out.
Escaping the Stronghold
We’re going to start this one off in the kitchen. Shoot the nearest guard by the shove, and quickly shoot the rest as they run for cover. You can go up the right side and flank the ones at the end to make clearing the room a lot easier.
Don’t rush out just yet. Wait for one guard to run through the door. Cut him down and step out long enough to see the guard throw the cart at you. Step back into the kitchen, then move up and cut him down.
Follow Price up to the wine cellar to advance. You can use the office to the left for cover, but you should be alright just moving forward with Price if you’ve got a shotgun.
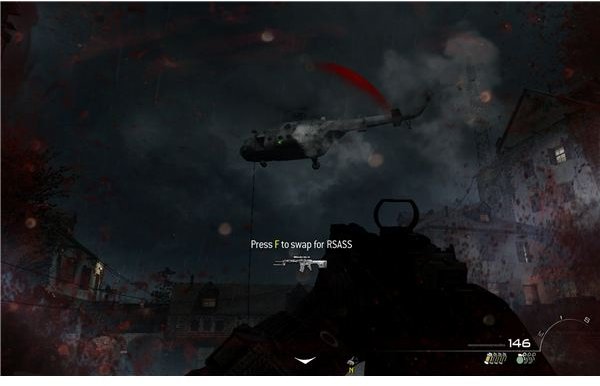
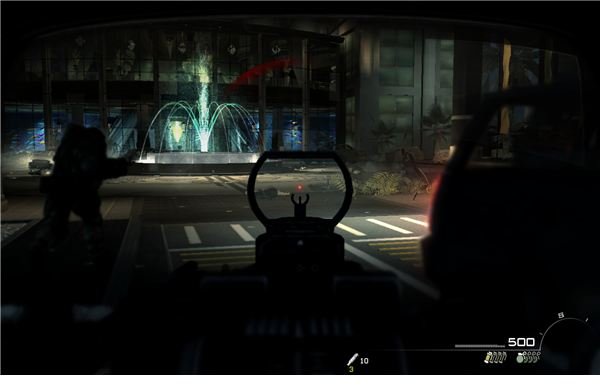
Go out the back doors and listen for the flashbang. Jump into the corner and look away from the stairs to avoid it, then kill the guard that runs down the steps. Move up the steps and around for another enagement in a long room. Just use all the objects for cover and flush them out. With a little work, you should wind up right by the front door. Cut down the fleeing guards and watch for the remaining men by the exit outside. After Price jumps the railing, trade your shotgun for the RPG. Use it to shoot down the helicopter above, then trade it out for the sniper rifle.
Use the rifle to cover Price. For now, just look along the balcony ahead of you, then work your way to the right and take out the gunners. Aim over the edge to clear out the men in the courtyard, and wait for Price to move to the middle of it. Go ahead and jump down to follow him to the cover in the center.
There’s an easier path than following Price. Just swing to the right with your assault rifle out and go behind the trucks to get into the open office. If you walk through it you’ll be able to flank the men and meet Price right as he goes through the gate. Follow him along the line until you get a view of the bridge. Use the C4 to blow up the BTR, and then run down to the bridge. Move forward while firing and you should be able to make it to some cover by Price. For now, just wait. After he notes the BTR ahead of you, he should spot the nearby jeep. Run to it and jump in, then just wait for a moment and ride out the escape. Pull your reserve chute cord to successfully escape and end the mission.
Scorched Earth
When you gain control, move forward until you reach the flashback.
After you land on the rooftop, get behind a vent and start shooting. Clear a path to the stairs and then climb up. You can clear most of the roof from this vantage point, and then advance to the offices.
The offices are fairly easy to clear. You can shoot through most of the cover, so just be aggressive and clear the corridors between the cubicles. Reach the ramp at the end and repeat the trick. Just shoot through the cover until you can reach the stairs to the rooftop.
On the roof, get behind one of the tables and pick off the spread out guards. Once a path is clear, move along the edges and flank any survivors. Once you reach the marked point, go prone and take out your sniper rifle. Snipe the marked targets on the hotel rooftop and wait for Granite to land. Once they’re on the roof, you should watch the double doors. Snipe the group of soldiers that come through to clear the path for Granite.
Once they note the tanks in the street, just wait for the A-10 to report in. Pull out the range finder and mark two points that put a line over the first tank. Don’t worry about the soldiers on the street. You can pick some of them off during the wait if you’re bored, but it’s a waste of an air strike (unless you want the “Nein” achievement).
For the second wave, try to draw a line over both tanks. It’s not vital, since nothing bad happens if you have to use two strikes. Once the tanks are clear, Granite will get ambushed.
The Armored Column
Once it’s over, go to the marked spot and rappel down to the street. Note the bodies from the wrecked helicopter, and advance through the doors to reach the river.
Run to the crates and grab the RPG, then blow up the tank ahead of you. Pick up the weapon you dropped, and then watch your left side. You should be able to walk down the sidewalk and use the wall for cover. Watch the open hole to the right and kill the round of guards that come out, then watch ahead. One last wave should try to charge you, but they’ll be in a nice little line. Hold down the trigger to take them all out and meet up with the tanks.
For now, you just need to follow the tanks. I suggest following the one on the right. Just stay behind it and keep an eye on your left at the start, but watch for the bank on the right. I suggest that you get behind the destroyed car to take a few of the soldiers out, then follow the tank and keep it between you and the bank building. You should be able to pick off the soldiers one-by-one as the tank moves forward. Watch for a few more in a little makeshift bunker near the end of the bank, then rush forward to reach the checkpoint and hit the ambush.
The Hotel
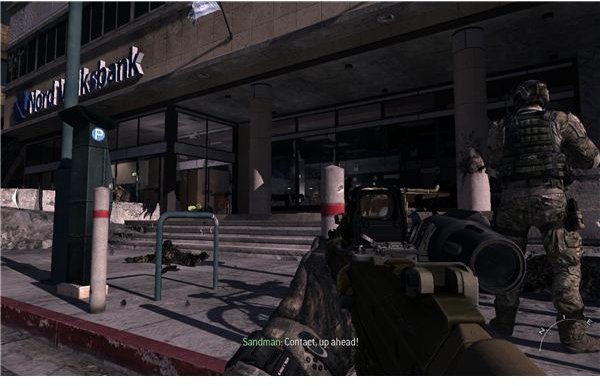
Once you regain control, just follow Sandman through the wreckage until you reach the hotel. Get behind some rubble in front, and shot the small group of soldiers at the entrance. Just hang back and you should be able to pick them off.
Move forward and into the lobby. I suggest running up to the bar and gunning down the soldier behind it. You can then grab his shotgun and use it to aggressively push to the left. It’s pretty useful at this range.
Sprint to the marker on the door for the stairs, and just wait with your assault rifle out. Cover your team as they move across and wait for Sandman to open the door. Charge up to the third floor and move into the hallway. You should be able to take out the few guards left outside. Wait for Sandman to stack up on the door, then breach it…except it doesn’t go well. You’ll pull out your pistol in a second, so use it to gun down both of the men. It looks like we’re too late though.
Entering the Mine

You’ll start off at the insertion point surrounded by a whole lot of bodies. Just wait for the scene to play out. After you’re hit by the RPG, wait for the crash to end and then turn on your nightvision. When the doors open, start firing at the squad outside. There’s nowhere to hide, so just shoot quickly. Get out of the elevator and move to the crates in the center. Clear out the balcony first, then help your team mop up the floor.
Follow Price ahead to the large mining area. You’ll want to stick to the right side as much as possible. Use the machinery for cover and clear a path, then charge forward with your team. There’s a door with an office ahead of it at the end. Gun down the guards inside, then hit the deck. The large group outside can quickly kill you by firing through the window. Move to the left and fire through the smaller side window to flank the guards and clear a path for Price. You should be able to use the large machines for cover until you can make it to the stairwell.
Wait for Sandman to kick the double doors open to reach the outside area of the mine.
Quality Time With a Predator Drone
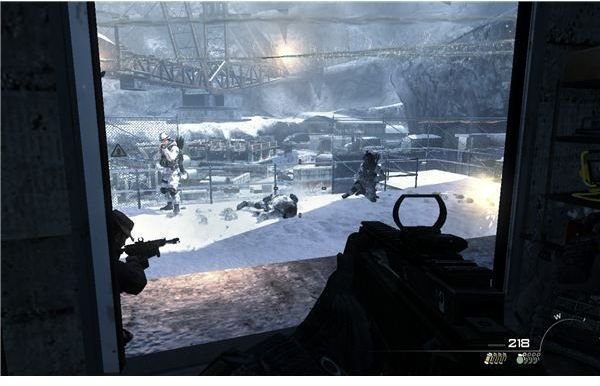
Gun down the three closest guards, and then quickly get to the left and go prone. You can fire over the edge of the railing to clear a good path. Once you break open a path, drop down and watch the road for the reinforcements.
At this point, you should get access to the predator drone. There’s no perfect strategy for this next part. Just get prone behind a barrier and use the missiles to clear out the large groups in front of you and follow Price forward. Fire on the stragglers as you advance, and frequently take cover to blow up the large groups. This includes a large blockade of vehicles on the main road.
Keep pressing forward with your squad until the predator gets hit by a missile. At this point, just get behind the bags of cement and start trading fire with the guards at the main entrance. Watch your sides and try to clear the upper area while you wait for the helicopters to blow up the entrance to the mine. When they do, just sprint forward with Price to get inside. Don’t try to engage all of the guards.
Saving the President
Once you’re in, push forward a bit and clear a path to the steel door at the end. Breach the door, but hold your fire. Alena’s the only one inside. Just wait a moment until she tells you that her father is deeper in the mine.
You should know the drill by now. Get behind some cover and push forward until you get a view of the bridge. Fire at the soldiers around the president while you have the chance, and then get behind something sturdy. Return fire on the ones that stay behind on the bridge. Once it’s clear, move forward and drop down. Rappel off of the pipe to reach the bottom of the mine.
Once you’re on the floor, just chase after the president. Get behind the large bulldozer to the right and you should be able to sweep up the bridge in front of you. Once it’s taken care of, move to the crates ahead. There’s a gunner above the blast doors. Take him out, and then it’s just a matter of time before you clear the rest of the room.
Move above the blast doors with Price, and place your breaching charges. As you fall down, you’ll have a clear shot at the man holding the president. Aim down the sight and put a round into his head. Make sure that your crosshair is off of the president, then start firing to the right to kill the two soldiers. Stop firing and clear up the left side right as the slow motion ends.
It’s time to get the president out. Move up the ramp and face the incoming wave. If you’re on an easier difficulty, use the machine gun that overlooks the floor. Anything above normal makes that impractical though, since you’re too exposed to fire. Instead, go to the right side and take cover by some boxes. You’ll be protected from most of the enemy, and you’ll have a clear view on the area leading up to the stairs. Pick off the approaching guards until the helicopters come in and clear a path. Run forward until the RPG hits, and then get ready for the final stand.
Once you get your gun, just take advantage of the slowdown to lay down covering fire as you crawl to the helicopter. After about a minute, you’ll make it inside for the big finale. But it’s not over just yet.
Dust to Dust
This is it. WW3 is over, but Makarov is still in hiding. It’s time to tie up the loose ends.
As you should have noticed, Price and Yuri are both in juggernaught armor. This is really good stuff, and can protect you from just about any damage from the front that’s not a headshot. And you’ve got heavy machine guns. This should be interesting.
Walk toward the hotel while firing on Makarov’s private security. The first wave should fall before they know what hit them. As the second wave responds, just fire on their moving cars to blow them up before they cause you much trouble. Engage the scattered survivors near the entrance, then watch for the civilians to flee.
As you move into the lobby, you’ll come under fire from two groups of three that come down the escalators. Just hit both groups, and then follow Yuri up the left escalator. As you go up, the balcony will be lined with guards. This is actually one of the few dangerous spots, since they have a really nice angle for doing damage. Clearly shoot the one above you on the escalator, then crouch and fire on the rest of the row. After you’ve cleared them out, reload (you should be fairly low on ammo by now) and keep walking.
As you get to the top of the escalator, face to the right. If you don’t kill the guards to your right now, they’ll easily flank and kill you. If you gun them down now, then the next part is easy. Keep walking toward the elevators with Yuri, and fire as you go along. If you keep everyone in front of you, then you’ll be fine. As you reach the elevators, hold your fire to avoid killing the civilians and then step inside and reload.
When the helicopter shows up, just start shooting. If you can, pour a lot of fire into the rotors as it climbs up to fire on you. This is when it’s most vulnerable. After it’s taken enough hits, it’ll crash and ruin your armor. It was nice while it lasted, at least.
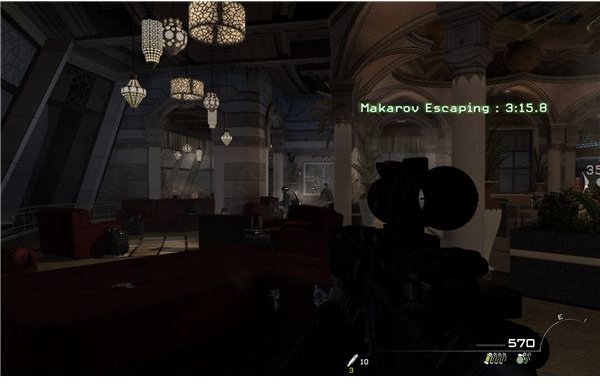
As you exit the elevator, shoot up the first small blockade and note the timer. It’s actually not that tight, since you just have to find Makarov in the restaurant within that time frame. You should be able to do it easily in less than 2 minutes. Cut to the left to the room with the poker table, and use it for cover to kill the two or three guards that should come in.
Go out the back door and stick to the left side. This wall will prevent them from flanking you, and it’s easy to keep a couch inbetween you and them. As you move up, just keep picking off the guards until you see the skybridge to the restaurant. Run across it to stop the timer and bring up the final part of the mission.
Engage the last of his guards until the helicopter makes its attack run, then climb through the wrecked path to reach the helipad. Jump off the edge to grab onto the helicopter, and cause a wreck. At this point, it’s just a matter of beating the quick time events. Hit the keys on the screen quickly to finally bring things to an end.
And with that, you will have officially beaten Call of Duty: Modern Warfare 3. Congratulations!
References
- All screenshots from Call of Duty: Modern Warfare 3
- All information from a “Hardened” difficulty playthrough of Call of Duty: Modern Warfare 3
This post is part of the series: Call of Duty: Modern Warfare 3 Walkthrough
The Call of Duty series continues with this big finish to the trilogy. You don’t exactly start off with a tutorial either. You’ll be fighting a constant war for the next six hours, so I hope you’re ready. If you need help with any mission, just look inside.
- Call of Duty: Modern Warfare 3 Walkthrough - Missions 1-3
- Call of Duty: Modern Warfare 3 Walkthrough - Missions 4-6
- Call of Duty: Modern Warfare 3 Walkthrough - Missions 7 and 8
- Call of Duty: Modern Warfare 3 Walkthrough - Missions 9-12
- Call of Duty: Modern Warfare 3 Walkthrough - Mission 13 to the End