Spec Ops Missions in Modern Warfare 3
Spec Ops Achievements
While the majority of the achievements to be had in Modern Warfare 3 come from the campaign mode, a number of them are found in Spec Ops as well. So what is Spec Ops? Fans of Modern Warfare 2 already know.
Short for Special Operations, Spec Ops missions are generally scenarios taken from the campaign mode and tweaked to form a larger challenge for you or for a co-op team of two. That’s right – this is where the two-player co-op mode went after it was initially rumored. They were unable to balance the game properly for two players, and instead made retreads of the Modern Warfare 3 campaign missions for two-player play.
In addition there is a “zombies” mode, called Survival. It doesn’t feature zombies at all, but has waves of increasingly well armed and armored enemies, air support, and enemy killstreaks for you to survive as long as you can.
The achievements for Spec Ops are fairly simple.
- Strike! - Kill 5 enemies with one grenade in single player or spec ops
- Jack the Ripper - Melee 5 enemies in a row in single player or spec ops
- 50/50 - Complete a spec ops mission with the same number of kills as your partner
- Birdie - Kill two enemy helicopters without being hit in survival
- Serrated Edge - Finish off a juggernaut with a knife in spec ops
- Arms Dealer - Buy all weapons from the armory in survival
- Danger Zone - Buy all items from the survival air support armory
- Defense Spending - Buy all items from the survival equipment armory
- Get Rich or Die Trying - Rack up $50,000 current balance in survival
- I Live - Survive one wave of survival
- Survivor - Reach wave 10 in survival
- Unstoppable - Reach wave 15 in survival
- No Assistance Required - Complete a spec ops mission with no player getting downed, on hardened or veteran
- Brag Rags - Earn 1 star in spec ops
- Tactician - Earn 1 star in each spec ops mission
- Overachiever - Earn all 48 available stars in mission mode
Missions in Tier 1
Missions come in different tiers of difficulty, which can only be unlocked by earning stars in the earlier tiers. Each mission has 3 available stars. For some missions, completing it faster earns you more stars. For others, you select a difficulty – normal, hardened, veteran – and earn stars accordingly. Obviously, to earn all 48 stars, you’ll need to play every mission on veteran or run it as fast as possible. Here’s some tips how!
Stay Sharp
The goal of this mission is to run an obstacle course, shooting enemy targets and ignoring friendly ones. There’s no going slow and careful on this one - speed is of the essence. It’s much easier to clear with a partner, because while there are more targets to shoot, there’s also a higher time limit. Solo players need to abuse the snap to target function, sprinting and ammo conservation. If you’re using one of the assault rifles they give you, limit yourself to 1-2 bullets per target. Any more than that and you will have to reload, which will kill your time. You’ll run out of ammo before the end, but you should switch to your pistol to take out the remaining targets from there. Alternatively, run with two pistols, and deal with the inevitable reload. The course itself is very straightforward. Decide with your partner which side to take and which targets to cover. The only valid target to knife is the one they force you to knife in the hallway - any other knife motion is twice as long as shooting. Don’t forget to get the guys on both sides and the roof when you’re on the bridge with the dogs.
Milehigh Jack
This mission is the single player mission to protect the president, only backwards. You have to fight your way through the plane and kidnap the president. As with most missions, you’ll have to run it on veteran to earn three stars. Be careful - enemies are hiding behind every doorway and around every corner. Your pistol is less useful than most of the weapons the enemies drop. Swap it for another rifle or a shotgun for added firepower. Toss flashbangs through each doorway when you reach them to blind enemies around corners. Pay special attention to the bar on the left side of the conference room, guys love to take cover behind it. Once you breach the second door, there are several enemies to kill, but aim right for the doorway at the end of it. A swarm of enemies will bust in as soon as time speeds back up. Finally, be careful to not shoot the president accidentally in the final room.
Over Reactor
Similar to the submarine infiltration campaign mission, you must get into the Russian nuclear sub and clear it out and keep it from exploding. As usual you have a time limit, but this time you have one advantage - thermal vision. Use it. The enemy is a lot less accurate when they can’t see you in the dark. Be careful not to rush too far ahead. Two levels mean you can be shot from all angles. It helps to have a partner taking the other level. Your enemies give themselves away with laser sights, so you’ll know when they’re around a corner. Don’t be afraid to waste ammo spraying to make sure the enemy is dead. Nothing is worse more than being killed by a guy in last stand. Finally, when you climb the ladder to exit, there are two crates you can take cover behind. You can also run down the tail of the sub to use the horizon as cover. Make sure to use your thermal vision to see through the smoke until you reach the evac point.
Hit and Run
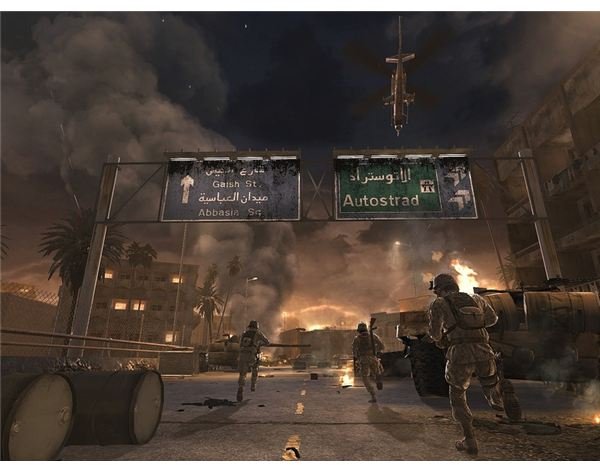
This mission forces you to fight through hostile streets to rescue some hostages. Make sure to always be in cover - the enemy has helicopters that will kill you in a second if you’re out in the streets. You can (and should) take them down, but if you’re aiming at the sky, normal enemies can easily flank and kill you. Use the sniper rifle you start with to take out enemies from far away, but be careful not to spend too much time sniping. Check and clear every building on the way so you don’t get ambushed. Once you rescue the hostages you have to back off quickly and find a safer position to hang out in. One of the buildings should do, if you cover the entrances and stay away from the windows. If playing in two-player, have one of your team hang back to provide cover fire. You don’t need to push to the helicopter at the end, you just win for surviving.
Tier 2 Missions
Toxic Paradise
You’re dropped in wearing juggernaut armor in a toxic city and you’re supposed to push through the city, collect toxic samples, and reach the exfil point. The juggernaut armor gives you a lot of added survivability, and you have an air strike you can call in to take out groups of enemies. The air strike recharges in about 60 seconds. Enemies can also call in air strikes, with red smoke, so avoid that. The first few areas are full of normal enemies, so stick to cover and kill them as they come. Later enemies will show up with riot shields. Use flashbangs and grenades on enemy riot shield users. Near the end of the level, an enemy Juggernaut will show up. Take it out with an air strike. Don’t worry about ammo, there are resupply points along the way.
Firewall
This mission is Co-Op only. One player controls a support turret while the other does the footwork and hacks computers along the way to move which turret is controlled. The support turret player will, most likely, do most of the killing. After the first checkpoint, up the stairs and around in a hallway, enemies spawn that the turret can’t reach. Later, in the room with the third checkpoint, there are a pair of enemies that the turret doesn’t see. After that switch, helicopters fly in. The turret should take out the choppers so they don’t have time to drop enemies. A good place for the foot player to take cover is in a shipping container to the right just inside the fence. The same rule applies to the spot just inside the construction yard. There’s a container to the left, and when you’re advised of more choppers coming in, it’s a good place to sit.
Fatal Extraction
This mission is hard to start, with enemies on the rooftop to the right shooting at you instantly. Be careful! Each area has one or two turrets waiting for you and a couple of dogs that will spawn. Listen for the dogs. Get good at the counterattack. In the first area a turret is to the right side of the map, and another is across the map to the left. If you stick to the right, you can snake through the buildings and take out a guy from behind in an alley. When you leave the first area some guys will run into the exit location. Don’t run out into the new area, a turret back and to your left will kill you. The other is on the rooftops further down across the road. Stick to the buildings and keep an eye on the doors for dogs. In the warehouse at the end, you can flank in through the left while your partner takes the main opening. Once you push through and collect all the intel items you get to go back through to where, in the single player, you used the mortar. Set up camp there and defend yourself and kill the enemy targets. You can use a laser to call in air support here to take out the targets, and then you’re done.
Hostage Taker
You can work stealthily or rush through, but stealth is easier. There is no time limit. For the best results, move slowly, be careful and be stealthy. This is a good mission to knife five people in a row on too. At the very start it’s easiest to knife the guards in front of you and work sideways, each partner taking one side. Alternate as you run up the trail to knife the next few. In the main area with vehicles there are a number of groups of two. The hardest guys are to the left immediately inside, over concrete barriers. If you leap over and knife them you can eliminate that threat. Don’t push forward from there, loop back around the jeeps and kill the four guys there. Wait for the helicopter to pass by. The guys there are hard to knife, so time it up with your partner and shoot them. At the very end, as well, be very careful you don’t take out the hostage, it will cause you to fail the mission.
Tier 3 Missions
Charges Set
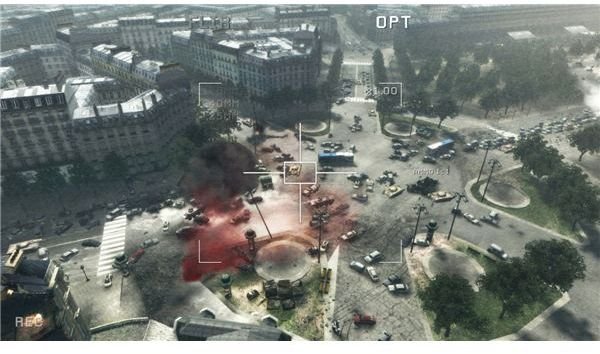
This mission is a very short one. It’s another obstacle course, this time involving breach and clears. Use all the same tricks you do in two-player for Stay Sharp, and you can pass this one with ease. Split up sides with your partner, abuse the slow motion breaching, and if you need to run it a few times for practice, do it. One bullet per target and stick to the pistol for the fast reloads. Don’t knife if you can help it. In the first area nothing is too challenging, just don’t shoot the hostage. In the second, make sure you don’t miss the one dog. Don’t forget the guy to the bottom right either. When you get to the bridge, rather than splitting left and right, have your partner take either top or bottom.
Resistance Movement
This mission you have to snipe your way through the darkened city and rescue hostages. Kill too many hostages and you lose. It’s much easier to play two player and coordinate with your partner. As usual, playing solo is much harder. If you’re spotted, you lose. The enemies are all carrying flashlights to alert you to where they are. After you clear the first two groups and rescue the first hostage, there’s some guys in a store to your right. They’re easy to miss but will spot you if you don’t take them out. Rescue the next hostage by killing the dog first and the guys in the order they emerge. Kill the next two down the road and flank right. If you stand behind the burning car, you should be able to just see a guy’s head over an upturned vehicle. Take him out, his partner on the right, and the sleeping dog. Once you get inside the building, crouch so you’re not heard.
Stay crouched as you move through the entire building. When you round another corner there’s a guy leaning on a chair against the wall and another around the left corner. It’s easier to pull out your rifle rather than use your pistol or try to knife them. Take out the guy down the stairs similarly, then wait for two flashlight guys to pass outside. Take out the three established guys, then take out the two that run past once they stop by the tree. Far to the left past them are some guys about to kill another hostage. Wait for the standing guy to line up with the sitting one to get a two for one. Climb onto the boxes, but don’t jump the fence, kill the two guys in the distance. Then jump it and kill the guys to the right. Finally kill the two guys and two dogs. The dog on the ground isn’t dead, make sure you kill it when it stands up.
Tier 3 Missions Continued
Little Bros
This mission is also fairly easy and straight forward. The player in the chopper supports the other one, while you two rotate who is where. Stick to the starting area until help arrives. Keep to the left hand side and behind cover while your partner in the chopper supports you. On the roof, aim for the door through the stalls, enemies flood out from there. From here, just clear the floors to support the person on foot. If you’re on foot, stick to cover and let the chopper do the work, the enemies won’t focus on it right away. When the enemy throws smoke, switch to thermal to keep up the support, they’ll mostly come from the left corner. When the chopper drops you off, stay prone or crouched and take out the guys that flood in from across the way. Take it slow, there’s no time limit. Arm the bomb and run - you have 60 seconds, and the enemies keep spawning so you don’t have time to clear them out.
Invisible Threat
This mission has a sniper and predator drone player and a juggernaut player clearing a road of IEDs. The juggernaut doesn’t do much of the killing, but has to do the defusing. Be careful! Every time you defuse an IED, enemies spawn. Dogs will also spawn to be annoying, and there will also be plenty of enemy support vehicles spawning. On the plus side, you have plenty of ammo. The sniper player has to be careful as well, as helicopters and RPGs will attack him. As always, coordination is key. Keep to cover as much as possible. Because of the random locations of the IEDs, this mission is exceptionally difficult. There are buildings on either side you can get into for cover if you need a more advanced position. Never try to get more than one or two IEDs before returning to cover, and listen to your sniper partner’s warnings. Even though you have a juggernaut suit you can still die really quickly. If possible, take out the IEDs further away first.
Final Tier 4 Missions
Server Crash
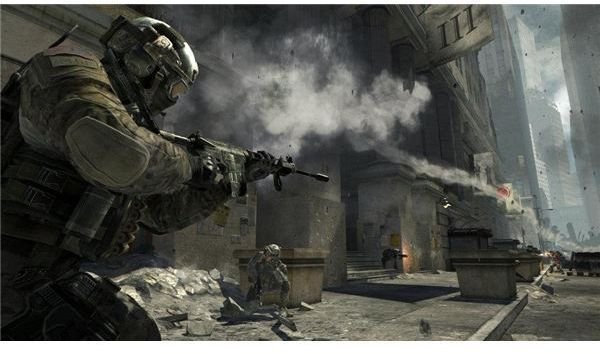
While you can do this mission solo it’s much easier with a parther. The first section of this mission has you as a gunner in a jeep, tubing enemy vehicles. Take them out as quickly as possible so they don’t gun you down. As soon as you’re out of the jeep take cover from enemies still behind you. The next segment is to push through a house, which is easy if you take care and take cover. Save your stun grenades. When you reach the area with the spotlight in your face and enemies with flashlights below, use your frags. Be careful when you drop down into the sewers, enemies are already watching you, but you can take cover across the hallway once you kill the guy there. Kill your way through and place the computer. For the middle section you have to defend the computer as it downloads. Enemy riot shield users will attack, so take them out with stun grenades and bullets. Retrieve the computer and get out of there. In the final hallway, an enemy juggernaut will attack. Throw everything you’ve got at it and don’t be afraid to retreat. Finally, be wary of climbing the ladder, enemies will ambush you at the top. Kill them and exit the building.
Smack Town
Another mission to smash in, grab an objective and get out. The whole first area is just about killing enemies from a helicopter. Play it a few times to learn where they come out, and only reload your LMG when you have time. Usually you’ll want to switch to your assault rifle after a bit. First off, take out the truck gunner and passenger, and driver if you can. Don’t blow up the truck, it wastes time and ammo. Next up, kill the guys all the way across the way, and in the plaza below. Then there will be guys to the left on the ground by the columns. There will soon be more in the plaza, so use your grenade launcher if you want. When they say look to the right, it’s the blue building rooftop. Once you’ve circled the building, more guys spawn across the way. Then a building in the middle will have guys on a roof trying to jump across and down. Once you drop to the ground, it’s the usual mission. Stick to cover at the docks until no one is left shooting at you. Work your way to each drug stash in turn and watch out, once you blow one up more enemies spawn in all the places they were before. Once the last is down, take it slow and make your way to the exit.
Flood the Market
This mission is, again, basically the first mission of the campaign over again. Stick to cover and avoid the helicopter, you can’t destroy it. Use your grenade launcher to take out groups of enemies. Once the chopper flies away, watch for dogs. Stick right and use the columns as cover. Take out the enemy jeeps with the XM-25. Once on the trading floor, stick to the outer wall so you don’t get surrounded. Circle the long way to each code. Save the one in the middle for last. Once on the roof, run to start uploading the codes, then take cover and snipe enemies across the way. Stick to cover and use a rifle to take out the helicopter. When the second chopper comes to drop off troops, kill them as fast as possible and restart the upload if necessary. Once they are dead, a few more will spawn on the rooftops. Just snipe the ones that show up.
Fire Mission
Co-op mode only. One player sits and gives cover fire from an AC-130, while the other proceeds on foot. This one is very similar to missions in Modern Warfare 2. The kicker for this one is a time limit. The AC-130 should do most of the killing, and the player on the ground needs to move as fast as possible. Unfortunately, moving from the starting position before the AC-130 has cleared out enemies is a death sentence. The AC-130 gunner needs to be as fast and accurate as possible. The ground player needs to sprint in, plant some C4 and breach a door, move up, and hack a computer in 90 seconds. Then you get an extra minute to unlock the main entrance, which should only take half that time if the AC-130 has been working. Once the main entrance is unlocked, the ground player needs to move forward enough to open it, then instantly take cover. The AC-130 player needs to clear out the dozens of enemies so the foot player can rush to the exit. That’s it! Once there, the final mission is over.
References
- Images Copyright Activision
- Information from User’s Own Experience
