The war continues, except things are getting a little hotter. For “Goalpost” and “Return to Sender” you’ll find yourself in the middle of two warzones. You’ll need to guard some tanks and rescue the vice president in Hamburg, and then carry out one very big raid in Somalia.
The Rough Landing
All the people who played Call of Duty 1 and 2 should feel right at home. This is D-Day, and all the usual rules apply. Once you land on the beach, move up the left side through the pillars. Do not follow the tanks. They come under heavy fire that you can’t take. Stick to Sandman as he moves from rock to rock on the left, until you make it to the brick wall. Fire on the fleeing soldiers above you to clear a path for the tanks, then run over to the plane on the right side. If you’re looking for intel, then one of the intel laptops is inside the cockpit. You might as well pick it up, since it’s right in your path.
Go through the wreckage and take up a position on the wall and get ready for a long grind. The entire left side is going to be too hot. There are tanks and a lot of men to the left, and you need to let the friendly tanks take care of them. Move along the brick wall on the right to keep yourself from being flanked, and keep an eye forward and to the left of you. You should be able to survive if you do this.
After moving forward to the little garden, look down the range for an intact army truck. Wait a moment for some soldiers to run past it, then shoot it until it blows up. You should break this wave with the blast, and make it a safe place for cover in a moment.
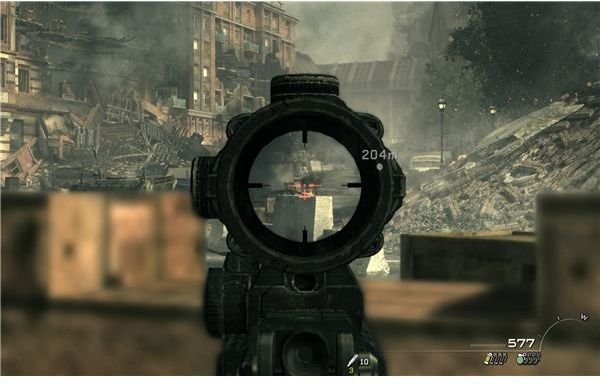
Keep picking off men ahead and to the left while you watch for the tanks and Sandman to move up with you. Stick to the right side and go around the destroyed army truck. You should be able to fire down range at the distracted soldiers ahead to clear the path. Keep the wall to your right until you see the tanks pull ahead and start wrecking most of the square ahead. Move past them and crouch behind the new brick wall. After they destroy the tank at the end of the street, move to the wreckage and take out the remaining soldiers at close range.
Rinse and repeat as you follow the tanks down the street. Just keep hitting the waypoints, until a sniper gets the gunner.
Riding Shotgun
Approach the glowing netting and climb up to the minigun. Get it spinning and hit the rotors of the approaching Hinds. After the hard hit, you’ll need a moment to recover. Just wait a moment, then look for the gunner on the approaching tank. Go ahead and pick him off, then firing at the fleeing soldiers.
Note that your minigun will overheat, so only fire in concentrated bursts and let it cool often.
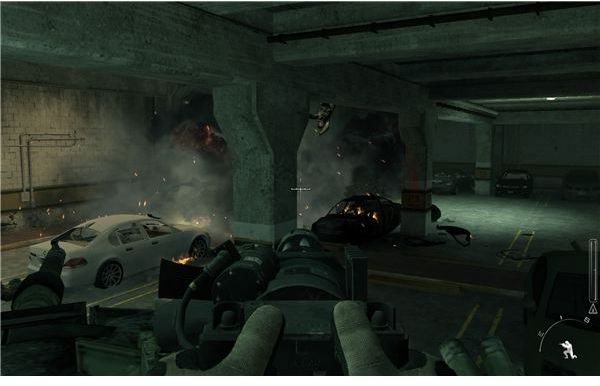
As you enter the parking garage, you should be able to gun down an entire column, before you enter the main area. There are a lot of guys around here, and it’s a real pain to survive. There’s a good element of luck to it, so don’t get discouraged if a strategy fails once or twice.
Start by firing to the left to kill the man with the RPG, then aim to the right to cut out the group by the cars. Turn around and just start shooting cars to trigger explosions and gut the main force. You should rejoin Rhino 1 at about this point, if you manage to stay alive through the tense bit.
After the crash, you’ll need to hop out and rejoin Sandman. Just follow him and get behind a few crates. Pick off the gunner on their humvee, and focus on picking off the rest of the spread out soldiers. If you want, a few rounds into any of the cars should cause a nice explosion. It’ll kill any enemy soldier that’s dumb enough to hide behind one.
Exit the parking garage and get behind the brick wall. Fire at the soldiers that get close, and then just stay down as the enemy tank approaches. Rhino 1 will make a splendid entry just in time, so don’t worry about taking it out yourself.
Another Tank Run
Follow behind the tank, and look for the broken windows leading into the bank. Fire at the soldiers behind the counter, then go inside and get behind the big semi-circle desk at the far right. Watch for rushers that will try to flank you, and focus on picking off the men inside. Once you have a little peace, go ahead and help Sandman and the tank move down the street by picking off anyone you can see through the windows. Move up slightly and get behind the crates near the main counter. A few more men should come in from the back. Watch for them and gun them down.
Move up to the next set of doors and just wait a moment for Sandman to bring most of the team in. It gets a lot easier after this, since you’ll have a lot of backup. Just move forward and keep firing. Note that nothing back here provides “good” cover. You can shoot through most of the desks and all of the wood, so take advantage of that to push forward until you near the end of the road.
Move up to the brick wall and just wait a moment until you’re regrouped. Pick off the survivors to the left and then turn down the street. Run and gun until you make it to the convoy, then turn and go into the open building on the left. Run up the stairs and stack up to breach the door.
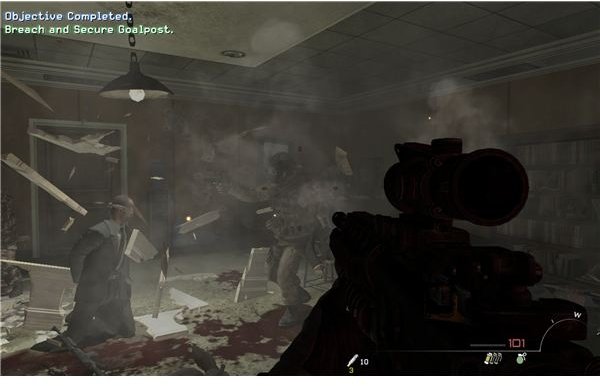
This breach is actually tricky. You need to start with the man on the far right. He’ll execute the hostage (the vice president) as soon as he recovers from the blast. Put a burst into his chest, then stop firing (if you hold the trigger down, you’ll kill the vice president) and switch to the far left. Kill the man charging at you, then carefully work a bit to the right to pick off the rest of the shooters.
Confirm that it’s the vice president, then go out to the balcony for extraction. This will wrap up the mission.
Reaching the Mansion
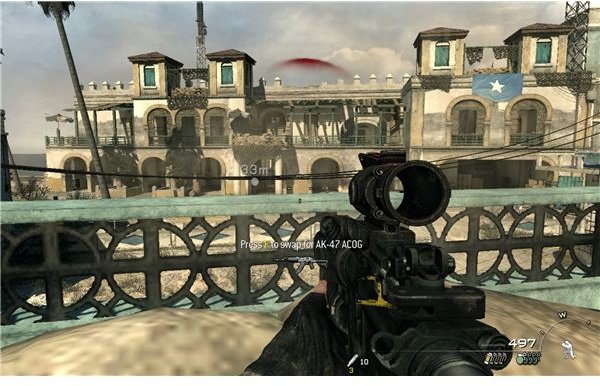
For the big entrance, just aim in the general direction of the gate and open fire when you get the chance. Once you’re through, shoot the men in front of you and swing to the right with Soap. Use the crates for cover and clear out this area, then aim down into the main yard to clear a path for Price. Get behind some barrels and go prone, since Nikolai will swing around and let you man the remote turret. Hit the key and make sure that you hit the two technicals in the road. Try to sweep up all the other red dots if you can, but the technicals are all that matter.
Move up with Price and approach the big mansion. You’ll have to clear out a few people in the street, but you should be comfortable with that by now. As you approach the mansion, you should be able to see a house that’s roughly in line with the two machine gun nests. Fire through the open window, then climb over it and go up the steps. Shoot the two men on the second floor, and just wait for a moment. Nikolai should be back to let you use the turret again.
Make sure that you get a line of fire down both of the machine gun nests, and clean up what you can. The really important target will be your rooftop though. There’s a single guard up here, who has about a 50% chance of killing you when you climb to the ladder. The roof offers a nice vantage point, so if you can, look for your dot (it’s blue and filled in) and fire at the red marker above it. You should get a chance right about as the run ends.
Climb to the rooftop and get behind the sandbags that surround the mortar. Use these for cover and clear the rooftop to the left, then the one to the right. For now, just engage the guards across from you on the balcony while Price sets up in the courtyard. You’ll probably get one more chance to use the remote turret. Just use it and clear out the stragglers, then drop down and join up with Price on the ground.
Finding Waraabe
Go into the mansion and reach the second floor. Stick to the left side and you should be able to flank the first group of guards. Follow Price around and engage the next set. If you fire though the hole in the wall on the main path, you should be able to take them out with ease. Take out the rest, then stack up on the office door.
As noted, you need Waraabe alive. He’ll have a big “Capture” marker above his head. Start with the men on the left. There’s two. Be very careful when shooting the one next to Waarabe. Quickly center your aim to kill the man with the shotgun right in front of you, then pick off the last two on the right.
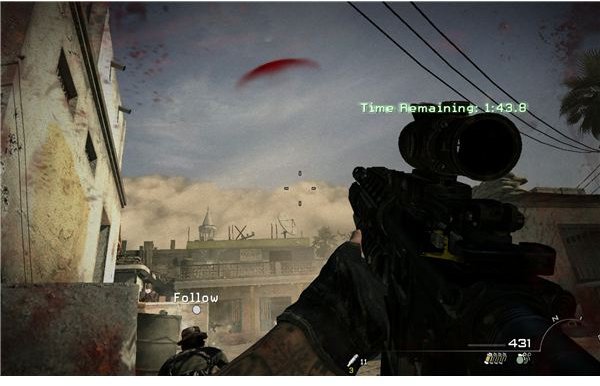
After Price finishes interrogating Waarabe, move out and run to the landing zone. Don’t get into the center though, just get behind one of the walls and wait out the ambush. Pop up and clear the rooftops with some focused fire, and then move along carefully. The timer should start up soon, but don’t worry about it. 3 minutes is plenty of time. I wasn’t rushing and made it in a minute and a half.
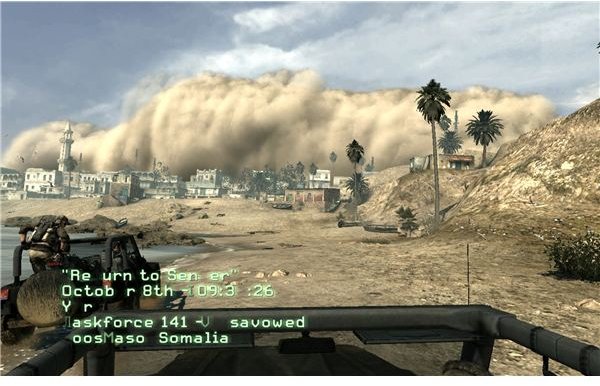
Racing the Sandstorm
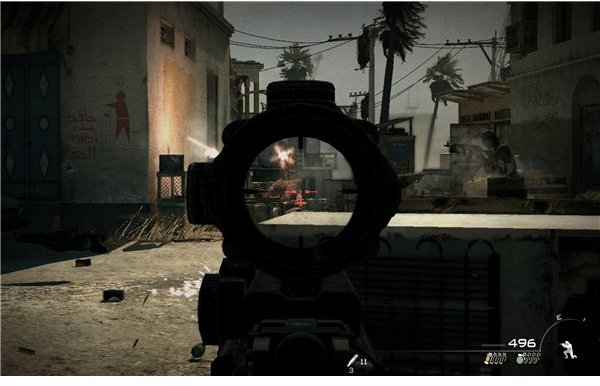
At the next crossing, they’ll send a burning car down the road. Take cover until it explodes, then get behind a wall and watch the rooftop on the shack to your right. The shooters here are all quite accurate and appear to effectively be snipers. It’s very easy to die to a few quick shots, so if you’re hit, go prone quickly.
Clear the shack to the right first, then take out the rooftop across from you. Don’t get greedy, just take a few out each time you stand up. Move up to the shack and then follow the road. One more soldier should come along, but you can just fire from the hip to take him out.
Keep running and you should see the construction site that serves as the secondary LZ. Move into the building and stick to the walls. Just fire from the hip and move aggressively. Price will take out the lion’s share, so you should be fairly safe if you just stick behind and back him up. Run up to the rooftop to get one last chance on the remote turret. Clear the men out as best as you can, but note that it’s ultimately futile. Nikolai will get hit and crash ahead as the sandstorm moves in.
Follow Price down and get used to the low visibility. You’ll approach a group of militia soon. Just gun them down from behind and move forward. Follow the chain of men ahead and move along with Price until you reach the crash site. Run up to Nikolai and the surviving members of Echo team, and then just watch the rooftops. Aim for the flashlights and you’ll be able to clear most of the militia out.
When you’re prompted to do so, pick up Nikolai and run down the road after Price. Note that you can sprint with Nikolai in tow (and it’s a good idea to do so). Jump down the slope and then just look for the jeep on the left. Soap will carry Nikolai, so all you have to do is jump in and make your escape.
References
- All information from a “Hardened” difficulty playthrough of Call of Duty: Modern Warfare 3
- All screenshots from Call of Duty: Modern Warfare 3
This post is part of the series: Call of Duty: Modern Warfare 3 Walkthrough
The Call of Duty series continues with this big finish to the trilogy. You don’t exactly start off with a tutorial either. You’ll be fighting a constant war for the next six hours, so I hope you’re ready. If you need help with any mission, just look inside.
- Call of Duty: Modern Warfare 3 Walkthrough - Missions 1-3
- Call of Duty: Modern Warfare 3 Walkthrough - Missions 4-6
- Call of Duty: Modern Warfare 3 Walkthrough - Missions 7 and 8
- Call of Duty: Modern Warfare 3 Walkthrough - Missions 9-12
- Call of Duty: Modern Warfare 3 Walkthrough - Mission 13 to the End