The adventure starts off with a bang on the opening level of Bulletstorm. I’ll cover the initial raid on the Ulysses and your first encounters on the ruined planet as you try to find a fusion battery and save Ishi’s life.
An Interrogation
Just enjoy the creative tutorial. Follow the command prompts to threaten the bounty hunter, then shoot the bottle off of his head and kick him out of the airlock.
Walk over to the door and wait for the prisoner to get his final revenge against you. Once you regain control, alternate with the shoulder buttons to climb the pipe, then hit the button on the prompt to seal the breach.
Kick the marked debris out of your way, bound over the marked section and finally crawl under the next pile to reach the door again. Aim at the door lock when prompted, then shoot until it explodes to open the door.
Follow the doc until you hear the troubling news, at which point you should sprint down the hallway and into the elevator. Hit the button inside to take it up.
The Kamikaze Run
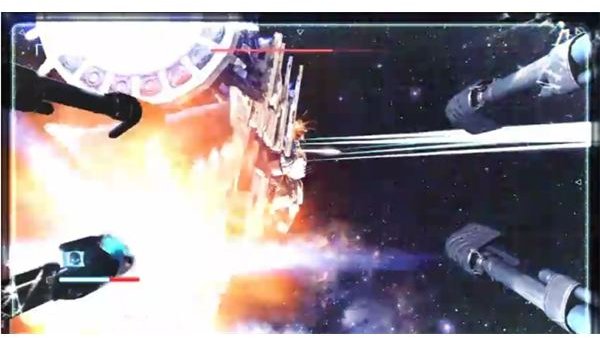
When you regain control, you’ll be in charge of a gun turret. Just hold down the fire button and try to keep the cursor over the marked guns. It seems like it takes a few hits to take one out, so don’t move on until you see it go up. There are three on the first side, after which you’ll move on to the next section of the ship.
These four guns appear to rip you to shreds just about every time, so just do what damage you can until the ship gets destroyed. After that, just follow the scene and follow the prompt to trigger the suicide attack.
Better Days
Once you regain control, follow your squad down the building with your gravity boots. Move over to the marked elevator and kick it down to clear the road. Move forward to the marked to the marked point and breach the room. Fire to kill Bryce Novak with a scripted sequence.
Once you find out the big secret, you’ll need to get ready for the first real fight. You start out behind a desk and with plenty of cover, so you probably won’t even get hit during the battle.
Aim down the scope and fire a steady stream across the other soldiers’ defense position across from you. There’s a bright ball you can also shoot in back that will trigger an explosion and clear most of them out. Wait for a wave or two, then hit it to clear out the bulk of their forces. A cutscene will play and end the level.
Wake Up Call
After the flashback is done, you’ll need to get up and walk back to Ishi’s body. Walk forward while Rell carries him. Get into the elevator and hit the button to go down a level. Walk forward and kick the canister out of the way to get into the medical bay. After Ishi’s safely on the table, you’ll need to head out with Rell to get a new fusion cell. Follow Rell out until you hear the loud banging on the side of the ship. We’ve got company.
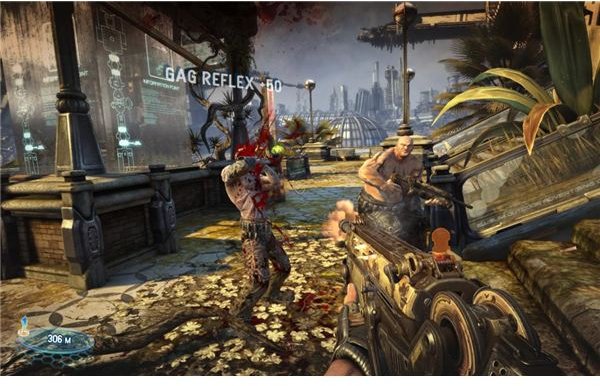
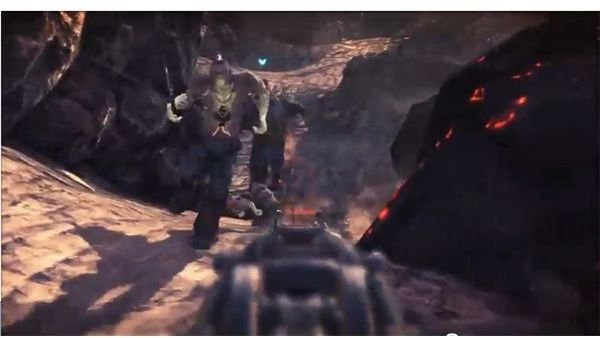
As suggested, kick the melee rusher and shoot him a few times to take him out. Just blind fire at the other two to rip them up. This exit’s not an option, so follow Rell off to the side. Bound over the boxes and round the corner to run into another group of locals.
Note that anyone that you kick will probably fly up and get caught in the electrical wires for a very easy kill. You can probably do this to at least two of them. Fire on any of the men that hang back, then slide down.
You’ll instant kill the raider that you hit. You should also be able to kick most of locals off of the side of the cliff. Of course, you can also just shoot them in the head. Aim at the chest and let the recoil carry your shots up.
Rinse and repeat the moves on the next group, and move up until you see the cutscene. After you regain control, grab the leash off of the ground and use it to pull the hatch off of the escape pod. Rell will get the charged fusion battery.
The Walk Back
Use the leash to make a bridge, then go up and reach the barbed wreckage. Use the leash to pull two raiders into it for easy kills. Advance and use the leash to clear the wreckage out of your way until you reach the next barricade. Pull two raiders into the barricade to knock it off of its foundation and bring it down.
Move forward and dispatch the men between you and the ship. Headshots work fine, but there’s also plenty of wreckage. Run up and into the medical bay to drop off the fusion cell.
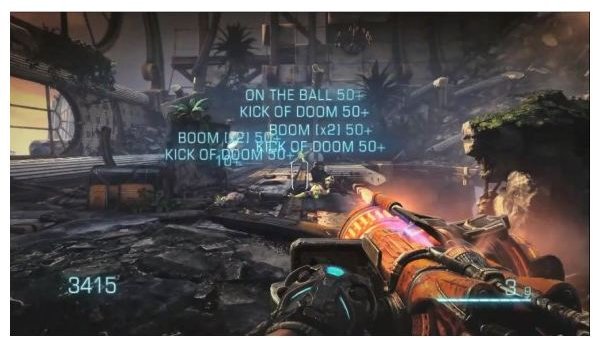
There’s not much you can do beyond this point though. Once you regain control, you can take out a few raiders that are dropping in by kicking them into the electrical wires. You’ll only get a few before the systems overload. When prompted, shoot the tank to take out the raiders. That will end the chapter.
References
- All information and screenshots from Bulletstorm