From the defeat of Sledge to the Defeat of Krom this leads you to some of the most important parts of Borderlands including New Haven and Crazy Earl’s Scrapyard. This also gives you access to many more side quests and item gathering opportunities.
The Second Vault Key
In the first part of Borderlands you are largely learning the game and because of that where you can go and what you can do is more limited. After defeating Sledge though the game really begins to open up. With the ability to customize your races special ability with elemental attacks, class modifications beginning to appear and the weapons variety remaining mind boggling. At this point it can also become a bit more difficult to tell which missions are required to move on and which are extra.
Leaving Fyrestone
With Sledge dead there is not a lot left of value to do in Fyrestone. At the level you can defeat him most of the quests are very low in value. If you have not done the circle of death it is quick enough at this level that it is likely worthwhile but beyond that simply follow the diamond until you reach the Dahl Headlands. There you will immediately get the quest Getting Lucky.
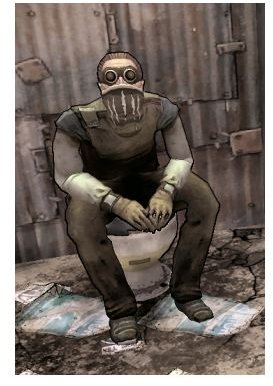
Getting Lucky is a reasonably simple quest that introduces you to the area. Bandits have captured the owner of the Last Chance Waterin’ Hole. All you have to do is fight your way through 15 bandits and talk to Lucky. Follow the diamond and you shouldn’t have much trouble.
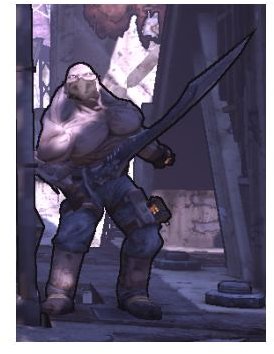
Fighting the Bandits in the Dahl Headlands
One of the most open ended of the main line quests is the Hot Shots quest. In this quest all you have to do is destroy 8 of the bandit runner or Mad Mel Patrols. The most direct way to do this is to get into a vehicle and begin to drive around. You will see them scattered around the Headlands.
It will likely be faster to do this while completing some of the other quests in this area. That is because if you rush through this area you are likely to find yourself behind in levels later so instead simply attack these while traveling to the other quests in this area.
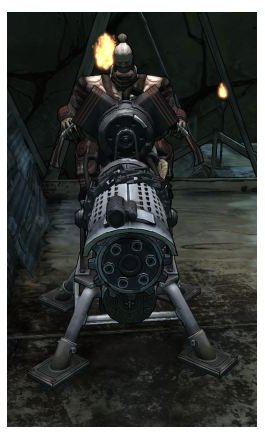
Fighting Mad Mel: Bandit Apocalypse
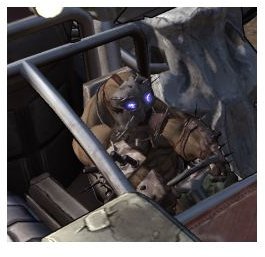
The only real boss in the main story quests in this area is Mad Mel a level 20 vehicle that is considerably stronger than the patrols you have been fighting. Found in a circular arena area on the way out of the Dahl Headlands there are two ways to defeat this. Since you can’t attack him until you enter the area you’ll need to get a vehicle, likely with machine guns and rush into the area. Simple attack patrols until Mel Appears and then circle the area shooting at it.
If you are killed then there is a very easy way to defeat these character. Walk up on the ramp that leads into this area. From here you can shoot at the enemies but they will have a very difficult time attacking you.
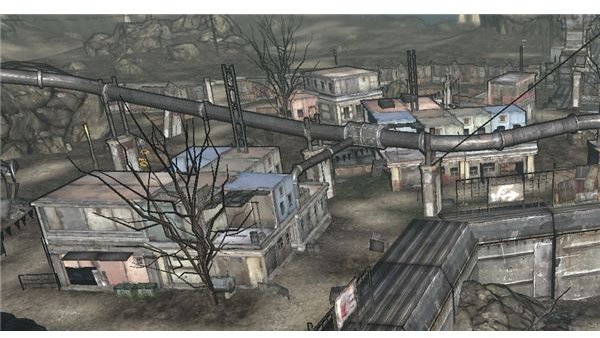
New Haven
Once Mad Mel is dead you can make your way to New Haven, the only place in the game where you won’t want to shoot everything that moves. A small settlement this is a great place to search for weapons as there are a number of chest hidden in this area with weapons. If you want to search again you can leave the game then log back in to find more weapons . If you do not have good weapons this is a good time to try to improve them.
While exploring you will want to do the Power to the People quest. This is one of the easiest of the story missions. Simply find the generators and turn them on. No real fighting is necessary though a couple are in areas not simple to reach none of them are actually hard.
There are a number of other quests in New Haven and just like in the Dahl Headlands doing them is likely as fast as not since they help get you to the level you need to be faster.
Seek Out Tannis
You are now in some of the longer and more complicated areas following the diamond on your directional hud will not always be useful. Using the map can lead you to Tannis easily enough. On the way you will notice a bounty board. This is abandoned and restarting it is a useful way to get more quests.
Tannis is not difficult to reach, but there are both Rakk and spiderants surrounding her camp. If you rush into her building the Rakks cannot attack you there. Simply talk to her and you’ll be sent to “Crazy Earl” and the next quests.
Crazy Earl
The Path to Crazy Earl is not difficult and once there you can use the Fast Travel network to return. Blow up the containers in the archway that leads to Crazy Earl and then go and talk to him. He will give you the Get of My Lawn quest. In order to beat this simply go into the next area and kill three spiderants and 25 bandits. The best way to do this is to also get the quest Today’s Lesson: High Explosives quest as this will lead you to all of the bandits.
You will then be sent on the Hair of the Dog quest in Treacher’s Landing. The Booze will be held by bandits so simply kill them until you have enough. Ignore the diamond on the hud as it simply leads you to the middle of the area. Return to Earl and he will send you to fight Krom.
This is also a good time to begin looking at completing some of the xbox achievements for borderlands as you should be near completing a few of them.
Fighting Krom
Krom is one of the easiest of the bosses to beat once you reach him, but reaching him is not easy. In Krom’s Canyon you have a long narrow level with enemies that can attack you from above. Fighting your way through is direct and can help you know if you’re at a high enough level for this area. Krom himself is on a turret at the far end of a enemy filled valley.
There should be plenty of places to hide here, but your best choice, if you are a good sniper is to kill Krom from the entrance of his area. This is not easy because he is behind a wall, but a good sniper can kill him with little fighting at all. Otherwise you’ll want to work on clearing the area of bandits. This is because while hiding from Krom’s turret isn’t all that hard the bandits will make it far harder.
Once you have reached Krom the battle is more or less over. He has reasonable shields but unless you are simply worn down or too low of a level killing him should not be all that much of a problem and you can get the second vault key and move on to the third part of Borderlands.
Reference
Source: Author’s Own Experience
Images: Bordland Wiki, https://borderlands.wikia.com/wiki/Borderlands _Wiki
This post is part of the series: Borderlands Walkthrough
A walkthrough of borderlands covering all of the main storyline quests and giving tips for leveling and getting items as well.