Never been to World of Warcraft’s newest instance - or having some problems? Check this guide for all the tips, tricks, and strategies to beat Trial of the Champion on both normal and heroic!
An Introduction to Trial of the Champion
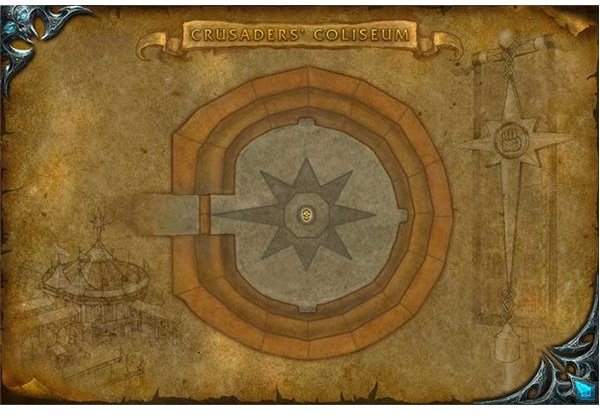
Trial of the Champion is an instance located in the Argent Tournament grounds of Icecrown. Added in patch 3.2 , it has both 5-man normal and heroic versions available and takes about a half hour to complete.
On normal mode, items that drop are all of item level 200 . Heroic mode offers drops that are item level 219 , and each boss will also drop an Emblem of Conquest and Champion’s Seal.
There are three boss encounters. The first boss encounter is the Grand Champions, in which you’ll face three random champions of your opposing faction. The second encounter offers either one of two bosses: Argent Confessor Paletress, or Eadric the Pure. The final encounter is against the Black Knight.
A special note: During any time, on both normal and heroic modes, players may exit and re-enter the instance; players are not locked out by the boss encounters.
The Faction Champions: The Joust
As you enter the Coliseum, Argent mounts and lance racks will appear along the side walls. All players must equip a lance and mount up on their faction appropriate mount, as the fight will begin as a joust .
One player should then speak with Arelas Brightstar (A) or Jaeren Sunsworn (H). This announcer will introduce each player in turn, and then call forth three random champions of the opposing faction . The Faction Champions are as follows:
Alliance Champions:
-

Ambrose Boltspark, Grand Champion of Gnomeregan, Mage.
-
Colosos, Grand Champion of the Exodar, Shaman.
Advertisement -
Jaelyne Evensong, Grand Champion of Darnassus, Hunter.
-
Lana Stouthammer, Grand Champion of Ironforge, Rogue.
-
Marshal Jacob Alerius, Grand Champion of Stormwind, Warrior.
Horde Champions:
- Deathstalker Visceri, Grand Champion of Undercity, Rogue.
- Eressa Dawnsinger, Grand Champion of Silvermoon, Mage.
- Mokra the Skullcrusher, Grand Champion of Orgrimmar, Warrior.
- Runok Wildmane, Grand Champion of Thunder Bluff, Shaman.
- Zul’tore, Grand Champion of the Darkspear, Hunter.
Each Grand Champion will enter with three additional champions. Once the event begins, these three champions will move to the middle, one faction at a time. The group should engage and take down these down.
Once all nine faction champions are down, all three Grand Champions will move to the middle on their mounts. This portion of the fight is also a joust, and players should focus one Champion down at a time. Once a champion has fallen off their mount, they will lay flat on the ground, and occassionally get back to their feet and begin walking back to the mounts along the side of the Coliseum. It is important that players continue to keep these fallen Champions on the ground by “trampling” them - that is, simply riding over them with their mount whenever they rise from the ground. If the Champion reaches a mount, they will have to be taken down again, though from a lower health pool than before.
If a player is knocked off their mount at any time, they may run back and obtain a new mount, but are vulnerable to being trampled and killed.
The Faction Champions: The Fight
Once all three Grand Champions have been defeated in joust, players will be knocked off their mounts. After a moment, all three Champions will engage the players in melee combat. It is vital that all players, immediately on being dismounted, re-equip their main hand weapon. It is highly recommended that all players run out of the instance at this point; this will reset the Champions to the main entrance, but not the entire joust, giving the tank an easier chance at obtaining aggro . Otherwise, the tank must quickly engage and gain threat on all three champions.
Champions should generally be taken down in this priority:
-
Rogue. The rogue poisons players, uses Fan of Knives, and throws poison vials at random members of the raid. These vials break and leave a large green pool of poison on the ground, doing a large amount of damage to players who stand in them.
-
Shaman. The shaman can cast Healing Wave in addition to Lightning Bolt. Because of this, the shaman should be priority except when a rogue is present. If necessary, the shaman can be off-tanked by a DPS that can interrupt his heals.
-
Warrior. The warrior has several abilities that make him a dangerous opponent: Whirlwind, Mortal Strike, and Rolling Throw, in which the warrior will grab a player and knock them back, often out of range of the rest of the group.
-
Mage. The mage will use Fireball, Blast Wave (which does AoE damage combined with a daze), and more importantly, polymorph. Because this places a threat to any healers except resto druids, it may be advantageous to have a player focused on interrupts.
-
Hunter. The hunter is the weakest in the group of champions, but can disengage from the tank, making it harder to hold aggro against her. She is otherwise a small threat whose damage can be healed through easily, and should always be handled last.
When all three champions are bested, a chest will spawn in the middle of the arena with player’s rewards.
The Second Encounter: The Argent Fight
When players are ready, they may begin the second encounter by speaking again to the announcer at the center of the Coliseum. The second boss will be announced as Argent Confessor Paletress or Eadric the Pure.
Before the players are able to engage the second boss, they must face three groups of Argent soldiers. Each group consists of a Priestess, a Lightwielder, and a Monk. The soldiers should be DPS’d in this order:
- The priestess will cast a lightwell, which will randomly heal enemy targets around it until it is destroyed. The lightwell can be DPS’d separately or will disappear upon the priestess’ death. On heroic, the priestess will also attempt to mind control a random party member.
- The lightwielder is a simple melee fighter who can cleave; players should therefore stand behind him if in melee range.
- The monk is also a simple melee fighter, with the ability to pummel, but on heroic, will cast a spell called Final Meditation when he is at 1 hitpoint. This spell will protect him for a few seconds before his death, but more importantly, will slow the attack, casting, and movement speed of all players within 15 yards.
When all three groups are down, the next boss will walk forward and engage the group.
Argent Confessor Paletress
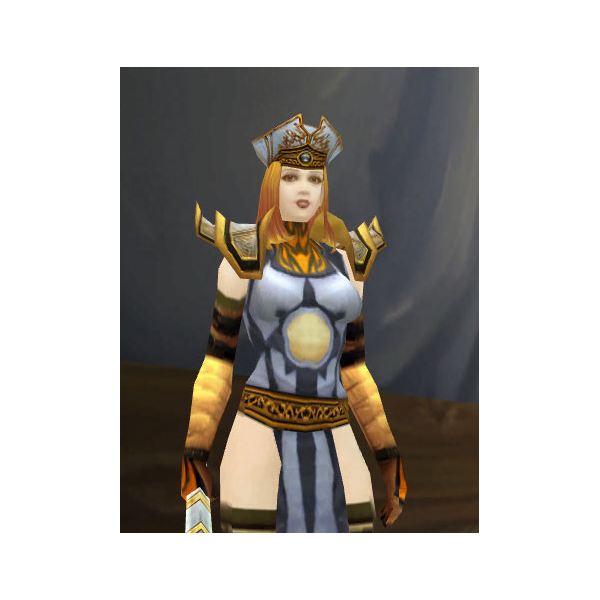
Argent Confessor Paletress is a three phase fight. For this fight, it is useful to have interrupts, purge, and a tremor totem or fear ward.
Phase One
Paletress will engage the group herself. She is capable of casting renew upon herself, and will otherwise cast Holy Fire and Holy Smite on random players of the group. Healers must simply spot heal until phase two, which will trigger when Paletress is at about 20% health.
Phase Two
Paletress knocks all players back, doing a moderate amount of damage to each, and stunning them for a few seconds. She will then force a single player to “Confess,” thereby summoning a Memory of a past boss. All memories have the same abilities: Old Wounds, a melee range DoT ; Shadows of the Past, a direct damage spell that will also reduce attack and casting speed for a few seconds; and Waking Nightmare, which will send all players running in fear for a few seconds.
During this phase, Paletress will have a reflective shield which will prevent all damage to her, and reflect 25% of the damage back to the attacker. She will also cast a renew upon the Memory, which can be dispelled or DPS’d through.
Phase Three
When the Memory has been defeated, Paletress will drop her reflective shield, and resume her Phase One abilities. Players simply need to finish DPSing her. Once she is defeated, Paletress will congratulate the Champions, and a second chest will appear in the center of the Coliseum.
Eadric the Pure
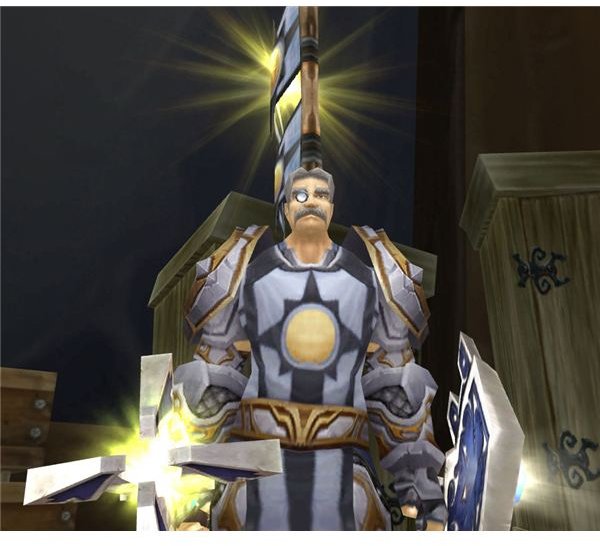
Eadric the Pure is a fairly simple fight, with no special phases for players to consider. Be aware, however, that Eadric will cast Vengeance upon himself, making the tank vulnerable to critical hits even if they are defense capped.
Eadric may simply be tanked where he stands. He has two abilities of note. The first is radiance; a warning will be issued to the group that Eadric is radiating light. Players must simply turn away from Eadric so that their character is not facing him as he radiates; if players do not turn, they will suffer a moderate amount of damage and be disoriented for a few seconds.
The other ability Eadric possesses is his hammer. Every so often, he will stun a player with Hammer of Justice, and then throw a Hammer of the Righteous at that player, doing a large amount of damage. If the Hammer of Justice buff is cleansed from the player, or absorbed by a grounding totem, Eadric will still throw the hammer, but the player will catch it instead. The player is then capable of using the first button on the new bar that will pop up to throw the hammer back at Eadric, doing 15,000 damage to him. If this is done as the last hit to Eadric, players will earn the achievement The Faceroller .
The Black Knight
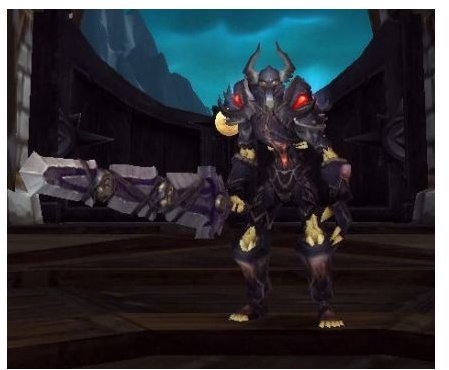
The final fight of Trial of the Champion begins after the players speak again to the announcer in the center. The Black Knight will fly down from the rafters and challenge the players. Of all fights in the instance, the fight against the Black Knight is the hardest and will especially challenge healers.
Phase One
The Black Knight will fight the group first in an undead form, and will also summon a single ghoul. He is a Death Knight , and as such, curing diseases placed on the tank - especially in heroic - becomes a high priority.
During this fight, players must simply fight down the Black Knight while dealing with the ghoul, who will randomly leap and attack party members, and will explode if it gets low on health, or at the end of the first phase. The ghoul can be killed before it explodes, but players are best making sure to stay away from the ghoul when it begins its exploding animation.
The Black Knight will also randomly target a party member and use Death’s Respite, which will stun the player and then send them flying backward, doing a large amount of damage. To keep players from being thrown out of range of the healers (or the healers themselves being thrown out of range), fight the Black Knight closer to the walls of the Coliseum while facing your backs to the wall.
Phase Two
When the Black Knight is taken down the first time, he will rise again as a skeleton and immediately call an Army of the Dead. These ghouls use the same abilities as the ghoul in the first fight, and cannot be reliably tanked. The Black Knight can also call upon these ghouls to explode at any time. Depending on the group composition, players will either want to DPS down the Black Knight immediately and ignore the ghouls, or take down the ghouls quickly to prevent them from exploding and wiping the group. As before, players will want to stay far away from ghouls that are about to explode.
During this phase, the Black Knight will also drop Desecration on the ground under random players. This does a small amount of damage each tick and also slows players severely, and players should move quickly out of the affected areas.
Phase Three
The Black Knight will turn into a ghost this time, and players must work on burning through this phase of the fight. His Death Knight abilities will be lost, but be replaced by two powerful abilities.
The first, Death’s Bite, is a stacking party-wide debuff that inflicts damage and increases magic damage taken by 5% for each stack - powerful because the Black Knight will now be doing a large amount of magic damage.
The second, Marked for Death, is a random debuff to a single player which increases the magical damage they take by 200% for 10 seconds. This, combined with Death’s Bite and the Black Knight’s attacks, can quickly kill any player, even in normal mode.