King Foltest’s battle continues into the night as Geralt helps him take each section of the castle and stamp out the last of the resistance. There’s also a dragon that will probably be the bane of your existence. If you need help avoiding the dragon or finding the monastery entrance, read more…
Trial by Fire
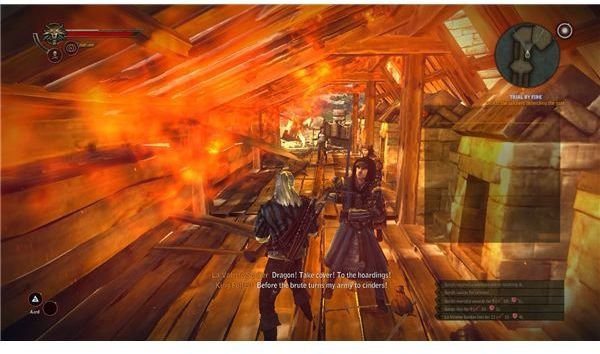
This is a quick one. After you make it to the gate, you’ll be attacked by the dragon. Note that the Dragon is very tough, and if you get caught in his fire breath, you will die, or die shortly after from the burns. The only good news is that there is an autosave from right before it starts.
Advance and run into the hoarding on the left (unless you’re very good at 1 vs. 3 combat, then you can try the right). Move along fairly quickly, since the roof will fail over time. The three men inside aren’t too tough if you stick close to the group, but there isn’t much room to move around . Fall back if you’re surrounded and try to take out the weak ones first. Do not worry about protecting Foltest, I don’t believe that he can actually die. If you’re having trouble with the fighting, just let them handle it and watch to make sure that you still have a roof aove.
You can usually make it with a little luck if you run out with the group, but you’ll probably still get set on fire. If you don’t have more than half of your health, you won’t make it. Quen should make it much easier to run past. Cast it before you go, and consider meditating and drinking a Swallow potion. Cast it before you go and look to the left to make sure that the dragon is sitting there waiting for you. Move quickly and just try to get into the second hoarding.
Engage the next group, just like before, and move toward the gate. If you’re wounded, just hang back in the corner of the stone gate and wait to regen while Triss and Foltest kill everyone. Otherwise, watch your back and stick to the edges. Keep Quen up and wear away at them. If you stick close to the wall, then the dragon shouldn’t be able to get you.
When they’re dead, you’ll advance. Once the cutscene ends, just run forward past the falling debris and get across the burning bridge to the Monastery.
Woe to the Vanquished
For this segment, it seems like we have a bit of freedom. We need to find the secret passage into the Monastery, so go ahead and walk down the path. Don’t go toward the group of captured people, instead stick to the left. You’ll soon watch a soldier kill a woman. This will start up Woe to the Vanquished, which is your minor side quest while you search for the secret entrance.
If you want, you can go inside the house and use any of your three signs to scare them into leaving the people alone. If you do this, you can ask the survivors for money. It’s really all up to you.
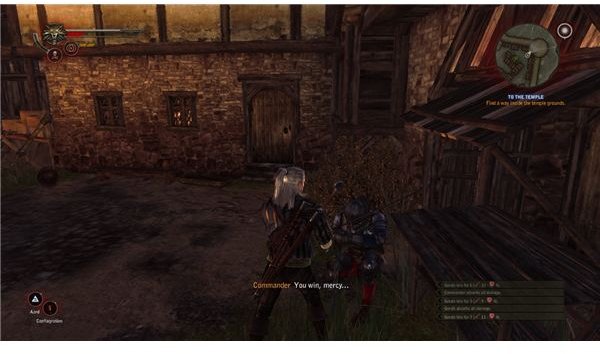
Keep moving and you’ll come across another group of soldiers preparing to set fire to a blockcaded door. You can choose to challenge the commander to a duel to stop them. Just watch for his attack and then parry it to let you get in a few good swings. You only need to get him down by about two-thirds to make him surrender and walk away. Walk up to the house along the path with all of the broken tables in front of it, and then open the door to free the people and finish the quest. Again you, can ask for money if you wish.
Finding the Secret Passage to the Monastery
The main quest requires you to go a bit further down the path, to a spot where a few soldiers are attacking some remaining knights. Join in with your usual tactics. Take out the men at the edges and turn the battle in your favor. Approach the back alley to trigger a new blockade. With the wagon blocking your path, you just know that something good must be there. Thankfully, this area of the town is fairly well connected. It’s time to check for a back entrance.
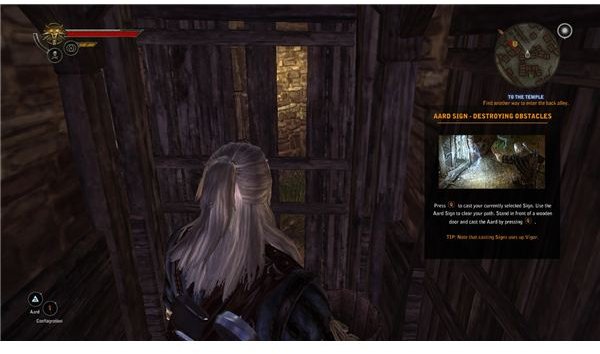
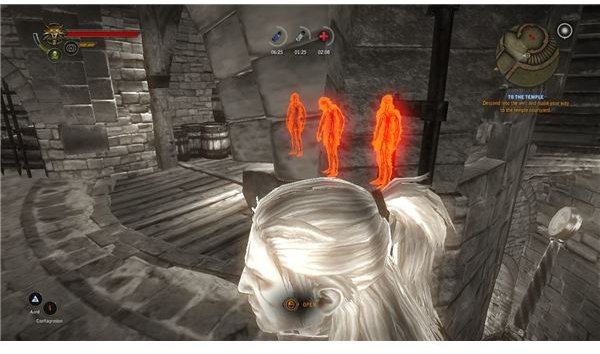
Walk all the back to the Monastery, and take the other path past the group of prisoners. There’s a very weak door here, which will be highlighted. You can use an Aard sign to knock it down and give you access to the blocked courtyard. Go in and kill the three remaining soldiers, then go down the well to the secret passage to the Monastery.
Taking the Monastery
As the game suggests, it’s a good idea to drink a Cat p
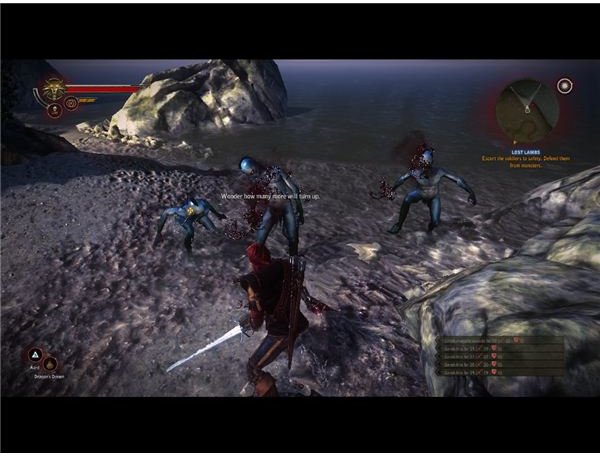
otion now. Go ahead and mediate, then drink it. It’s also not a bad idea to take a Swallow potion too. There will be a lot of fighting ahead. Move forward and switch to the silver sword. There are some drowners down here, and the steel sword won’t work well against them.
For the most part they just come one at a time. Just use the usual hit and run tactics to smack them around and kill them. The passage isn’t that interesting. There are some side alcoves with weak walls that can be knocked down with Aard signs, and you’ll need to do this to clear the path. Other than that though, just follow the map out to the ladder. Go ahead and go back to your steel sword too. There are only humans ahead.
Move up and note the S’coiatel on the shore. There’s nothing we can do about them now though. Just keep moving up and around until you wind up with a few soldiers. You should have no trouble with them. Keep going until you get to the blocked off entrance to the main room. You’ll need to climb over the wall and go around on the outside path through the cemetary. This will take you up to the main entrance.
There are a few door guards, so just take care of them as you did before, then open any of the doors and proceed to the main courtyard for the big brawl.
This is the time to really look in your inventory. If you’ve been following my guide, then you haven’t dipped into your trap stashes. Move a few of the bombs into your pockets. You should have five of the shocking bombs, which will make the battle a whole lot easier.
Move through the gatehouse (you need a key to unlock the gate, and we’ll get that in a second) and then walk into the courtyard. It’s time to start fighting. There are a few options for this one. The Axii symbol will actually work well here. If you hold it for a few seconds, you can brainwash someone into fighting for you for a time. That will do wonders for splitting up the groups. Aard is good for nocking back the heavy knights, and Quen will make you survive much better.
The key is to start thinning the field though. Use a few bombs when the cluster appraoches. the damage isn’t bad and the stunning effect is great. Leap around and start picking off the weak men. Once they’re dead, you can start using Aard to stagger shield users and then take them out with a quick slash/strong hit combo. Once it’s down to the knights, just parry their hit and then hit them while they’re stunned. Make sure that you loot the remains though. The biggest guy is the gate guard, and he has the key to the gatehouse. Grab this, go back inside and then use it on the locked cage to let you open the gate.
Walk back out to meet back up with Foltest and his guards, and continue the game.
References
All screenshots from The Witcher 2
All information based on a “normal” difficutly playthrough. Due to the branching nature of the game, it’s likely that I may have missed something. Please feel free to address any ommissions below in the comments.
This post is part of the series: The Witcher 2 Walkthrough - Prologue
Our mission for the prologue is fairly simple. We need to take the castle walls, support king Foltest and make it through the assault without dying. If you need help with the attack, avoiding the dragon, finding the hidden passage or ultimately escaping the dungeon, then just look here.