In this section of the FF8 Walkthrough we take you through the SeeD Exam on disk one, and tell you how to get the best possible SeeD score. Higher SeeD level means more daily Gil, so pay attention!
Meet the Team
After you’ve changed in your uniform and exited the dorm you’ll experience a cut-scene in the Balamb Garden Atrium. Quistis will introduce you to our squad mates - the characters that will be accompanying you on the SeeD exam. First, you meet Zell, who makes quite an impression with his wild martial arts and distinguishing facial tattoo. Squall isn’t too stoked about the decision, but soon forgets his irritation when a bigger problem is presented - Seifer is the Squad Leader.
After a briefing by Headmaster Cid, Squad B heads off to the Parking Lot, hops in a car, and drives off.
Going to Town
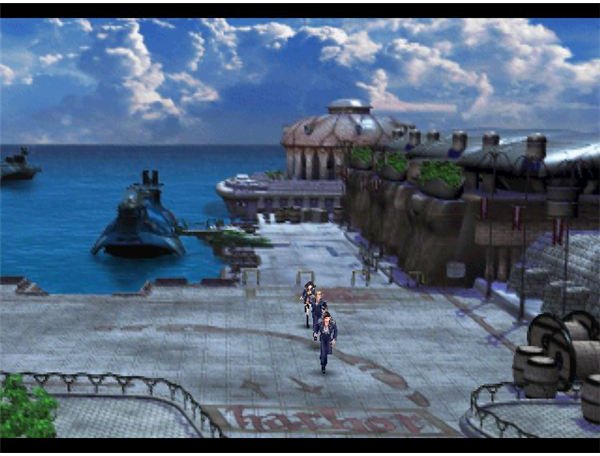
This is the point that you regain control over the characters. You’re also going to have to learn how to drive a car. Only you know how your buttons are configured, but suffice to say you’re going to have to use directions along with a “gas” button. Follow the stone path “left” towards the town. Once you reach to town your car will “auto-park” itself at the docks and the team will hop out. Everyone will be urging you to hurry up, but nothing bad will happen if you take your sweet time - which is exactly what we’re going to do.
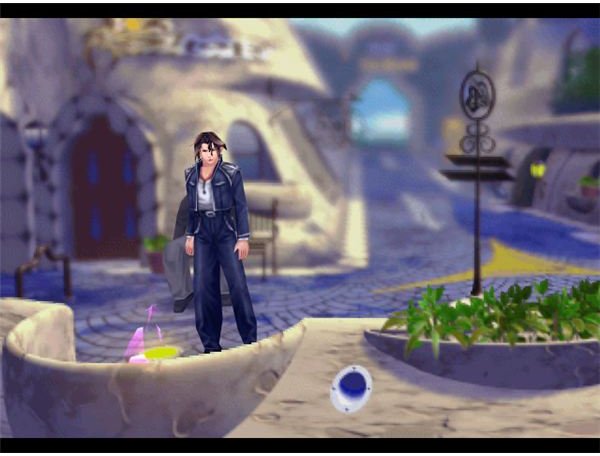
Head into town. Here you’ll encounter a guy sitting on a bench watching a draw point. Draw Thunder. Near the train area you’ll find a little shop where you can sell your Occult Fan 1 for 17,500 Gil, and buy anything else you think you might need.
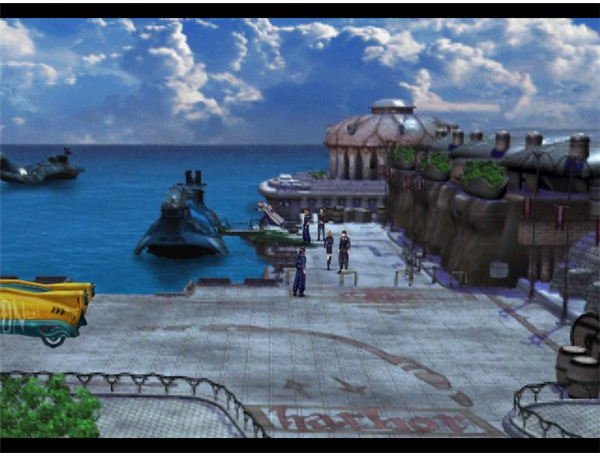
Now head back to the docks and board the “vessel”.
Mission Plans
Once aboard the vessel Xu will give you the rundown of the mission - not that you need to pay much attention because, admittedly, the game is incredibly scripted. You also have the option to talk to your teammates, or you can choose to “do nothing”. Eventually Seifer will order you to go outside and check on things. You might as well obey, because if you want to continue the game you’re going outside one way or another.
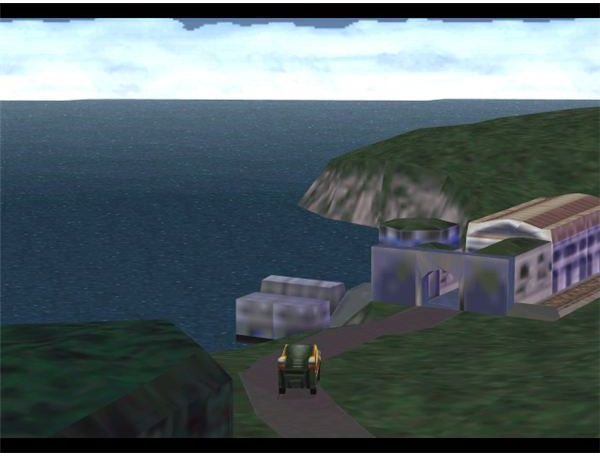
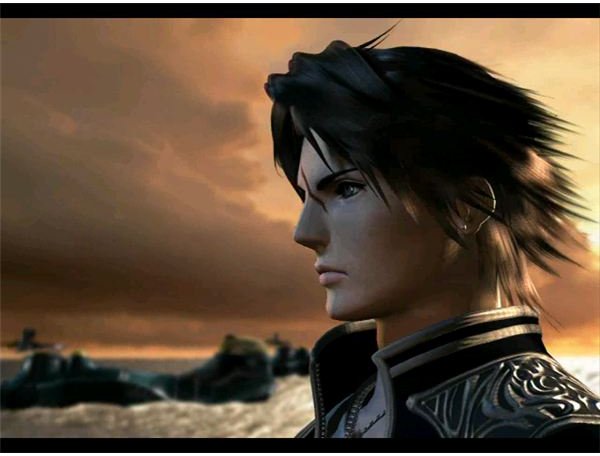
The reward for taking Seifer’s “orders” is a breathtaking cinematic showing the approach of the SeeD forces to the target beach.
Following Orders - Or Not
Once at the beach, make sure your team is junctioned properly. If you want, you can ignore junctioning Seifer since he is only in your party for a short time. Note that he also uses a gunblade, and therefore can be “triggered” to do extra damage. Head up the stairs and hit the save point on the left side. To get maximum points for SeeD ranking, do not allow Seifer to get any kills (deal the killing attack).
You’ll encounter two Galbadia Soldiers here. You can draw Fire, Thunder, Blizzard, and Cure from them. Take this time to top of your magic stores. The soldiers will die in 2-3 hits. Head down the ally where you’ll encounter two more soldiers. Head futher into the city, to the central square. There is one Soldier here, and Seifer sends you to scope out the rest of the surrounding area. There will be one more Soldier hiding by a car that you need to defeat. Keep talking to Seifer until the dog howls. At this point all characters will duck behind a wall as a string of Galbadia Soldiers sneak by.
Seifer gets it in his head to follow them, largely out of boredom, and for some reason Squall agrees. Zell puts up a little resistance but in the end your Squad follows the soldiers up the hill to the communication tower.
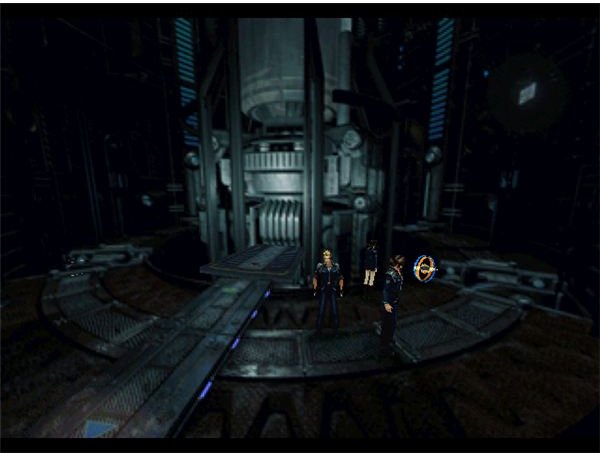
The Mystery Tower
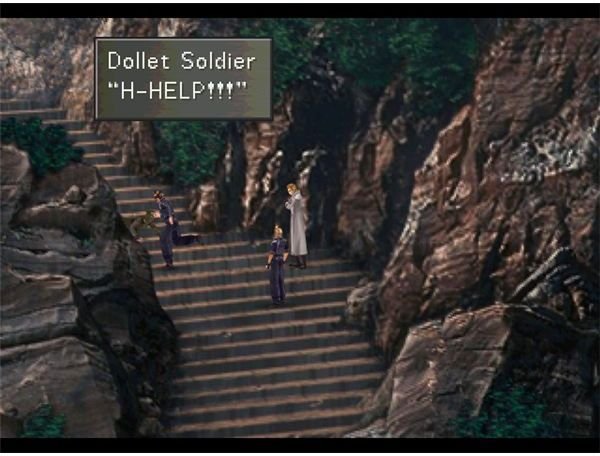
As your party heads towards what you find out is the Communication Tower, you’ll start to encounter wounded soldiers. Talking to them is pointless, and believed to ultimately deduct from your SeeD score. When you reach a set of stairs, one of the wounded will tell you that the area is full of monsters - right as he is dragged off by one.
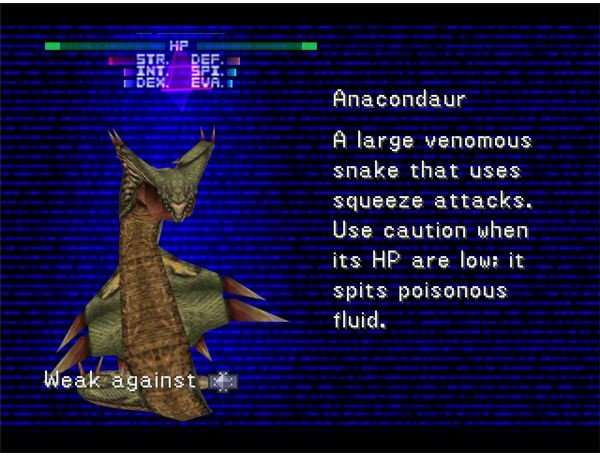
This throws you into battle with the Anacondaur, a snake that uses a Squeeze attack as its main damage. It is weak versus ice magic, but it has a lot of health. I think of this as something of a mini-boss fight, because it takes much longer to kill than a normal monster. You can draw Fire and Cure from Anacondaur.
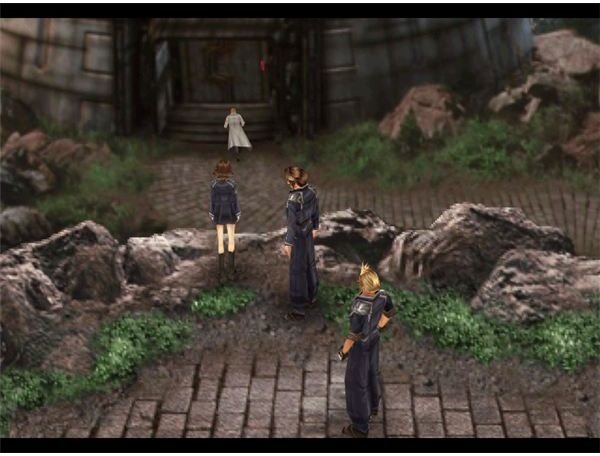
After battling Anacondaur, make sure to top off Squall and Zell’s health - don’t worry about Seifer. Your party will eventually reach to top of the mountain, where they will observe some repairs being done to the tower, from a overlooking cliffside. Seifer dives straight in, just missing the arrival of Selphie to the scene.
Selphie comes tumbling down the cliffside, apparently looking for Seifer. She leaps off the cliff, running after him. Although tempting, don’t have Squall jump off the cliff as well, as this will deduct from your SeeD score. Instead, walk around the side, down the hill.
At this point Selphie joins your party, and Seifer is gone completely. Any magic he had is automatically given to her, but you’re going to have to set up her junctions.
In our next article we’ll walk you through the several upcoming “boss battles”, ultimately leading to the end of the SeeD exam.
This post is part of the series: Final Fantasy VIII Walkthroughs
A collection of walkthroughs to help guide you through the challenges of Final Fantasy VIII.
- Final Fantasy VIII Walkthrough - Balamb Garden Training Center
- Final Fantasy VIII Walkthrough - SeeD Inauguration
- Final Fantasy VIII Walkthrough - SeeD Exam Boss Battles
- Final Fantasy VIII Walkthrough - The SeeD Exam
- Final Fantasy VIII Walkthrough - Ifrit and the Fire Cavern
- Final Fantasy VIII Walkthrough - Introduction to Final Fantasy 8 and Balamb Garden