The second tier of the Wasteland Survival Guide quest will present a few unique challenges for players. You’ll have to break a limb, slaughter some mole rats, and then sneak past some mirelurks to get all the bonuses and complete all of Moira’s requests. If you need help, then check the guide.
Hurt Yourself
Moira’s expecting some serious injuries so that she can work on basic first aid. You need to at least get your health below 50% to accomplish this mission. You gain the bonus for also having a crippled limb.
If you are a lucky enough to have a lot of skill in Medicine, then you might be able to just tell her exactly what it would be like. This counts as a full success for the mission. If it pops up as an option, then use it. This is a pretty boring mission.
There are a few ways to cripple yourself. First, you may already qualify. If you are following my guide, then you should have done Minefield last. Unless you are much better at disabling mines than I am, you probably had one blow up under you and shred your leg. If this happened, then congratulations. You got the hardest part done with. Now you just have to finish the job. There are 2 basic ways. Before you try either, form a hard save and do quick saves before each attempt. This can obviously go wrong quickly.
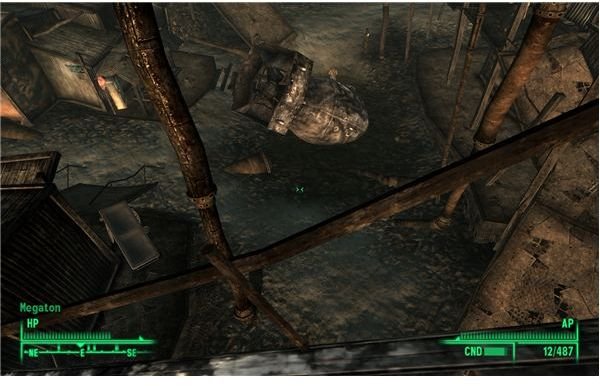
The first is simply jumping off of a place in Megaton. I found the ramp leading away from Moira’s store to be adequate. I took a picture of a suitable jumping off point. Just go over the rail and fall to the ground. This should just about break your leg and take away 1/2-3/4 of your health. If you die, save and go a bit further down the ramp and try again. If it didn’t completely break your leg, pop a few stimpaks and try again.
You can also play with explosives. Just go to a quiet corner of Megaton or a spot outside the city. You can then save and throw a grenade at your feet. Stand there and hope it does enough damage. Rinse and repeat. You can also lay one of the many mines you should have from Minefield at your feet. One or two should be enough for lower level characters. Then stand as close as you can and shoot them.
You should be able to injury yourself quickly by this method. Just limp back to Moira and report. You can make a report using Endurance, Intelligence, Charisma, or stick to snide. She’ll give you some Med-X and an environmental suit as a reward.
Whack Some Mole Rats
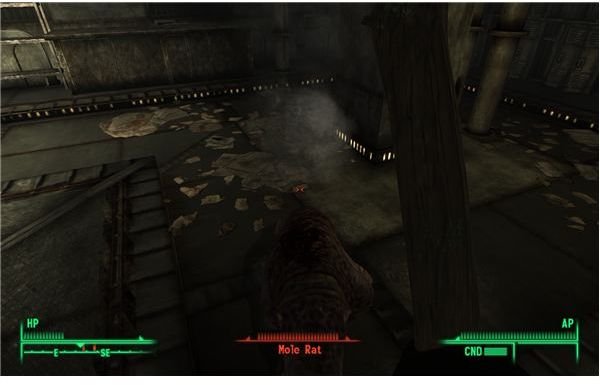
This one is actually pretty simple. You need to hit 10 mole rats with the repellent stick. It’s that easy. Technically you need to hit them twice. The first covers them in the chemicals and makes them smoke. The second shot kills them. You can kill 10 wherever you want. You could just wander around the map, go into sewers, or even a number of old buildings. She’ll mark the Tepid Sewers for you. You can just go out there to find plenty of mole rats. Just work through the small tunnel system and then kill the few raiders in the middle section. You’ll find a bunch more mole rats just a bit past them.
That’s really it actually. Once you take out the 10th mole rat you’re free to go. The game will give you a quest complete notification to let you know once you meet the quota. Report back to Moira and tell her about her stick’s “odd” qualities. You can use Endurance, Intelligence, Charisma, or stick to snide for your answer. She’ll give you some jet and psycho as your reward, and she’ll let you keep the repellent stick.
Sneaking Past the Mirelurks
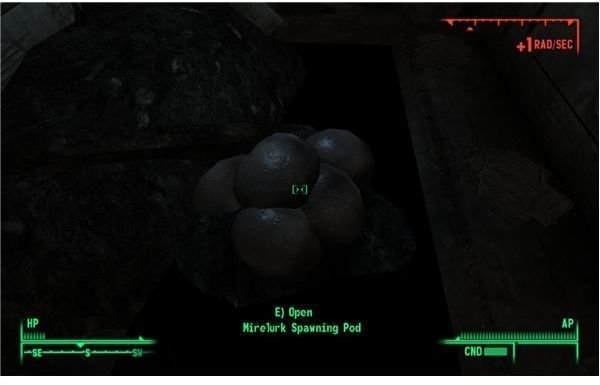
Okay, this one is a bit tricky. You’ll have to travel to the Anchorage Memorial and due a bit a work. You need to slip a special observer into a patch of mirelurk eggs so that Moira can study them. The optional objective demands that you not kill any of them though.
Now, you could be a real stealth champion and sneak through the main doors. That’s kinda pointless and stupid though.
There are two ways to “stealthily” enter. You can just go through the big service entry doors on the bottom of the memorial. You can easily get to it from the tepid sewers. This service entrance can be lockpicked with just 25 points in Lockpick, so it shouldn’t be a problem for anyone. There are usually a few Mirelurks in this small area, but you can outrun them for now. Put away your weapon and run as quickly as you can straight past them. The egg clutch is right ahead. Activate it and put in the observer. Run back out and heal any injuries. They shouldn’t do too much damage.
You can also go in through an underwater entrance and find a spot that’s unguarded, but I thought that was a bit of an unnecessary task.
You could also just kill everything inside before you ever start the quest. They don’t start counting until you start the quest with Moira. If you bring a companion, then you could also hang back and let them kill everything. They aren’t the ones being monitored.
Whatever you choose to do, just get the observer in and run out. Report back in to Moira to officially finish up the quest. You can use Intelligence, Strength, or Charisma to answer. Snide works too. You’ll be rewarded with some stealth boys and a special “Shady Hat” that boosts Perception and Sneak.
The Dream Crusher
I might as well mention this now. There is a separate end to this quest. If at any point you talk to Moira about her reasoning behind the research, you can convince her that she doesn’t know what she is doing and that she should really just stop. Before the Mirelurk quest, you can use a speech check. It apparently gets a bit easier after this point though.
If you talk her out of it, then you gain the Dream Crusher perk and the attached achievement along with all the experience you would have gained if you had completed all the remaining quests. The Dream Crusher perk gives a -50% to your enemies’ chance of scoring a critical hit. Moira will also give you a 30% discount. Since she can focus on her work, she’ll get a boost to her repair skill. At 75 points in Repair, she’ll be one of the best mechanics in the wasteland.
That said, you will be giving up some pretty good quests and a better perk at the end. If you just want the achievement, then save before you crush her dream. Let the game record Moira’s failure and go back to your earlier save.
This post is part of the series: Fallout 3 Walkthrough - Wasteland Survival Guide
The Wasteland Survival Guide is a long quest consisting of 9 separate missions for Moira. This quest is one that will last for a good portion of the game and encourage new exploration in the wasteland. If you want help meeting Moira’s challenges and getting the best rewards, then look here.