This second half of the main quest in Fallout 3: Point Lookout will put you right in the middle of the duel between Professor Calvert and Desmond. This guide will give you a full walkthrough for Hearing Voices, Thought Control, and A Meeting of the Minds.
Hearing Voices
This part of the quest is actually quite short. After you talk to Desmond, he’ll give you the official order to spy on the Tribals at the place of worship.
Getting there shouldn’t be too hard. If you already have gone to the Coastal Grotto for Plik’s Safari, then you can just fast travel there and take a short walk along the coast. You can also start at the Cathedral and drop down along the cliffs to reach the spot on the coast. Either way, just get there and use Nadine’s key to open the hatch on the tugboat.
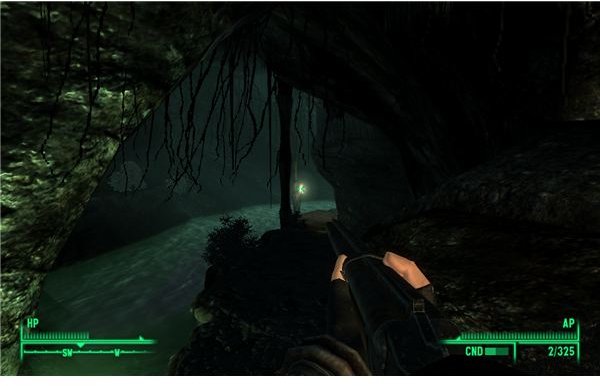
The cave has a few mirelurk up ahead. It shouldn’t be anything new for you. Just shoot them in the face before they come up to the ledge. You don’t need to go into the water. Just follow the black ledge as it narrows and goes through the cave. After a short walk, you should come to a bit of a shrine with Jackson talking to some idol. Go up and listen for a moment. Talk to Jackson to learn that he’s happy you came and that you should feel free to talk to their God. It seems that it’s just an old enemy of Desmond who’s having trouble getting good help. After your brief conversation, you’re free to go. You can follow Jackson and use the escape ladder to come out by the well at the Cathedral. You might want to backtrack though, since the feral ghoul reavers are usually watching the well. Be ready for a fight if you come out there.
Go back to Desmond to explain the situation. He’s got a new plan.
Thought Control
This quest is also pretty short. You need to go over to the ferris wheel at the boardwalk and put in the special cogwave jammer to put a stop to Calvert’s broadcasts. You should be able to see it from anywhere nearby. Approach the ferris wheel to hear from Calvert and get your choices.
Calvert
Just put the cogwave jammer into the trash compactor. Calvert will be pleased and tell you to go back to Desmond for a bit of a show. As you approach, Calvert Mansion will all explode in a giant fireball. He’ll ask you to come see him and officially start the quest “A Meeting of the Minds.”
Desmond
If you choose to disobey Calvert, you should be ready for one heck of a fight. Save first, then put the cogwave jammer on the ferris wheel car. Flip the nearby switch and it should go up to the top and kill Calvert’s transmission. Unfortunately, about 7 tribals will take great offense to your heresy.
One should rush up for a melee attack. Fall back to the back of the platform and shot her as she leaves the others’ cover. Then
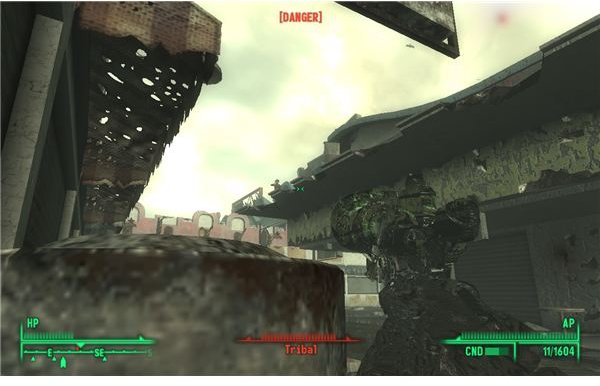
edge out and watch the left side. There should be a tribal with a rifle on the top of the building. Shoot him and at least knock him back enough to no longer be a threat. Shoot the two tribals below you on the ramp and move out to the bottom of the ferris wheel. Stick close to the left side of the building and save again. There are 2 snipers here. One on each side of the boardwalk shops. The one on the left should be close, while the one of the right is near the end. They are both accurate so move quickly and be careful. Wait until a melee attacker runs out and rushes toward you. Fall back to cover and kill the tribal when he rounds the corner. Pick off the snipers or just run past them.
Go back to Desmond to see the mansion explode. Go to the marked panic room to find an angry Desmond and get your next objective. It’s time to get Calvert.
*Note - All tribals are now hostile to you. The named ones will probably attack when they see the unnamed ones attack you. Be ready for a fight if you go to the Cathedral.
A Meeting of the Minds
This quest is basically the same regardless of your earlier choice. If you sided with Desmond, then just follow him into the secret lighthouse base. If you sided with Calvert, you’ll find Desmond there at the entrance. You can just kill him now, or make amends and follow him. If you kill him, make sure you get his security card.
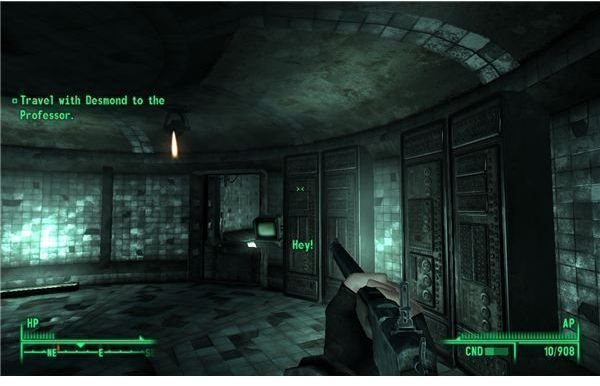
The actual fighting for this part is very simple. It’s just one long series of corridors. It would again be absurd to just write “go forward and kill the robots” 6 times. The basic idea is that you just need to keep moving forward and kill the robots and turrets that line the halls. You won’t actually find that many though. You can also hack computers to turn off turrets, but it’s usually easier to just destroy them. You can find more security cards in the hallway if Desmond is slow at opening the doors. If he’s already dead, then just use his card and open them as you go. He will be marked as an essential character if you side with him, so don’t be afraid to let him do a lot of fighting.
After about 4 sets of hallways, you’ll see Calvert’s main room. It’s time to make a final choice. The end fight plays out the same no matter what you do though.
Calvert
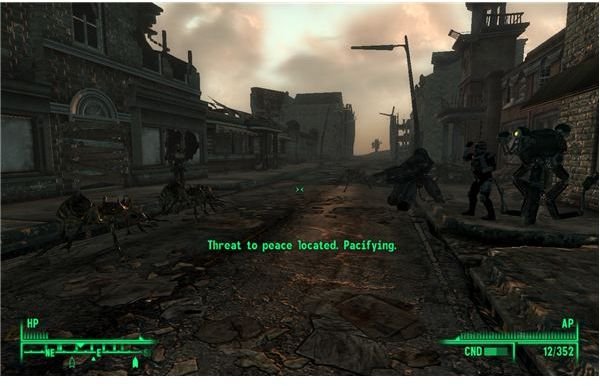
You can talk to Calvert and tell him that you’re killing Desmond. Then just shoot him a few times. If Desmond is already dead then Calvert will congratulate you. He will then betray you. A number of the protectrons will turn on and attack you. Just shoot the ones that get too close. You should focus on killing Calvert though. Just use the pillars for cover and keep shooting Calvert’s tank. After about 10 or 20 solid shoots, it should break. His death deactivates all of the machines and ends the quest.
Desmond
Siding with Desmond doesn’t really change much. The only benefit is that he should serve as a distraction for the protectrons that activate when you first shoot Professor Calvert. Just keep firing and take him out. The tank will break after about 10-20 shoots. Desmond thanks you for your help and gives you the key to the supply room.
Aftermath
The only real bonus from the quest is getting the supply room equipment. Just go a bit to the left and look for the room on this level. Desmond should be nearby if he’s still alive. If you sided with Calvert, then the door should be open and ready for pillaging. Desmond’s key will open it if you sided with him. Just go inside and grab the microwave emitter off of the desk. Also grab the mesmetron ammo off of the desk. Then go up the ladder for a quick escape route.
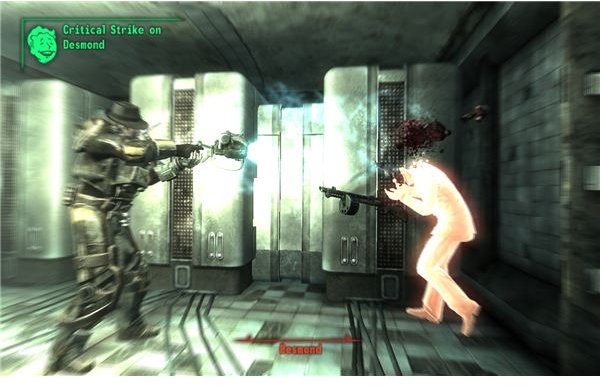
If you want, you can blow Desmond away now for his cool sunglasses. It has no effect on anything at this point, but It’s also pretty satisfying to test out the Microwave Emitter on him.
I also suggest that you get all the punga fruit that you want from the Cathedral.
Other than that, you’re pretty much done. Enjoy the rest of the quests in the area.
This post is part of the series: Fallout 3: Point Lookout - Complete Guide
Fallout 3: Point Lookout is the 4th installment of DLC for Fallout 3. This guide will give you walkthroughs for the main quests and side quests. This includes dealing with Desmond and Calvert, Working for Blackhall, and beating Plik’s Safari. If you need any help with Point Lookout, look here.
- Fallout 3: Point Lookout Guide - Table of Contents
- Fallout 3: Point Lookout - Main Quest Guide - Taking in the Local Flavor
- Fallout 3: Point Lookout - Main Quest - Desmond vs. Calvert
- Fallout 3: Point Lookout - Side Quest Guide - Plik’s Safari and Blackhall’s Quest
- Fallout 3: Point Lookout: Side Quest Walkthroughs - Collecting Dirt, Making Moonshine, and Blowing Up a Sub