Fallout 3: Operation Anchorage ends with the final assault and a climatic dual against General Jingwei. This guide covers all the tips and tricks you’ll need to get through the trenches and into the heart of the Chinese base. I’ll also cover the last bit of business at the outpost.
Operation: Anchorage - The Trenches
This is the final mission. You need to take out the Pulse Field and lead the charge into the refinery to end the battle and retake Anchorage. It’s just you and Montgomery for a bit, so you’re pretty much ready now. Grab some ammo from the quartermaster’s tent and head out. You might want to switch to the shotgun, since you’ll mainly be fighting in the trenches.
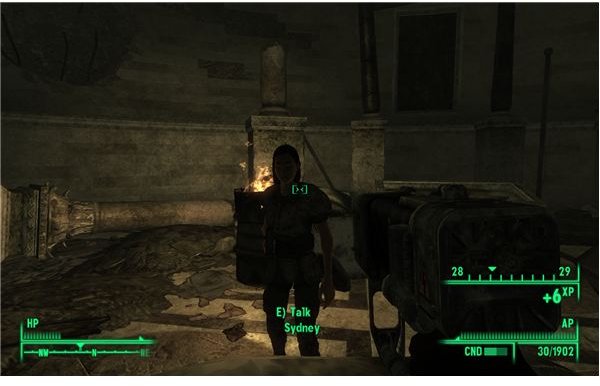
Go straight forward and keep an eye out for the rocket fire. You shouldn’t cross the firing lines often on your path, but getting too close to an impact zone is still dangerous. Rush forward and get into the first trench. Move down the American side and exit. Prep your weapons and enter the next trench. Rush forward and help the American soldier with the Chinese soldier. Then just keep moving. Blast through the few soldiers and detour into the little shed with the health dispenser and the captured American. Free him and grab the intel briefcase.
Step back out and move further into the trenches. The rest is just a serious of simple fights. Watch the corners for inferno units preparing an ambush and keep an eye for soldiers waiting above you. You’ll have some Americans helping too, so you aren’t alone. The big marker is the bunker at the fork in the path. Rush forward to avoid the turrets. Montgomery will usually take them out while you are taking care of the soldiers and spider drones. Break off to the right and kill the inferno unit lying in ambush. Then kill the other two soldiers and the inferno man above you. Use this alcove to heal and generate more ammo. Backtrack out and go down the other branch.
Keep shooting more soldiers and turn to the right. Follow the long tunnel to the little pocket with a Chinese launcher and soldier running out of the trench to ambush another group of Americans. Take them out and exit the trenches.
Operation: Anchorage - The Pulse Field
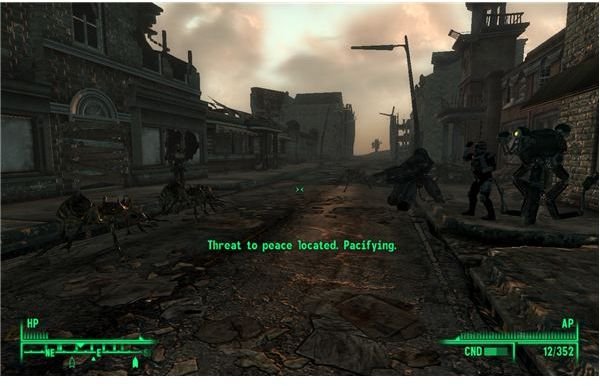
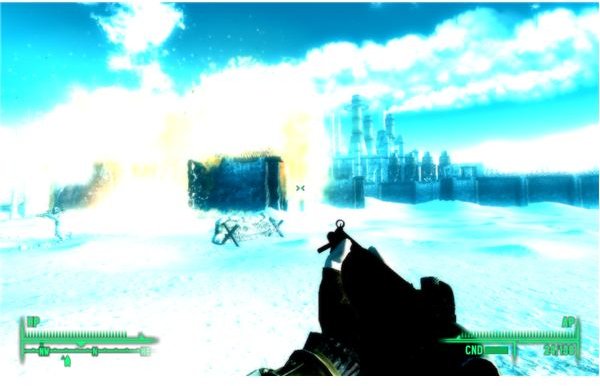
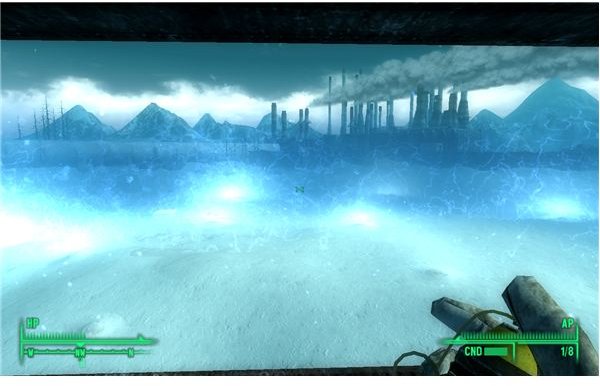
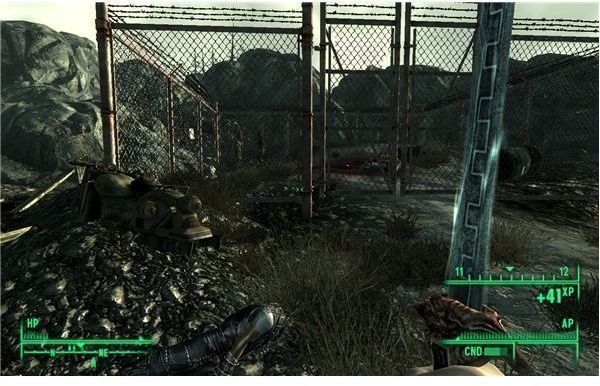
Go into the ruins and watch for the soldiers around you. There should be about two in each building. Try to conserve your ammo for this part. There isn’t a convenient dispenser nearby, and you’ll need a lot of firepower for the last fight. Once you get through the first few buildings, you should see a vertibird drop off four power armor soldiers. The battle is basically over at this point. They’ll clear a huge path as you work around to them. Just follow the group out to the pulse field. The unlucky soldier gets fried by it, so you are their only real option. Clear out this last bunker and head over to the marked tower. Go inside, grab the last intel briefcase, and then flip the switch. Watch the field drop and then follow the soldiers to the refinery. Run up to them to trigger the firing of their Fat Man launchers. Go through the destroyed gates and save before you enter the refinery.
The final fight is now. The Chinese and American forces are both friendly for this part of the fight. Try to keep it that way by watching your fire. Your only enemy is General Jingwei. He is one of the toughest enemies in the game. He has a ton of health, he’s fast, and his sword is powerful. However, if you can pass the speech check, you won’t have to fight him at all. The check will end with him committing suicide to avoid capture. If you fail, then you’ll have to run around shooting him with your best weapons. Just try to shoot the sword out of his hand and then hit him with all you got. If you have the gauss rifle, then use it to finish the fight quickly.
Either way, the mission ends when he dies. General Chase ends the simulation and grants the Covert Ops perk to you for gathering all 10 briefcases. Exit the simulation and walk out to the locked armory.
The Aftermath
Use the terminal to open the armory. Go inside and quickly grab the Winterized Power Armor, Jingwei’s sword, the Chinese Stealth Armor, and the gauss rifle. The reason for this will be apparent in a minute. If you look outside, you’ll see that Defender Sibley is still angry that you are getting a share of the loot. Protector McGraw demands that he leave, and Sibley rebels with three of his followers.
Now, the only real danger is that Olin is in the armory when this happens. She’ll usually grab a weapon to defend herself. You do not want her to grab your power armor and your gauss rifle. She should just grab a common flamer or other bland weapon if you get the good stuff before the fight starts.
You should also just stay out of sight. There is no real reward for saving either of them. McGraw just thanks you and Olin offers her repair skills, which aren’t any better than the basic scribes at the Citadel. Save them if you want. Sibley and the three Outcasts aren’t too tough. If you have a half-decent weapon, then they should die quickly. It’s easier to just wait it out and clean up the stragglers if you have to do so.
Other than that, just make sure you get all of the stuff you want and then leave. Your mission is done and you should have a whole lot of unique loot to play around with in the wasteland.
Quick Rundown
The Chinese Stealth Armor will be invaluable to any player that utilizes stealth. It’s basically just a constant stealth boy when you’re wearing it. It will make a lot of things easier, especially for a non-stealth player. The Chinese Stealth Armor is powerful enough to make any character a half-decent sneaker. This is pretty convenient for some of the areas in the game where stealth is rewarded. It should also open up some options for pickpocketing.
The Scoped Gauss Rifle is also somewhat useful. It’s the only real option for a sniper character in the later stages of the game. Just take a minute to get used to the aiming, since it’s a little tricky. The shots don’t always go where you’d think they should. Some people have reported issues when using the Gauss Rifle in VATS, so you might want to rely on your own skill with the scope.
The Winterized Tb-51 Power Armor is alright. It’s a decent set of power armor and it’s one that you can get fairly early in the game. It’s about on pair with what you’d get from the Brotherhood of Steel or the Enclave. There is one unique problem though. This tends to trigger a mission complete for the “You Gotta Shoot’em in the Head” quest. It seems that the game counts the Winterized Tb-51 Power Armor as the same as the normal Tb-51 Power Armor that you’d find through the quest. Just keep this in mind, since you’ll have to find the armor yourself if you want it.
Jingwei’s Shock Sword is also pretty useful. It has a nice shock effect that is well suited to hit and run fighting. Even non-melee characters will find it to be pretty useful. It’s at least worth carrying around.
The Trench Knife is also here if you just want it for your collection.
This is pretty much it though. Have fun using your new weapons in the wasteland.
This post is part of the series: Fallout 3: Operation Anchorage Walkthrough
Operation: Anchorage is an add-on for Fallout 3. This add-on will require a lot of fighting. You’ll need to blow up some artillery, take out Chinese bases, and then lead a final charge. If you are having trouble with any part of Operation Anchorage, then just look at this guide.