Researching the Wasteland Survival Guide is one of the longest quests in Fallout 3. Moira’s 9 quests will force you to travel the capital wasteland and seek out information of all types. If you are having trouble with the first 3 missions, then check this out.
Overview
This quest is one that will probably be in the background for most of the game. You can do the quests in any order, but I think my suggested order is the best.
The big reward is a special perk at the end. With each quest’s end, you can give a special report that determines what your end result will be and what style the guide will be. If you have SPECIAL skills at 7 or higher, then you can use those to give special answers.
The ultimate rewards for them are as follows. If you use your intelligence or perception to answer most of the questions, then you’ll be given a boost to your Science and Medicine skills. This is pretty worthless, since you can upgrade those easily inside the game. If you use Agility and Charisma to answer them, then you will end up with a boost to Speech and Sneak. Also fairly useless. If you use your Strength or Endurance to answer, then you will receive a nice boost to Damage Resistance. If you give sarcastic answers, which should always be the one on the bottom, then you get an increase to your chance for critical hits. Both of these are quite useful.
Note* - This quest doesn’t end if you destroy Megaton. If you already started it, then Moira will be waiting outside of Megaton as a ghoul. She’ll go to Underworld if you suggest it, or eventually wander to Rivet City. The quest will continue as usual.
The Super-Duper Mart
This one is the one I suggest you start with. You’ll get some really nice equipment but won’t really have to do to much to get it. You need to go into the Super Duper Mart to look for food and medicine. Pretty simple, right?
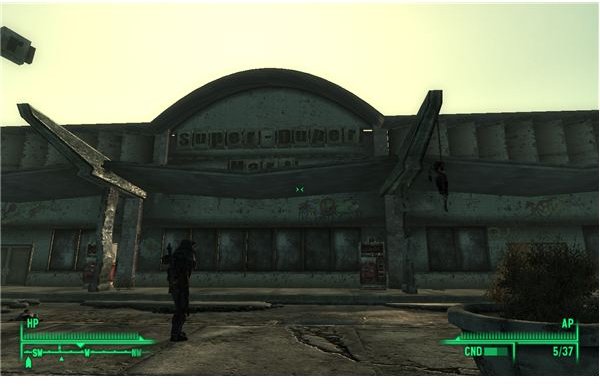
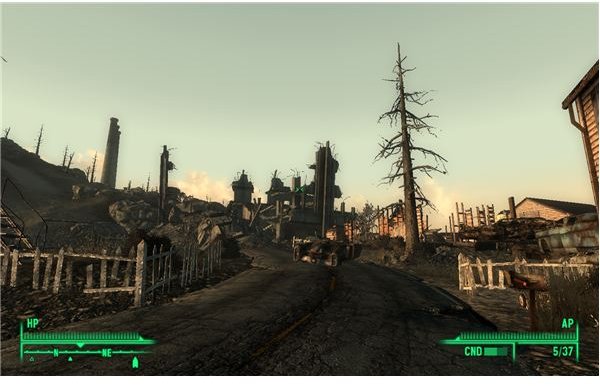
Follow the quest arrow the short distance to the Super Duper Mart. It’s a straight shot from Springvale. The outside offers an ominous start, but it should be clear of raiders. Local hunters or scavengers have usually already cleaned it up for you.
Go inside and stay low. Sneak along the line of cash registers and see if you can make it to the little office/kitchen area on the right side. The raiders don’t usually watch the front, so you should be able to make it. Grab the frag grenades and laser pistol. This might be the best weapon you have, so feel free to use it now. Otherwise, keep it and the starter ammo around for backup.
Open the refrigerator here to find some food and officially complete the first part of the quest. Once that is done, you can start the fight. Use the cover of the counters and nearby shelves to engage the raiders inside. They aren’t too well armed, so just start firing and wait for them to split up. Take out the melee rushers and then focus on picking off the few with rifles and shotguns. A basic rifle should be more than enough, plus you can heal using the food you found.
Keep moving along the shelves until you have cleaned up the store. Be alert though, since there is usually at least one raider near the back of the store who might be late to the fight. Grab some new weapons and ammo from them. Then look for the pharmacy door. You can pick the lock, hack the computer, or get the key out of the related metal box in the back storage area. Open the door and walk through to find a whole lot of loot.
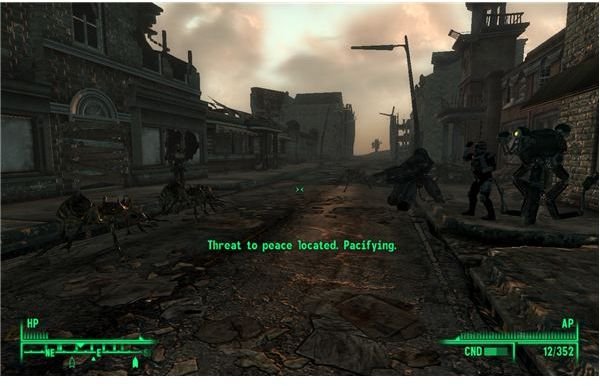
Look for the computer terminal. Grab the employee ID and then hack the computer. Turn on the Protectron and have it start a patrol in the store. Then start looting. You need to loot the well equipped first aid kit inside the room to finish the optional objective for this one. Don’t miss all of the other drugs though. They are weightless and worth a lot of caps, so stock up now. There should also even be a mini nuke in a box, so grab it. Opening the first aid kit should trigger a raider attack.
Three raiders come into the Super Duper Mart and notice all of the dead raiders you left for them. They’ll start moving toward you, but should run into the Protectron. Go out and use the distraction to pick off the three newcomers. Report back to Moira.
Finishing the optional objective will ensure that you get a special Food Sanitizer.
Radiation Experiment
Moira wants you to get really irradiated in the name of science. This one is actually quick and easy. You need to get 200 rads to finish it, but 600 rads for the really successful finish.
If you have 50 points in Science, then you can just explain it all to her to finish the quest. You’ll miss out on a slightly useful mutation though, and it’s a boring way to do it. Just step outside and go to the pool of water around the atom bomb or the nearby bathroom. Then just drink the water. Hold down the “E” key and keep drinking until your rads cross the 600 mark. It shouldn’t take more than about a minute to get there and raise your radiation level sufficiently. You’ll get a notification when it happens. Stumble back up to the store and talk to Moira.
The one important thing to note is that you will need to pop some buffout if you want to use the Endurance answer. There isn’t a strength one, so this is the only way if you are going for damage resistance and want to do it perfectly early on. The radiation poisoning will drop your Endurance by 3 points, so you’ll need buffout or some other modifer to counter it.
You’ll get some Rad Away and Rad-X as a reward. Moira will also start to stock it in her store. If you get 600 rads, then you’ll get a mutation as a reward too. The Rad Regeneration perk takes hold. Your limbs will heal if you are sufficiently radiated. It’s a rare situation, but not a totally useless perk.
Exploring Minefield
The actual quest for this is quite easy, but getting to it will be a real pain. There’s also another quest that it might interfere with in the early game.
Once you make it to the marked town, you just have to start walking slowly. Move forward and disable some mines. Then keep an eye out for the sniper. You aren’t alone. A crazy man named Arkansas is here and he will shoot cars as you approach to cause some serious explosions and possibly kill you if you don’t back up in time. He shouldn’t actually shoot at you if you keep moving.
The issue is that Arkansas is a wanted man by the slavers. If you plan to do their full quest and really want the reward for capturing all four VIP slaves, then you need to make sure that you swing by Paradise Falls first to pick up the quest and the relevant slaver equipment. Otherwise, you’ll have some problems and probably have to kill him.
That point aside, the quest is easy. Keep walking forward and watch the ground. Disable and pick up as many mines as you can. There are a whole lot of them. I’ve counted at least 30 while exploring the whole town. The only requirement is that you pick up one for Moira and reach the playground by Arkansas’ sniper perch. Just follow the main road to accomplish that.
Then hit Arkansas with the Mesmetron and loot all you want. The houses in the town are full of good loot, so feel free to pick up what you want. Just watch out for the mines though.
Also, if you set one off and suffer limb damage, try to tough it out for now. There is a quest for Moira in the next tier that covers limb damage. If you are already crippled, then you can quickly complete the quest and receive free healing.
Once you go back, you can give her the Frag Mine and then receive some Stimpaks as a reward. She’ll also give you some grenades and the schematics for the Bottlecap Mine as a reward.
The End
This officially completes the first tier of Moira’s quest. She has another tier waiting for you though, so get cracking.
This post is part of the series: Fallout 3 Walkthrough - Wasteland Survival Guide
The Wasteland Survival Guide is a long quest consisting of 9 separate missions for Moira. This quest is one that will last for a good portion of the game and encourage new exploration in the wasteland. If you want help meeting Moira’s challenges and getting the best rewards, then look here.