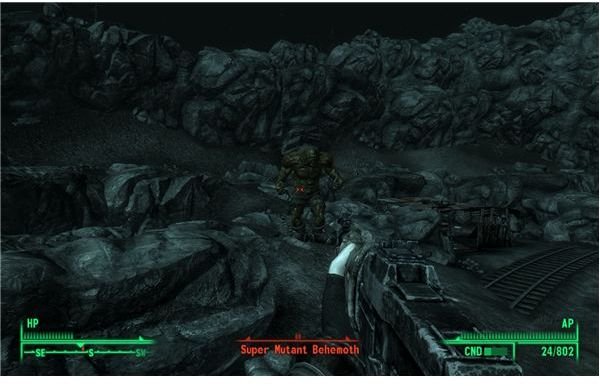
Fallout 3 features the incredibly tough mutant behemoth as a unique boss character that haunts the Capital Wasteland. There is a special achievement for killing all 5 and it’s generally a cool thing for an real adventurer to do. Read here to learn how to find and kill them all.
Behemoth Hunting Tactics
There are 5 behemoths in the Capital Wastelands of Fallout 3. Any true adventurer would take it upon themselves to hunt them down. There’s also a special achievement for killing all five. If you want to be a champion mutant hunter, then just look inside for the answers.
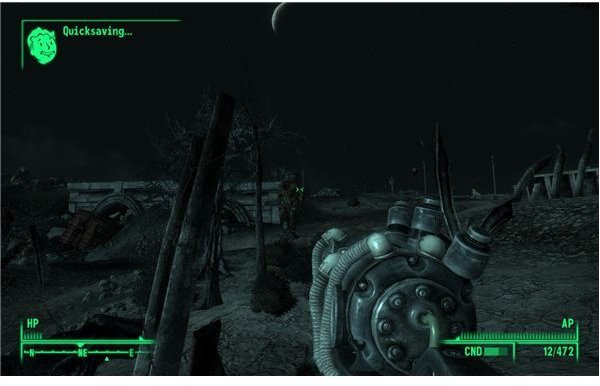
Behemoth hunting is fairly straightforward for the most part. The key is not getting pinned down by the behemoth. This is easier said than done. In a number of areas you can run to cover where the behemoth just can’t reach you. It’s then a matter of shooting them enough times.
Also, go ahead and play around with the cool guns. What are you saving them for, if not the behemoth? A fatman can deal a significant blow at the beginning of the fight. Plus…it’s just cool. The dart gun is also quite effective. One hit will cripple their legs and make the fight much easier.
Do remember to watch your party members. You should probably have them wait somewhere safe. They will not always stay far away and a few hits from the behemoth at close range will kill them. This is especially true for Dogmeat, since he will faithfully try to melee the behemoth and usually die quickly.
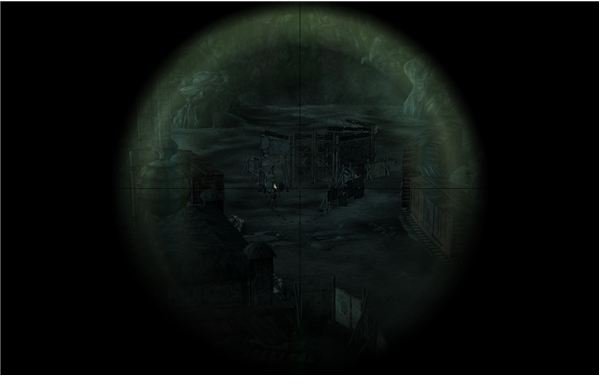
Behemoth: Galaxy News Radio Building
You’ll normally encounter this one as part of the main quest. If you don’t, then it will be a tougher fight, since you’ll have to do it all alone.
When you first go to GNR, you will hopefully do it as part of the main quest. That would give you a lot of additional Brotherhood of Steel support. Work your way through the curving path through the DC ruins. Once you go through the mutant infested schoolhouse, you’ll be able to see the building and the plaza.
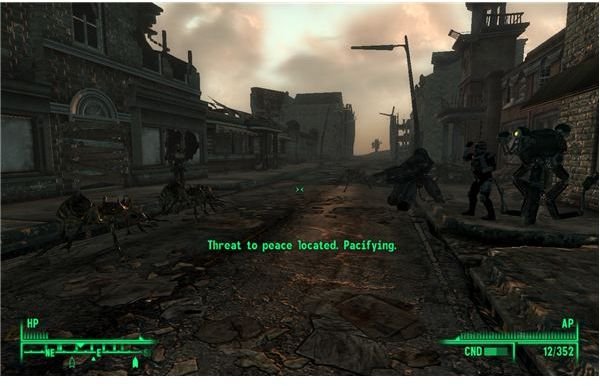
Kill the group of super mutants in the area. You should have a lot of support from the Brotherhood, and you’ll be able to make quick work of them. Once the fight is over, search the body of the dead Brotherhood of Steel soldier in the fountain. Grab the Fat Man and the 8 mini nukes off of his body. Turn and face the bus blocking the path to the plaza.
In a moment, you should see the behemoth burst through the bus and attack the plaza. Use the Fat Man to get a solid hit on him right after he comes through the bus. This will take away a good portion of his health.
Switch to whatever your best available weapon is. Even a hunting rifle will work alright for this fight, since the behemoth will usually be distracted by all of the Brotherhood soldiers in the plaza. If he starts to focus on you, then retreat to the schoolhouse you just went through. He can’t fit through the low door, so you’re safe. Then just harass him from your safe spot until he dies.
If you did this as part of the main quest, remember to pick up the Brotherhood of Steel holotags from all the soldiers killed in the attack. They’ll be worth a lot of caps later on.
Behemoth: Evergreen Mills
This is a fairly easy one. The main problem is actually the raiders in the area. Evergreen Mills is a large raider base. They aren’t very well equipped though, and they don’t seem to level with the player. I went through at level 25 and they were still using pistols.
To get to Evergreen Mills, you just need to go to Smith Casey’s Garage (the secret entrance to Vault 112 for the main quest) and then head to the east. You should see it as a base set into a canyon. The northern approach is protected by mines and two guards. It is favorable to approach it from the south and climb down the cliffs. This lets you get a good shot at the behemoth’s cage.
The actual behemoth is in the center of the base inside a huge cage. It’s electrified and will hurt you badly if you touch it. The fun way to kill this behemoth is to just move along the southern cliffs until the cage is in sight. Then pull up a decent long range weapon and shoot the generator by the cage. This will let the behemoth escape and attack the raiders.
This behemoth isn’t armored or armed, so he’s not very tough. I’ve seen the badly equipped raiders kill him without losing more than 3 guys. There is also a raider with a rifle on top of the train cars. He’s out of the behemoth’s range, so given enough time, he’ll take him out. If you want to personally take out the behemoth, then there are a few other ways.
It is possible to just kill the raiders and then shoot the behemoth through the cell door. As long as you don’t hit the generator, he won’t be able to retaliate. You can also let it loose and then stand on top of the train cars. He won’t be able to hit you, so you can just keep shooting until it dies.
Behemoth: Jury Street Metro
This behemoth is at an unmarked location to the west of Jury Street Metro. Just go to the metro station’s area and start walking directly to the west. You should see railroad tracks soon and a number of train cars in a pile-up on the tracks. Walk toward them. There will probably be a few super mutants in the area, so stay alert and take them out. Your target is an overturned railroad car with two shopping cart cages in it. You need to open the cage and grab the teddy bear. Apparently you just took the behemoth’s teddy.
This action causes the behemoth to spawn out near the railroad tunnel. He’s armed with a long hydrant arm, so be careful. The best tactic is to either use the train cars or the piles of junk as a shield. He’s too big to maneuver between them, and will probably get stuck. Just keep using these objects as obstacles while you pick away at his health.
Behemoth: Capitol Building
This behemoth is in the Capitol Building. It’s actually not that hard to kill the behemoth, but you will need to be ready to fight through a whole lot of mutants and mercenaries. To find this behemoth, go to the Capitol Mall. It doesn’t really matter which spot you choose. The Museum of History is a good spot, if you have already gone there for the main quest. Then just walk down the street towards the capitol building. You’ll have to fight through several groups of mutants guarding the trenches. If you have Broken Steel, then there will probably be some Overlords mixed in, so be careful.
What happens next will depend heavily on your level and game. Talon Company is actually well armed and in sufficient numbers for the assault on the Capitol Building. I saw 6 mercenaries and 2 sentry bots when I played through it. This force and the reinforcements inside will probably be able to wipe out the super mutants. The Enclave may also join the fight on the steps, so be alert for them. If you are playing with Broken Steel, then the Overlords will be far too powerful for Talon Company. They’ll wipe them out fairly quickly, but Talon Company will probably still take out some of the normal mutants.
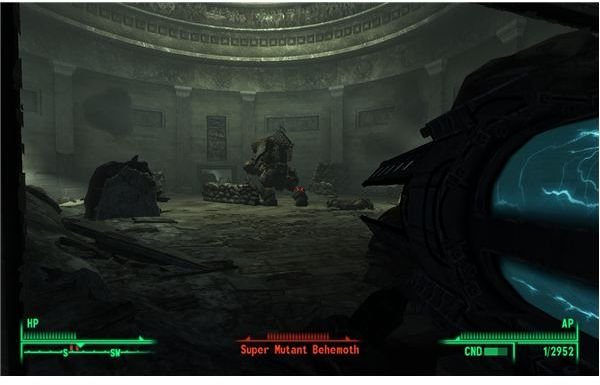
Hang back and let the two sides fight. Move up and kill the survivors. Enter the Capitol Building through the west entrance. Three more mercenaries will be here. Leave them alone and let them move forward to start fighting more of the mutants. Just keeping going forward and take out the survivors. You’ll find the entrance to the Rotunda soon. The behemoth is here.
The fight is quite easy. Talon Company should have enough men and weaponry. One should even have a fat man, so they have a good chance to win. Move down the left path and approach the battle in the Rotunda from the side. If you want, feel free to help the behemoth and kill the mercenaries. You can then get the behemoth for yourself. Otherwise, just let them kill it and finish off the weakened survivors.
Behemoth: Takoma Park
This will probably be the final behemoth that you fight, since it is the one furthest out of the way. The hardest part is just getting to the battle.
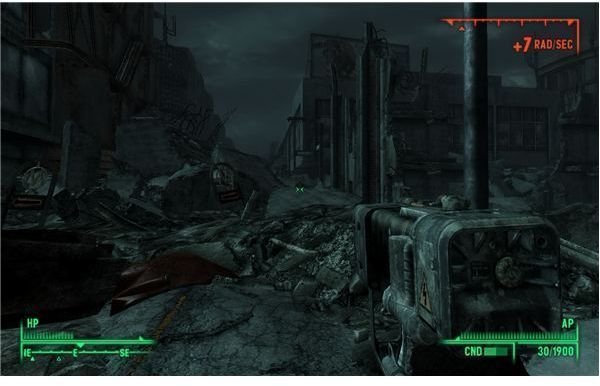
There is only one way to get to Takoma Park. You have to take Chevy Chase East Metro to Vernon Square. Once in Vernon Square, you’ll have to find Vernon Square East. This is complicated due to the high concentration of leveled super mutants. Be ready for a long fight. Your goal is to go through a small alley and end up by a large crater with an old nuke at the bottom of it. You need to skirt the edge of the crater and run to the metro station past it. You will absorb a lot of raditation in the process though, so bring some Rad-X and Radaway. The station is quite easy to spot once you’re past the crater.
The path inside the station is long and winding. It is linear though, so it’s hard to get lost once you’re on track. Go inside and kill the few super mutants guarding the top level. Go down to the train platform and look for the tunnel with the sign that reads “East Takoma Station.” Head down that tunnel. Inside there are a lot of leveled mirelurks. I found 5 mirelurk kings and 5 mirelurks hunters on my passage at level 28. Just bring a shotgun and lots of ammo. Follow the path down the tunnel and climb the fence until you finally reach Takoma Station. Go out the gate to end up in the ruins of Takoma Park.
The streets of Takoma are littered with old cars and there are plenty of super mutants with bad aim who will happily set off massive explosions. Be ready to go through a lot of stimpaks. Push your way up the street until you get to the old house. Go through it to get within range of Takoma Industrial. There should be some Talon Company mercenaries attacking the mutants outside. Wait a minute and then kill the survivors.
The behemoth is to the left of the industrial building. Go up on top of the truck and take a position by the table with the switch. Read the note on the dead mercenary to see that it’s an artillery beacon. Use the switch to call in artillery strikes on the nearby mutant. It breaks after about 6 strikes, but if you have a repair skill above 50, you should be able to fix it. Just keep calling it strikes and shooting the behemoth to bring it down.
This post is part of the series: Fallout 3 Quest Walkthroughs
Having trouble completing Fallout 3? Check out this collection of walkthroughs to guide you from beginning to end.
- Fallout 3 Walkthrough - Agatha’s Song
- Fallout 3 Walkthrough - The Superhuman Gambit
- Fallout 3 Walkthrough - Stealing Independence
- Fallout 3 Walkthrough - Head of State
- Fallout 3 Walkthrough - The Replicated Man
- Fallout 3 Walkthrough - You Gotta Shoot’em in the Head
- Fallout 3 Walkthrough - Tenpenny Tower
- Fallout 3 Walkthrough - Strictly Business
- Fallout 3 Walkthrough - Those!
- Fallout 3 Walkthrough - Reilly’s Rangers
- Fallout 3 Walkthrough - Blood Ties
- Fallout 3 Walkthrough - Big Trouble in Big Town
- Fallout 3 Walkthrough - Tranquility Lane
- Fallout 3 Walkthrough - The Keller Family and the Experimental MIRV
- Fallout 3 Walkthrough - Grady’s Key and Grady’s Package
- Fallout 3 Walkthrough: Hunting Behemoths for Fun and Profit
- Fallout 3 Walkthrough: The Oasis