It’s time to face the Blight head on. There are darkspawn moving against Vigil’s Keep and Amaranthine. We need to make a decision. One of these is to stand our ground and protect Amaranthine. I’ll tell you how to save Amaranthine in the this last stand.
It Begins
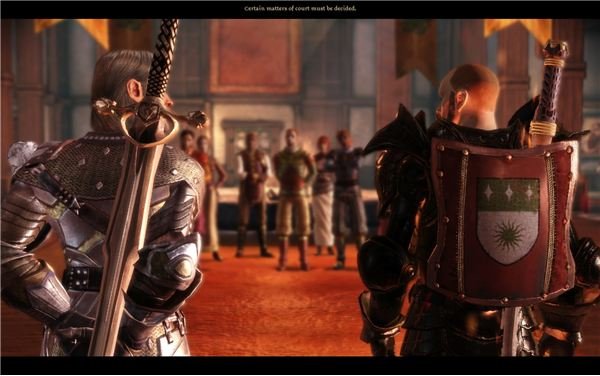
Once you’ve done all three “Awakening” quests, you can go to Vigil’s Keep and talk to Varel. He’ll ask you if you want to brief the nobles on your war strategy. This will start the final battle and it will begin the end of the game. I suggest that you save here. It’s fun to do both battles.
Before you do this, if you care, make sure that Vigil’s Keep is ready to defend itself. Did you find the granite deposit in the Wending Woods? Did you get all three ores for Wade? How about the four samples of lyrium sand? Did you secure the lower roads? If you’ve done all of this, then you should be ready to go.
In the middle of your speech, a messenger will tell you that Amaranthine is under attack. No matter what happens, you’ll need to pick your party from the screen. You will not get a chance to swap out anyone in your party, so pick wisely. I stuck with Anders, Justice and Nathaniel since they were combat proven. Once you get to Amaranthine, you’ll have a brief fight on the outskirts. Just kill the small skirmish force on the outskirts. Walk around for a moment until you trigger the Constable. He believes that the city is lost. Childers attacked from below and corrupted most of the city, so there wasn’t much that you could do. Note that I sent my soldiers to protect the farmland. I’m not sure how this affects Amaranthine’s defenses, so feel free to tell me in the comments while I do my second playthrough. A disciple messenger will also arrive at the end of the conversation. He has a message from the Architect. He wants to help you kill Mother and stop their minor Blight.
You have a big decision to make here. You can choose to burn Amaranthine to the ground to take out the darkspawn army and unforunately a large number of innocent surviviors. This means that you’ll rush off to defend Vigil’s Keep as your big climatic battle. You’ll have to persuade most of your party that this is the only option. You can also insist to retake the city to save the few remaining survivors. If you choose to defend the City, you will have to persuade Nathaniel that saving the lives is worth the cost. Otherwise you’ll lose some approval. If you choose to defend the city, you can also ask the messenger to help you. He will agree and is actually pretty useful.
If you properly prepared Vigil’s Keep, then it should hold. If not, well, you made your own bed on that one. Regardless
Retaking Amaranthine

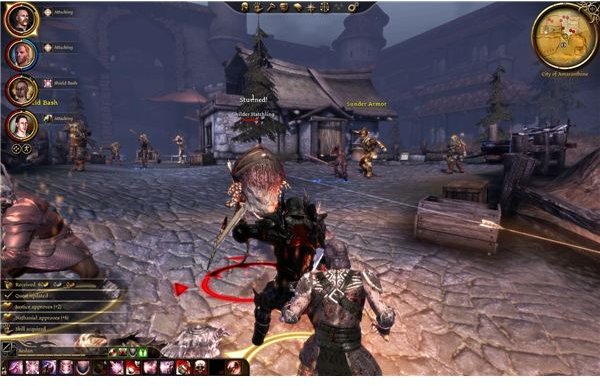
So you’re going to protect Amaranthine. You’ve got your work cut out for you. Charge into the city and get ready for one long rush attack. Get inside and kill the childers at the entrance. Move down into the market and slay the few darkspawn pinning in the city guards. The next group is in the nearby alley. Just take them out again with a quick attack. Run up the steps and circle around to the guardhouse. The City Guard Commander is here so help him out. There is an emissary and a big ogre here, so we need to move and move fast. Have someone rush the mage while everyone else just pounds the ogre. Help the guards take out the rest and then move on to mop up the rest of the darkspawn on the lower level. There should be at least one more emissary. Just rush him and let your men run around and kill the different childers and hurlocks. Move around a bit and look for the commander. He should be by the chantry or the inn. He’ll automatically talk to you and thank you for clearing the way. He’ll tell you to take cover in the chantry while you wait for the main attack.
Seizing the Smuggler’s Cave
You’ll automatically go there. Move on out of the room and you’ll hear from another soldier. It seems that they are still getting into the city through the inn. Remember that smuggler’s tunnel? Yeah…we need to stop that. Go out and get ready for one big fight. There are a ton of childers and they seem to have a slow but steady spawn from the inn doors. Have someone hang back to engage the big group. Hopefully someone has Massacre by now. It’s a lifesaver for fighitng groups of these guys. The rest need to target those Hurlock snipers. There should be at least two. They will use a rain of arrows attack to cause tons of damage to your party and the city guards. If you can kill these guys, then the battle is just a simple grind. They aren’t tough to kill, but they are tough to engage. There are just a lot of darkspawn standing in your way. Once the snipers are down you can clear the childers and then enter the inn.
There are more darkspawn inside along with the first general. Once again, childers will come out of the back room with the tunnel. Try to push forward and surround the general. This one isn’t too tough. He’s just like a revenant. He’ll go down fairly quick if you can surround him. If not, have one buffer engage him while the rest handle the childers with magic and massacre. Kill the general eventually and go down the tunnel into the smuggler’s cove.
The Last Advance
This fairly nice dock has a lot more darkspawn to kill. It’s basically the same thing though. Let them surround you and then use some good area magic or abilities to thin out the herd. Rush the general and pin him in. He should basically be a rogue, so it shouldn’t be that hard. Once the area is clear again, you can loot the chests and then come up in the entrance in the outskirts.
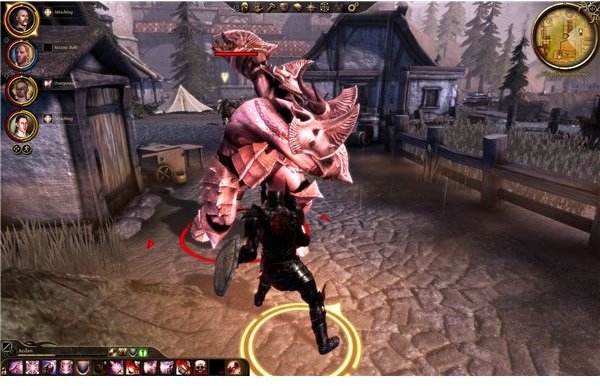
The fight in the outskirts is the simplest, since you just have two enemies. There is the general and an armored ogre alpha. I did this one by having my buffer blindly attack the ogre. He had on Sentienal armor and also had over forty dexterity and constitution. A good tank buffer shouldn’t be hurt at all by the ogre. His main threatening attack is that he can grab you and beat you to death. He should just pointlessly do one or zero damage a shot against the buffer. The best part is that anyone else is free to cause a ton of free damage. At the start, the rest of your group needs to target the general. He’s a mage, so we need to bring him down quickly. Keep getting interrupts and he should die fast. Then rush back and help your buffer handle the big ogre. Once the it dies, you can approach the gates to trigger the cutscene. The darkspawn will retreat now that their leadership is dead. Our battle here is done. We now have to chase down Mother to her lair in the Dragonbone Wastes.
This post is part of the series: Dragon Age: Awakening Guide - Main Quest - Part 2
We’re almost done with our efforts in Amaranthine for Dragon Age: Awakening. We still need to seal off a path to the Deep Roads and clear out Kal’Hirol. We also need to rise up and fight the Darkspawn when they rise up and attack. If you need help finishing the war, look here.