We’ve already shown you how to get through the prologue and Act 1. Now it’s onto Call of Duty 4 Act 2.
Call of Duty: Modern Warfare
This guide, as you can tell by the title, beings at Act 2 in Call of Duty: Modern Warfare - Reflex Edition. Please check out the Prologue and Act 1 guides to get yourself caught up to speed if you aren’t already!
Also, this guide will help you tear through the game without getting the secret laptops. If you want those, check out our Call of Duty: Modern Warfare - Reflex Edition: Hidden Laptops Guide .
Call of Duty 4 Walkthrough - Safehouse
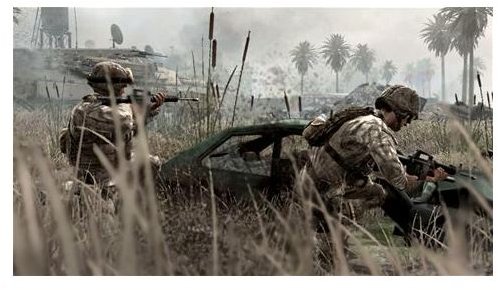
Follow the team up into the village, where you need to clear each house. Each house is its own little battle and features respawning enemies. To clear a house, you need to rush through, killing all the enemies you come across and checking every room. Once you’ve done this, one of your NPC allies will give the all clear.
Then move on to the next house and repeat.
You get a checkpoint after you clear each house, so you’ll do best to focus on one at a time. When approaching a building, it’s best to open fire from far away, especially with your grenade launcher. This will soften up the defenses for when you rush in.
Once you’ve you cleared all of the buildings on the lower slope, move towards the top of the village. The water tower is smack in the middle of everything, so if you get lost, find the water tower to get your bearings. Al-Asad is hiding in the barn in the very top of the village, but you need to clear each house. Once you’ve cleared everything but the barn, rush inside to complete the mission.
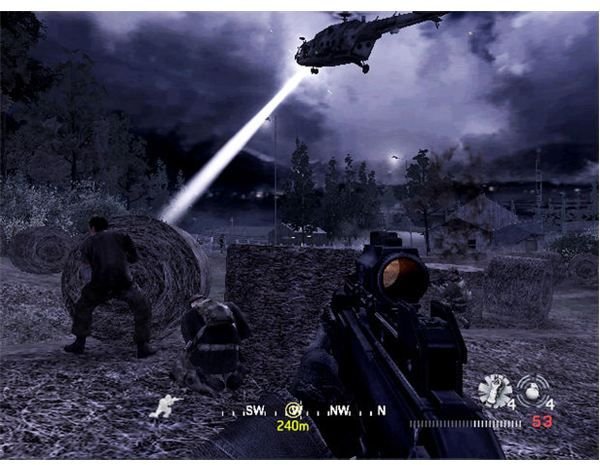
Call of Duty 4 Walkthrough - All Ghillied Up
This seems to be a pretty polarizing mission for fans, as those that don’t like stealth usually end up hating it. While going loud doesn’t end the mission, it will make things harder and in certain situations definitely get you killed.
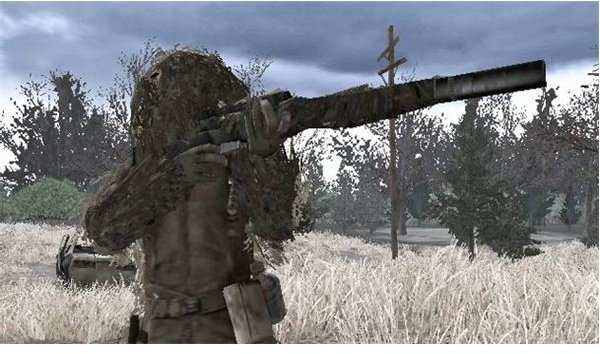
Follow MacMillian to the shed and take out the enemy soldier. You’ll want to be prone for a large portion of this mission. MacMillian will guide you through this mission, so he might repeat a thing or two that I say in here.
After moving forward a little, you’ll come to a church. Take out the guard up in the tower before taking out the two on the ground. After moving through the church, go prone in the dark grass and stay still as the helicopter hovers above. If it happens to see you, grab the stingers out of the church and take it out.
This next part seems a lot scarier than it actually is. A host of Russian soldiers will move through the field in front of them and if any of them see you, there’s no way you and MacMillian can survive. However, if you follow MacMillian, stay down, and don’t move, you should be fine. Even if soldiers get alarmingly close to you, you can remain hidden by remaining still.
When you get to the next area, taking out the two moving guards, but don’t open fire on the two disposing bodies. Wait until your partner tells you to and then take out one as he takes out the other. Move forward into the container yard.
You should come across a suppressed P90, which is much better than your handgun. MacMillian will tell you to stay put, but kill the guard that walks into the open container. There are three guards huddled in close together, but you can easily sneak past them. If you’re going for the laptop, you’ll have to take them out.
For this next part, stick closely to your partner. Run out of the containers after him and go prone under the truck as quickly as possible. He’ll take you under the trucks and to some more containers. This area is swarming with soldiers, so follow him closely the entire time.
Take out the sniper on the fire escape and follow your partner through the buildings. You’ll come across a lone dog, but leave him along, or else you’ll face a large pack of wild dogs, which can be incredibly hard to kill. There are no enemies for the rest of the level, so just keep advancing until it’s over.
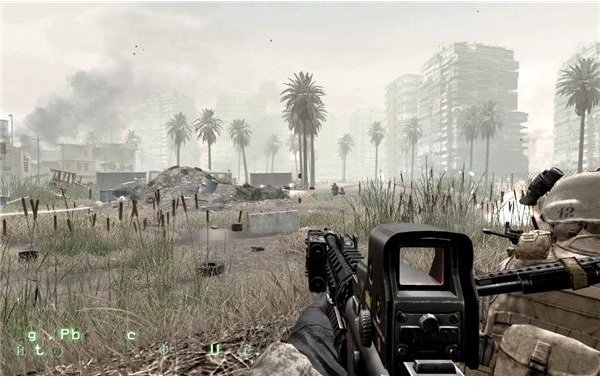
Call of Duty 4 Walkthrough - One Shot, One Kill
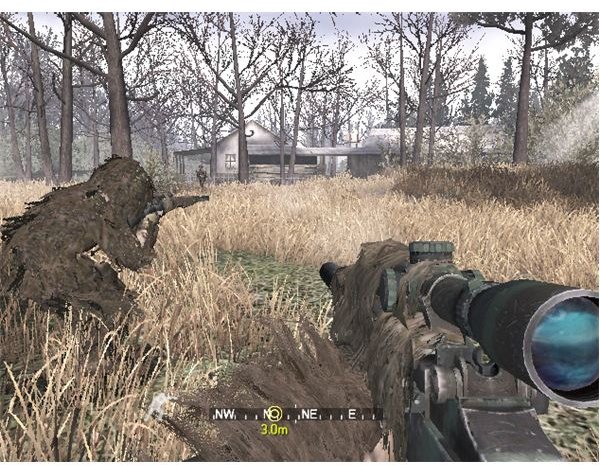
Call of Duty 4 features once of the coolest sniper sequences in videogame history, and you’re here! The opening to this level is tricky and may require a few attempts. Sniping from this distance is difficult due to the wind, so keep an eye on the red flag to know which way it’s going. If the flag is blowing away from you or towards you, you’re good to go.
After you take out your target, zoom out a bit and shoot the pilot of the helicopter before it takes you out. Follow MacMillian out of the building, take out the first wave of attackers, and grab an automatic rifle to go along with your sniper rifle. Look for an opening into the building that is lit up by the bonfire. Make your way through, hopping across the open windows. Be sure to shoot the dog on the other side of the fence.
When you reach the end of the second building, a team will be waiting to ambush you. After you take them out, head outside and off the rest of the soldiers. When the helicopter shows up, empty some sniper rounds into the cockpit, just like before. Sprint away as it crashes behind you, injuring our partner. From here on out, you’ll have to carry him.
You can’t do jump, sprint, or let alone attack while carrying someone. When enemies appear, you’ll have to drop him to fight back. Luckily, MacMillian may be down but not out and he can attack enemies from the ground. After you take him into the building he points out, set him down and clear the area of enemies. There should two soldiers and four dogs. If you miss any, he’ll ask you to check the area. If you got them all, he’ll say nothing. Continue towards your objective, taking out any opposition. Once you get to the ferris wheel, don’t set your partner down in the glowing spot yet. Instead, set him down somewhere else and plant your claymores and C4 around the perimeter. Then, after you pick him up and set him down in the glowing spot, your explosives will reset and you’ll have 30 seconds to place your extra mines.
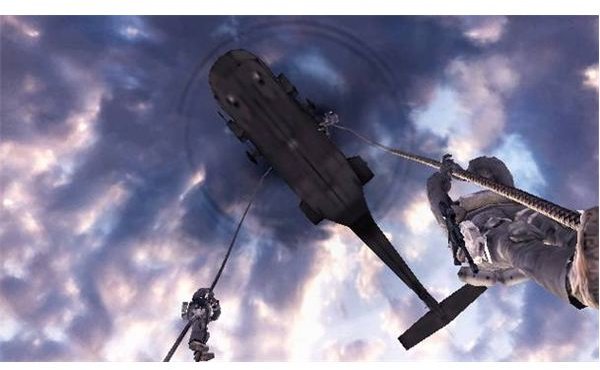
This part is difficult and the best advice I can give is to stay near MacMillian and give the enemy hell with your claymores, C4, and rifle. Once you’ve taken them all out, a chopper will swoop in to pick you up. If you’re having trouble, and there’s a good chance that you will, it’s never a bad idea to get reacquainted with the basics of Call of Duty 4 .
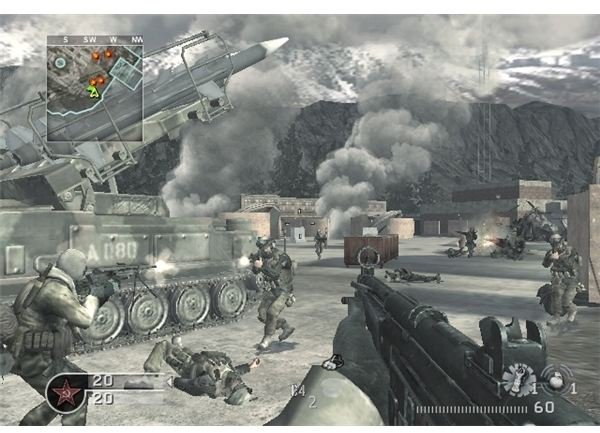
Call of Duty 4 Walkthrough - Weathering the Storm
Get ready for bloodshed, because there’s going to be a lot of it. When you start the level, place claymores on the road that you’re on, facing the objective marker. Then go prone and crawl towards the edge of the hill, where you can start the carnage.
When the enemies below start using smoke grenades, fall back. Head to the downed chopper and man the minigun inside. Keep up the first until you’re told to move back, and this time you’re going to fall back to a large building.
Once inside, you’ll find C4 detonators on four of the window sills. Detonate all of them. It doesn’t matter how many enemies you kill, you’re just doing this to advance the level. They’ll just keep coming, anyway. Grab any weapons that you need and fall back to the farm.
Grab one of the javelins out of the farmhouse and use it to take out the approaching tanks. Once they’re down, drop the javelin and prepare to fight through a lot of soldiers. You now have to make your way back down the village, and this can be one of the most difficult spots in the game. To make matters worse, you have to do it in three minutes. You’re given ten airstrikes to use so make sure you put them to good use.
Clear the south field and head towards the river. If you stay in the smoke and refrain from firing your weapon, you should be able to stay hidden for a good portion of the trip. Just remember to use your airstrikes to take out enemies. When the gas station comes into view, bomb it, and make a mad dash towards the objective. Don’t worry about your allies. They’ll magically transport to the exit.
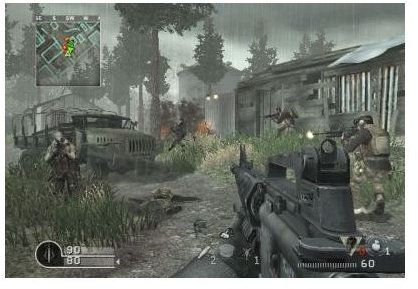
Call of Duty 4 Walkthrough - Sins of the Father
From the junkyard, take out the two soldiers in the watchtower. Swap your R770 for something that fires a little faster. You can thank me later.
Once you’re in the watchtower, the target that you want is driving the jeep in front of the BMP. Take out the guards riding shotgun and in the back, as well as anyone else your crosshair happens to find. A vehicle will crash into your tower and there’s not a damn thing you can do about it.
Once you’re back on your feet, chase your target through the junkyard. If he gets too far ahead, you’ll lose the mission. Watch for the dog that attacks here.
Once you get into the village, stick to the left and head into the side alley and continue pursuing your target. Keep watch for snipers and use flashbangs around corners. Although you need to hurry, you still need to exercise caution.
Hang back from the apartment block, unless you want the machine gunner in the window to make short work of you. Once the gunship takes him out, run up the stairs into the apartments. There’s another nest, but if you give it a minute your gunship will take them out, as well. After they’re done, make your way up to the roof for the final scene of the mission.
Get Ready For Act 3 By Going Online
Act 3 , the final act of Call of Duty 4, will be pretty difficult, even though you’ve made it this far. To ensure that you’re up to the task, try taking your game online and make sure that you brush up on the basics .
This post is part of the series: Reflex Edition Walkthroughs
View walkthroughs for the Reflex Edition of Call of Duty 4: Modern Warfare in this article series.
- Call of Duty: Modern Warfare - Reflex Edition: Guide to the Basics
- Call of Duty: Modern Warfare - Reflex Edition Walkthrough - Prologue/Act 1
- Call of Duty: Modern Warfare - Reflex Edition Walkthrough - Act 1
- Call of Duty: Modern Warfare - Reflex Edition Walkthrough - Act 2
- Call of Duty: Modern Warfare - Reflex Edition Walkthrough - Act 3
- Call of Duty: Modern Warfare - Reflex Edition: Hidden Laptops Guide