Our Call of Duty walkthrough continues through the rest of Act 1.
Call of Duty 4 - Act 1 Continued
This guide continues where the last guide left off, with is with Act 1 mission “The Bog.” Like I mentioned last guide, if you’re looking for the laptops while you’re playing, check out our hidden laptops guide. Don’t forget to also check our guide to the basics if you haven’t yet. You need to be in tip top shape!
Call of Duty 4 Walkthrough - The Bog
This mission is all about keeping a tank alive, which essentially makes it an escort mission. Don’t get frustrated it it takes a few times. Watching out for someone (or something) else is a lot more difficult than watching out for yourself.
When you first start, head off the road to the right. This path leads to a basement where you’ll encounter a lot of enemies, but you have to pass through regardless. Your night vision goggles come in handy here. While the enemies in front of you obviously have to die, keep an eye out for the enemies above you, as they can be just as deadly.
When making your way through the basement, follow the rules of close quarters combat, which is essentially to move quickly and watch for grenades. After making your way through the basement, you’ll encounter more opposition outside. To make matters worse, you need to grab a javelin and take out some tanks on a nearby bridge. You won’t be able to kill all of the enemies here, at least not yet, so grab the javelin, head up to the roof of the nearby building, and a find a safe spot overlooking the bridge. You don’t want to take a bullet while you’re lining up your shot.
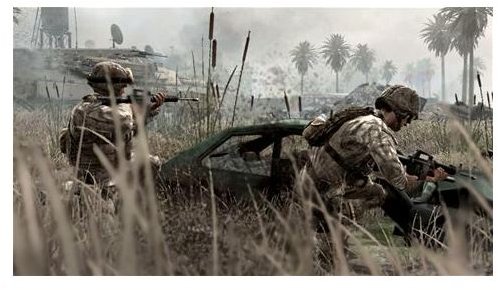
Once the tanks are gone, finish off the rest of the nearby forces and move forward with your team. You’ll make your way through a quiet marketplace completely devoid of enemies. Don’t get too comfortable, though, because the next section is swarming. This is where you’ll find the tank. Stay back, stay behind cover, and take out guys from a distance. Enemies will spawn endlessly until you take out all the RPG troops on the rooftops.
Once that’s done, stick to the west and go through the buildings until you come to the AA gun. Plant the explosive and be to take some cover before blowing it. Once you’re done here, place the IR marker where you’re supposed to do and regroup at the non-destroyed tank. Way to go!
Call of Duty 4 Walkthrough - The Hunted/Death From Above

Bad news. The chopper carrying you, the informat, and your allies crashed. You’ll have to go on foot through enemy territory. If it’s not one thing, it’s another, right?
When the mission starts head over the downed chopped and take whichever weapons you’d like. Stay as silent as possible as you make your way to the farm and ambush the enemies. On your way to the next farm, you’ll have to crouch to stay hidden from the helicopter. Once the basement door on the next house opens up, head inside and take everyone out. Mid-way through the house, enemies will flashbang you, so be ready.
After you exit the house, you’ll be attacked by dogs. Obviously, try to pick them off before they reach you. Automatic weapons work best, as you can just spray in their general direction. It’s also good to keep behind cover, so you don’t get shot while you’re dealing with them. If they jump on you, smash that melee button like there’s no tomorrow.
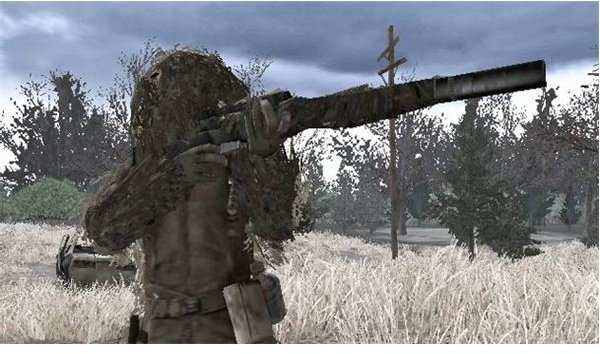
In the next field, you can use stealth, but with so little cover it probably won’t last long. Stay behind the team, shadow their movements, and quickly snipe any enemies that spot you. It’s possible to make it to the end without being spotted, but it’s not easy.
Once the alarm is raised, prepare for a big fight. You also have the helicopter firing at you. You can take out the gunner by shooting into the gunner port. But the chopper is the least of your worries. Making your way through th greenhouses is difficult due to the sheer number of enemies. There will also be enemies hidden in the grass, so keep an eye down low and fire into any suspicious looking foliage. There’s plenty of cover here, so take your time.
Once you’re through all of that, you need to get rid of the chopper for good, and there’s a stinger in the barn that will do just that. Remember that you need to line up your target long enough for it to lock on, and then fire.
The exit will be blocked by enemy troops and armor, but if you wait, air support will take them out and clear the way for you.
Call of Duty 4 Walkthrough - Death From Above
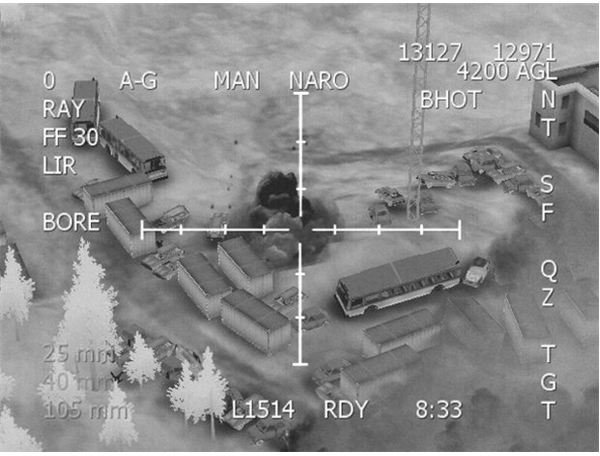
You made it to the Call of Duty 4 AC-130 mission! For many, this is the best mission in the game, and for good reason. While there isn’t a lot to walk you through, I can give you a rundown.
You have two view modes, black hot and white hot. In black hot, hot targets appear darker, and vice versa. Use whichever one makes it easier for you.
You have infinite ammo and three weapons, each with a different zoom level. The 40 mm cannon is the best for taking out enemies since the explosion is small enough you won’t have to worry about your own guys.
The 105 mm cannon, while almighty and awesome, can easily take out your allies if you’re not extremely careful.
The church that enmies come pouring out of cannot be damaged, so don’t get frustrated trying.
It’s a good idea to switch back and forth between the two views to make sure you see everything.
Other than that, have fun!
Call of Duty 4 Walkthrough - War Pig
You’re Jackson again and you’re escorting the tank that you protected in The Bog, which is now fully operational and ready to kick ass. This level is very straightforward and simple, and requires a very small guide, but that doesn’t mean it’s easy. The street is swarming with enemies, so take it slow and keep an eye on the rooftops for RPGs and snipers that can do untold amounts of damage to your tank and yourself.
Once you get to the bus roadblock, you’re halfway done. Head into the alley and blow up every car you can, to stop the enemy from using them as bombs against you. Your allies will push a dumpster across the alley, which will give you moving cover. Once you get close enough, rush the building.
When you encounter the enemy T-72, stay in cover and wait for your tank to blast it. After it’s gone, head to the street.
Call of Duty 4 Walkthrough - Shock and Awe

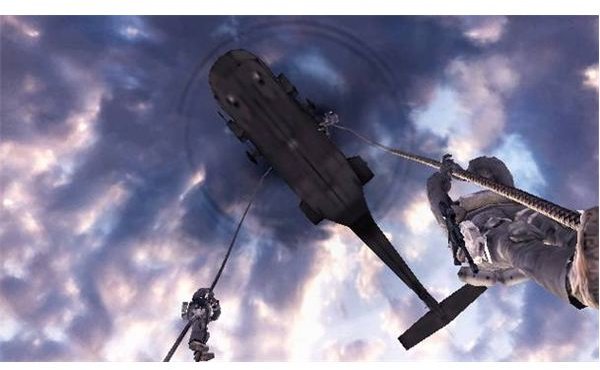
During the starting chopper ride, you have infinite grenades in your launcher, so start taking out rooftop enemies as soon as you can. You can take small arms fire, but an RPG or something similar will destroy your chopper. Watch for respawning enemies! Don’t ignore a rooftop just because you’ve already cleared it.
Once the chopper lands (no rappeling!), head towards the green smoke, taking your time and blasting incoming enemies. Once you rendezvous with your team, grab whatever weapons you want, with the RPD being the recommendation. There’s a lot of opposition here, but not a lot to say. After you’ve cleared a path, hop down and make your way back to the chopper.
Once you’re in the air, you’ll have to land again to make another rescue. This is where the RPD comes in handy. If you grabbed it, you can run to your fallen ally while making short work of everyone around you. Be aware that once you pick up the pilot, you can no longer fire. You should have quite a bit of NPC support, so this shouldn’t be a huge problem. Take her back to the chopper and you’re done.
Call of Duty 4 Walkthrough - Aftermath
This is a very short, very sad stage. If you want to get through it quickly, you can stand up after a while and that will speed things up. Hardcore , I know.
This post is part of the series: Reflex Edition Walkthroughs
View walkthroughs for the Reflex Edition of Call of Duty 4: Modern Warfare in this article series.
- Call of Duty: Modern Warfare - Reflex Edition: Guide to the Basics
- Call of Duty: Modern Warfare - Reflex Edition Walkthrough - Prologue/Act 1
- Call of Duty: Modern Warfare - Reflex Edition Walkthrough - Act 1
- Call of Duty: Modern Warfare - Reflex Edition Walkthrough - Act 2
- Call of Duty: Modern Warfare - Reflex Edition Walkthrough - Act 3
- Call of Duty: Modern Warfare - Reflex Edition: Hidden Laptops Guide