We’re moving in on the museum to try and stop Marburg’s big plans for the Museum of Art in Rome. I’ll tell you how to fight your way past his guards and about the big choice you’ll have to make at the end. If you also need help killing Marburg in the boss fight, then look here.
Introduction
This final mission in Rome will take a good bit of cunning or raw power. We need to fight our way through the rear entrance of the museum of art and then get to Marburg before it’s too late. Unfortunately, we’ll have to make a pretty difficult choice before the end. I’ll tell you the difference between the two options and how to kill Marburg in the boss battle that follows.
I suggest that you bring a favorite combat weapon. There are several unavoidable fights and a boss fight at the end. A shotgun or SMG will be quite useful. Most of our firefights will not require an assault rifle, so I suggest that you don’t use one unless it’s the one you’re skilled with. Stealth players might not even want to bring pistols, unless they can fire critical shots blindly and use chain shot.
There isn’t much useful intel. You probably don’t need the map. If you met SIE and she likes you, then she can have a disloyal man give you more time to disable the bombs. It doesn’t cost much, so you might a well do it. It won’t make much of a difference though. It’s just nice to have extra time.
Entering the Museum
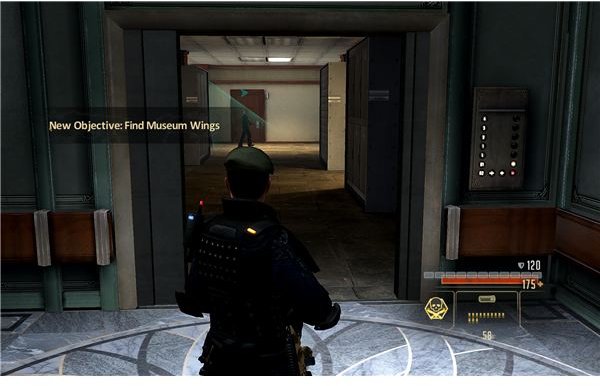
We’re moving out hard and fast for this one. Move forward quickly and whip around the first guard to do a takedown. Take him out by the bathroom and then slip past the camera to the left. There is an office back here. Go inside and grab the briefcase and shut down the cameras by hacking the computer. This should make things better.
Backtrack a bit but hang a left to go to the archives. There are three guards in here. Either rush them or just move along carefully and pick them off. We can’t do the whole thing stealthily anyway, so don’t worry about an alertd guard or two.
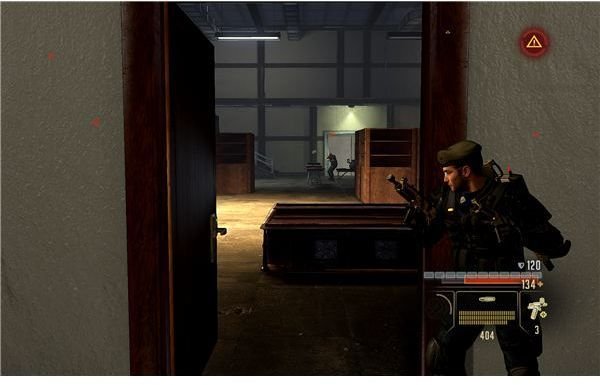
Move forward a bit more and watch out for a potential pair of guards in the hallway. Hack the keypad to get into a very nice office/warehouse area. You can stay unnoticed for awhile by swing to the right. Use this area to pick off a few guards before they attack. If you’re spotted and an alarm goes off, then a few guards will come up through the freight elevator. Be ready to counter them. Basically, it will all boil down to use the cover well and wearing away at the guards. There’s a medical station on the raised platform, there’s a computer to hack and a briefcase with intel on Alpha Protocol. Grab it all and then go through the door under the stairway to reach the next area.
Before you open the door on the left, pick the door on the right and get inside. Grab the bag here. If you go out the door to the left, then you’ll be locked out and miss out on $6,000.
Move through the tunnels and walk past the two dead guards. Before carefuly once you reach the metal stairs. One Deus Vult man will charge down the steps. You should be able to catch him as he rounds the middle section and do a quick takedown. Just keep on moving up for now. We’re basically at the museum. Keep an eye out for Halbech intel here, but keep pushing ahead.
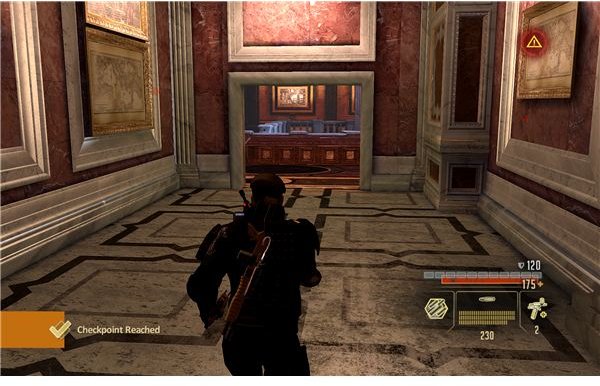
Charge out and attack the soldiers ahead. The guards will at least act as decoy. You shouldn’t have much trouble just taking cover and firing on them. Move quickly and use melee attacks if they get close. Turn to the stairs and watch for the three guards moving down the steps. Again, just kill them.
Hack the safe at the bar and hack the computer inside too. When you’re ready, go on up the stairs to trigger the showdown.
Madison or the Bombs?
Well, you have a big decision to make. There is no way to save both Madison and disarm the bombs. Going to the left will take you toward her. Going to the right will take you to the bombs. Note that they’re basically the same. Both have some mines, two engagments and you end up fighting Marburg.
West Wing - Saving Madison
Move quickly and get behind the counter. There are soldies everywhere. Just start firing and use your abilities. You have to take out the closest ones quickly to prevent being rushed. The rest can be picked off carefully. There are two autoturrets covering the doors. Hack them or take them out. Watch out though, since they placed mines on the exits. Approach until you hear the beep, and then run away from the explosion. Keep an eye out for a laptop that you can hack for more emails.
Move forward to the next room and you’ll find a lot of guards and Madison. Madison will be on the elevator. Note that you really need to take out the other guards first. You need to take out Madison’s guard in one shot (or with an ability). This part can glitch easily. It did for me. If you don’t kill him in one shot or with abilities that slow time, then he’ll kill Madison. If you get too close, he’ll also kill her. Once you make the shot, you’ll trigger the fight with Marburg.
East Wing - Disarming the Bombs
This is a little easier. Move forward but watch the sides. The pillars are lined with mines. Be very careful when moving and be ready to jump back at a moment’s notice. The pillars will give you plenty of cover to pick off the rushing soldiers. Just pick them off carefully and you’ll be fine. Advance to the door and take out the turrets. There’s a computer you can hack off to the side to get more of their emails.
Move to the next room and just keep running. You’ll eventually reach the Crusade exhibit. It’s guarded well, so just get behind something in a corner and start firing. You should be able to take them out. Remember to use your abilities well. There’s a cutscene coming up, so you can stall and recover. Once the guards are down, you need to hack the bombs. This actually might be a little tight. If you have EMPs, then use them. The hacks aren’t too hard though, so you should probably give them a crack. Once you disarm both, you’ll trigger the fight with Marburg.
Alpha Protocol Boss Fight - Killing Marburg
The fight with Marburg isn’t actually that tough, at least from a tactical view. Marburg hangs back and fires at you with his laser-sighted pistols. In any long exchange, he’ll take you out. You should stick to blind fire when you can. Note that stealth players with a lot of points in pistols should be fine just scoring headshots on him from cover and using chain shots.
Everyone else might want to get creative. Killing both of Marburg’s agents will cause him to get very angry and just rush you for a melee attack. He’s not as tough as Brayko though. Melee players should fire up Fury and beat him up. He’ll retreat after he takes some damage. Shotgun players and SMG users can use their abilities to hammer him while he’s out of cover. The assault rifle isn’t that great of a choice for this one, since you won’t have time to aim.
You can just repeat this cycle. Note that you don’t have to actually kill him. The default option is that he runs away once you take away 2/3 of his health.
Actually Killing Marburg
If you want to taunt Marburg into staying, then you need to have a few things in place. Marburg needs to at least dislike you. Some people have said that -3 is enough, but -5 or -7 seem to be safer. You also need to have an almost complete Intel file on him (83% seems to be the magic number). Note that these conflict, since Marburg will like you more if you build a dossier on him.
The big problem is that you also need to have a reputation for being sauve. This means that you picked more sauve response (the left side) more than any other. The logic being that he knows that professionals and thugs will try to make him stay. If you’re genuinely smug, then you’ll have gotten under his skin enough to make him stay.
This usually is something that you shoot for on a second playthrough, so don’t feel bad if you don’t actually kill Marburg in this run.
Once he’s agreed to stay, you basically just need to shoot him a few more times to end the fight and get his gloves and pen as a trophy along with his nice guns.