Defeating No More Heroes is less about character upgrades and more about the ability of the player to move on between missions and defeating the stage bosses. With this guide, we plan to know the basics on how to beat No More Heroes.
Introduction to the Game
No More Heroes is an action video game directed by Goichi Suda (a.k.a. Suda 51) and developed by Grasshopper Manufacturer. The game is quite unique in style, as it’s similar to GTA in terms of free roaming, but features graphics where the characters and cinemas are rotoscoped. At first the game could feel strange to play because the controls are a little odd compared to other free roaming games.
The controls can be a little bit difficult to master at first–especially on the Schpeltiger, as the motorcycle can go really fast, and can be hard to handle on the first few attempts. Give it some time, though, and it can be mastered. Before we start with this guide, we better take a look at what the control commands are:
Nunchuk (battle):
Control stick: Make Travis move in the 3D environment
C: Toggle the camera behind Travis
Z: Lock on to enemies.
If you shake the nunchuck you can perform the Jumping Slash, but the technique must be learned first.
Wii-mote (battle):
D-Pad Up: If you’ve already locked on to an enemy, it will change to another enemy while in battle.
D-Pad Down: You can dodge down while in battle (Must be locked on to an object first)
D-Pad Left: You can move the camera to the left, and also dodge to the left to avoid the attack of an incoming enemy (Must be locked on to an object first)
D-Pad Right: You can move the camera to the right and also dodge to the right to avoid the attack of an incoming enemy (Must be locked on to an object first)
A: Basic button to slash and charge the Slash.
B: Button to perform the Beat Attack
-: If you have stock, it activates Anarchy in the Galaxy
+: Used to skip scenes. If pressed twice also used to access the control menu.
1: Used for charge mode when the saber runs out of power.
2: Turn on/off map.
Nunchuk (while walking):
Control Stick: Make Travis move in the 3D environment
C: Toggle the camera behind Travis
Z: Switch to first person view.
Wiimote (while walking):
D-Pad: Controls the camera angles.
A: Interact with the environment, i.e. Kicking trash bins to find secrets or money.
B: If B is pressed it makes Travis Dash, but Dashing must be learned first
+: If pressed it sends you to the control menu.
2: Turn off/on map
Nunchuck (on the Motorcyle):
Control Stick: Control the Motorcyle
C: Control the camera view.
Z: If pressed and held it turns on the booster.
Wiimote (on the Motorcyle):
D-Pad Down: While stopped, it makes Travis get off of the motorcycle.
A: If pressed it makes the Schpeltiger move.
B: If B is pressed once it makes the motorcycle stop. If pressed twice after stopping, it makes the motorcycle go in reverse.
+: If pressed it opens the Control Menu
1: If pressed, it makes the motorcycle come to you.
2: Turns off/on map.
Now that we know the controls, we are going to the walktrough of the core missions–the ones that you can’t avoid.
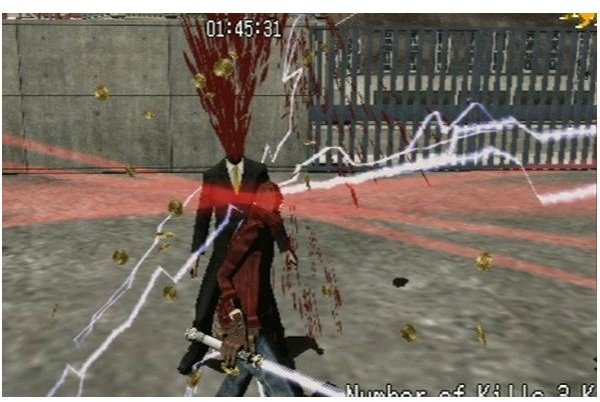
No More Heroes Image Gallery #1
The Adventure (Part One)
First Mission:
As soon the introduction sequence ends, you will be in Death Metal mansion in the limits of Santa Destroy. Basically there is not much to be said about this scenario, beside that it will serve as a long tutorial on how the missions will be. Just follow the path as this scenario is linear in every sense. The first set of Luchador cards are located in the third floor: one is outside Death Metal office and the other inside near the desk. The rest are located in the first floor in the first three rooms you are going to be visiting in order. The strategy to defeat Death Metal is quite simple. Just avoid his slashes and keep hitting him until he has 50% of energy left. When he has 50% of his energy he will summon two shadows to the battle. The shadows are easy to defeat, as they vanish after one blow. After a few more hits, Death Metal will be a memory, and then we can go to mission two.
Mission Guides No More Heroes
Second Mission:
The entry fee for this mission is LB$150.000. Before entering you’ll need to take a few side jobs to complete the fee. When you have the fee, you need to go to the ATM that is near your home and deposit the money. Then K-Entertainment will tell you that you are ready to face Dr. Peace at Santa Destroy Stadium. This is another easy mission, but there are some twists. The first one is when you arrive to the Stadium you will be attacked by the grunts of Dr. Pace. The second twist is that after you finish the first half of the scenario, the grunts will attack in a unique way. They will form in an Indian line and the first one will throw you a ball like a pitcher, and you have to hit the ball to defeat the grunts. The cards can be found really easily, as this scenario don’t have secret rooms or columns.
When you reach to Dr. Peace he will knock you out with his pistols. Don’t worry, this boss is as easy as the first one. The trick is to not get hit by his bullets. You have to dodge him and hit when you can, but do not hit him when he is glowing. When he’s glowing he will be invulnerable. When Dr. Peace is defeated you will be ranked to the 9th place in the assassins guild.
Third Mission:
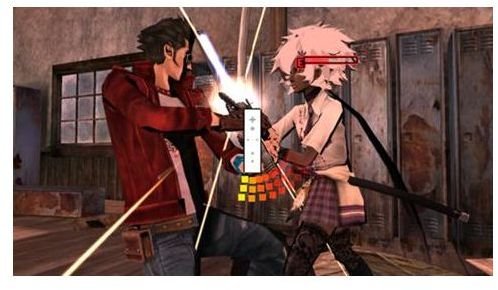
The third mission is going to be in Santa Destroyer High School. The entry fee for this mission will be LB$200.000. This mission can be a little bit annoying as the grunts have more weapons in their arsenal, but still they are very easy to defeat. In the first area the grunts are armed with flaming planks. Be careful to not to get hit by those planks because will get caught on fire. The only method to extinguish the fire is to find a fire extinguisher (they are located in the corner walls, just as real life). When you finish Area 1, you will face a sub-boss that sets the fire sprinkler system of the hallway, leaving Travis without his beam katana. However, there is a solution for the sprinkle problem–just go to the utility closet and turn off the sprinkler system to gain access to the gym, where the boss “Shinobu” is.
Shinobu is one of the most difficult bosses in the entire game, as she will be jumping much of the time and aiming at you with her sonic sword. Avoid her somersaults and her GenGoKen, because that move will kill you with one blow. Remember to maintain your distance when attacking Shinobu, and when her guard is down take the chance and do her damage.
Fourth Mission:
The scenario of the fourth mission is extremely similar to the first one (Death Metal Mansion). It is very linear and the grunts are quite easy to defeat, but the boss can be as annoying as Shinobu because it tends to go into the air. Also, his energy attacks can do a lot of damage. There aren’t too many chances to hit him as he can be extremely fast, but there is a chance–after Destroyman executes his Destroy Buster, his guard will be down. Most likely, after each Destroy Buster will be the only opportunity to hit him. To enter this mission you need to pay a LB$250.000 fee.
Take a look at every fee, it will go up by LB$50.000 each time on every mission. So every new mission it will be LB$50.000 than the last one; never forget that.
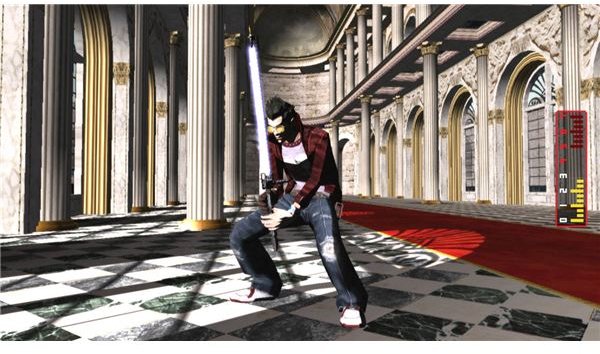
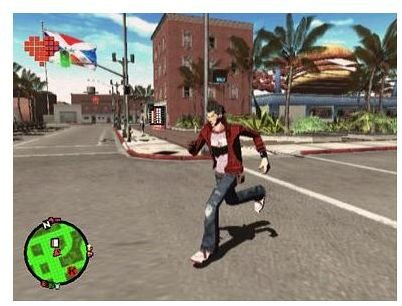
No More Heroes Image Gallery #2
Mission Guide Page 3
Fifth Mission:
The entry fee for this mission is LB$300.000. The Fifth Mission is probably the coolest mission in the entire game, as you will be facing model/assassin Holly Summer. The scenario is fairy difficult, not because of the grunts, but because there are land mines throughout the entire scenario. You’d better be careful to not to take extra damage because of them. There isn’t an exact strategy to defeat her, except to avoid her missiles and attack her after she finishes attacking you. Try to create your own strategy with Holly–it will be easier for you. Make sure you check out Holly’s demise. It’s really cool, but I’m not going to give you any spoilers.
Sixth Mission:
The sixth mission is the most interesting mission on the entire game, as it’s filled with more pop culture reference than any other mission in the game. The villain, Letz Shake, is based loosely on Michael Jackson, and his grunts are based on Darth Vader. The entry fee for this mission is going to be LB$350.000, but the negative aspect of the sixth mission is that is really short and quite disappointing because of the length. The Darth Vader grunts of Letz Shake sport some beam katanas similar as the light sabers of Star Wars. There are nine in all, and you have to be careful as they aren’t that easy to kill as the katana-sporting minions of Death Metal. Once again, this stage is linear, as are many other stages in the game. Maybe the developers could’ve made the stages a little bit more complex, similar as GTA?
Being in a contradiction as one of the most coolest villains in the entire game Letz Shake is one of the most lame ever; as you are not the one who is going to fight Letz Shake, but rather a friend of you who is coming to help you.
Seventh Mission:
To gain access to this mission, you have to pay LB$400.000. That’s a high price for an scenario that isn’t really worth it, although it is kind of original that when you get sleep in the train, you can play a cool a shooter minigame before facing the boss. The reason why the scenario can be so short is because the boss is extremely difficult. In my opinion, this is the most difficult boss (except maybe for the last one) because he uses teleportation and screen distorting to confuse you in battle. Avoid his kamikaze dives and his twister because they will give you a lot of damage. Perhaps the most difficult part is the escape from the box, where he leaves you a grenade and you have to follow his instructions if you want to live. If you fail, you are dead meat.
Eight Mission:
A little more and you will be the number one assassin. The eighth mission is pretty easy. Even the boss, Speed Buster, is fairly easy, She will use a cannon that you must avoid. To put the weapon out of commission, you must break a row of utility poles to damage it. Speed Buster won’t put any resistance, so you can kill her with one single slash.
Ninth Mission:
To enter this mission you have to pay LB$500.000. As with mission two, this mission takes place at Santa Destroy Stadium. The deal with this mission is that you can use your motorcycle this time during the mission rather than just using it to transport from one point to another in the city. It isn’t easy to maintain yourself on the bike, as there will be times that enemies will knock you down. If that happens, be calm and try to return to your bike as soon as possible, as it is the best way to kill the hordes of enemies.
Bad Girl doesn’t look as sweet as she appears to be. She’s quite deadly, and there’s no wonder why she is the number two assassin of the guild. The moment to attack her will be when she finishes her barrage. For a couple of seconds she will be defenseless, and that is going to be your chance. However, there’s a catch. If you see her laying on the floor, stay away from her, as she is only playing dead. It will be difficult to put her down, but when you beat her, then you are ready for the last mission of the game–facing Darkstar.
Tenth Mission:
The last mission costs LB$550.000. With many of the other bosses, you had to face them in different parts. Darkstar is no exception. However, the final boss comes after Darkstar is defeated. When this mission starts, your bike will be stolen, and you have to retrieve it from the burglars. This is quite easy. Just avoid the random boxes that are in the highway. Eventually you will end in a country road when you retrieve your bike, but be careful of the fallen trees. This sequence will end when you reach a draw bridge. Follow the instructions that the game gives to avoid falling.
The next section will be on a forest. This is the classical labyrinth where you need to find your way out by following an exact command. There is a trick that you can follow, as a ghost will tell you the way out of the forest, but you have to be quick as the ghost only appears for a fraction of second. The path to follow is Right, Left, Right, and Left.
After you are out of the forest, you will be facing Darkstar, but do not worry as a NPC will defeat her. The real boss is the NPC–a mysterious girl who goes by the name Jeanne. The strategy with Jeanne is quite simple, but at the same time difficult, as she is the fastest enemy in the game. She will hit you with her corporal attacks, but after she finishes with her attacks, there is a moment where she will be vulnerable. That is the only time you have to hit Jeanne a couple of times before she regains herself. Unfortunately, Jeanne will win the battle no matter. When the fight with Jeanne ends, there is a cinematic scene where you are given congratulation on being the number one assassin of the guild.