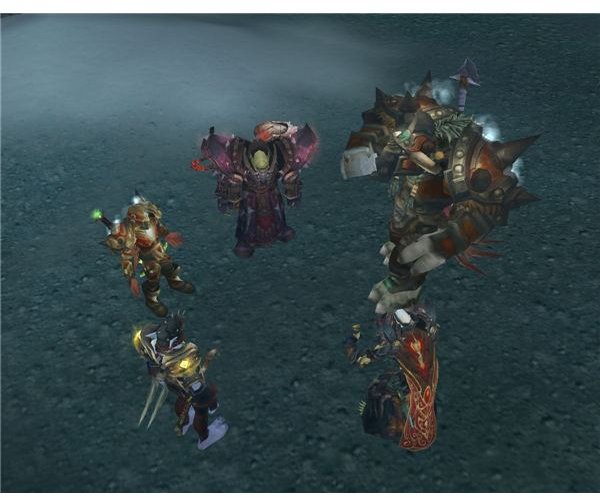
The World of Warcraft Faction Champions boss fight in Trial of the Crusader is a very dynamic battle. The strategy and setup changes every single week depending on the composition of your own raid group, and also on the randomly selected group of Faction Champions that you will be fighting.
Overview
After defeating Lord Jaraxxus Grom Hellscream gets all up in arms thinking that the Alliance is purposely trying to summon demon lords (Wilfred is a Gnome, after all). Varian gets all mad because, as logical as Grom’s point is, he’s a jerk and will use any excuse to challenge the Horde. The end result is that, even though the third boss fight was supposed to be against various Argent Crusade champions, you end up fighting the opposing faction’s champion’s instead.
On 10 player, your raid will fight 6 disproportionately strong faction champions, and on 25 player, 10. These 6 or 10 are randomly selected from a list of 14, but there will always be 2 healers in 10-man and 3 healers in 25.
On normal difficulty every champion has a PvP trinket that they will use right away. A good way to negate it early on is to have a Warrior Charge in and use Intimidating Shout. On heroic modes they each have two PvP trinkets. Plan accordingly.
This fight is considered to be “PvP”, and as such everything is subject to Diminishing Returns, and crowd controls have PvP durations. For example, if you cast Fear on a target, they will be feared for 8 seconds. If you cast it again, it will last for 4. Again and it will last for 2. Again and they will be Immune until the DR timer resets.
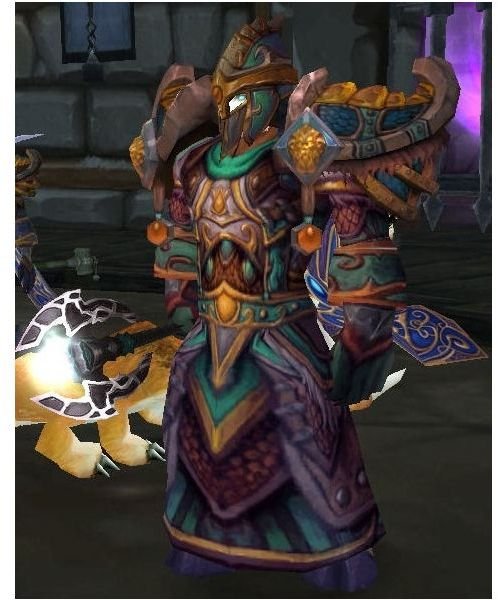
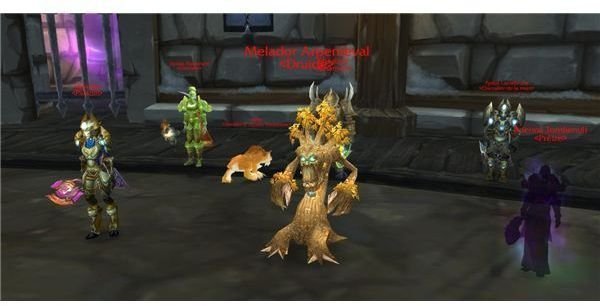
Faction Champions and Their Abilities
Frost DPS Death Knight - Uses Chains of Ice, Strangulate, Frost Strike, Icy Touch, Icebound Fortitude, and Death Grip. He will hit pretty hard on soft targets. Middle priority kill target.
Balance Druid - Uses Barkskin, Cyclone, Roots, Faerie Fire, Force of Nature, Insect Swarm, Moonfire, Starfire, and Wrath. All in all actually a more helpful than harmful opponent. It will use Cyclone quite often which can save players’ life as it removes DoTs and makes them damage immune. Low priority kill target.
Restoration Druid - Uses Barksin, Nourish, Lifebloom, Rejuvenation, Regrowth, Tranquility, Nature’s Grasp, and Thorns. Primarily heals through his HoTs, which tick for massive amounts (ex. Rejuvenation ticks for 50k alone). Can be ignored so long as you have a reliable Shaman, Mage, or Priest Purging/Spell Stealing/Dispelling (preferably all three). He can also be locked down by a Warlock alternating Fear and Banish. High or low priority kill target, depending on strategy.
Survival Hunter - Has a Cat pet, uses Aimed Shot (reduces healing done), Deterrence, Disengage, Explosive Shot, Frost Trap, Steady Shot, Wing Clip, and Wyvern Sting. Low damage, can usually be ignored. Lowest priority kill target.
Arcane Mage - Uses Arcane Barrage/Explosion/Blast, Blink, Counterspell, Frost Nova, Frostbolt, and Polymorph. High damage with lots of counterspelling and crowd control. High priority kill target.
Holy Paladin - Uses Cleanse, Divine Shield, Flash of Light, Hammer of Justice, Hand of Freedom, Hand of Protection, Holy Light, and Holy Shock. Lowest priority healer kill, easy to interrupt. Will cleanse allies so kill early if using much crowd control. Middle priority kill target.
Retribution Paladin - Uses Avenging Wrath, Crusader Strike, Divine Storm, Hammer of Justice, Hand of Protection, Judgement of Command, Repentance, and Seal of Command. Moderate physical damage, but very helpful to his allies. Middle priority kill target.
Discipline Priest - Uses Dispel, Flash Heal, Mana Burn, Penance, Shield, Psychic Scream, and Renew. Primarily casts shield, renew, and fear. Doesn’t really need dedicated interrupts as he doesn’t use spells with cast times often. Middle-to-low priority kill target.
Shadow Priest - Uses Dispel, Dispersion, Mind Blast/Flay, Psychic Horror, Psychic Scream, Shadow Word: Pain, Silence, and Vampiric Touch. Low direct damage, mostly DoT-based. Annoying with fear and silence effects. Middle-to-low priority kill target with Priest and Paladin healers in raid, middle-to-high otherwise.
Subtlety Rogue - Uses Blade Flurry, Blind, Cloak of Shadows, Eviscerate, Fan of Knives, Hemorrhage, Shadowstep. Very high damage, especially on cloth. High priority kill target unless you have a Death Knight use Chains of Ice / Death Grip / Dark Command to keep it locked down and out of the raid.
Enhancement Shaman - Uses Earth Shock, Heroism (Bloodlust), Lava Lash, and Stormstrike. Extremely high melee DPS, difficult to lock down. Usually #1 priority kill target. Heroism/Blood lust must be Purged/Mass Dispelled ASAP.
Restoration Shaman - Uses Cleanse Spirit, Earth Shield, Earth Shock, Heroism, Hex, Lesser Healing Wave, and Riptide. High priority kill target - most effective healer. Difficult to lock down. Heroism/Blood lust must be Purged/Mass Dispelled ASAP.
Affliction Warlock - Felhunter pet, Uses Corruption, Curse of Agony, Curse of Exhaustion, Fear, Hellfire, Searing Pain, Shadowbolt, and Unstable Affliction. Mainly DoT based with light direct damage. Will use Hellfire in the middle of the group which deals a ton of damage. Low priority kill target with Priest/Paladin healers in raid and moving out of Hellfire.
Arms Warrior - Uses Bladestorm, Charge, Disarm, Intimidating Shout, Mortal Strike (reduces healing done), Overpower, Retaliation, Shattering Throw, and Sunder Armor. Very high damage, high priority kill target.
Strategy
The strategy for the Faction Champions is different every time you go in because your raid group composition is always different, and so is their’s. What might be a high priority kill target one week becomes a low priority the next. It’s ever-changing. In any given week you may have to try a couple of different strategies until you nail the one you need. Knowing the strengths and weaknesses listed above is a good start. There are some general rules for this fight that will help, however.
1 - Use a PvP trinket. This fight is so short that whatever other trinket you have equipped probably won’t be used anyhow, but a PvP trinket can save the day.
2 - Healers, move it. As a healer you’re going to have to learn to kite your little heart out. Stay on the move constantly, and always watch your surroundings. If you’re a Priest, make sure Mass Dispel is handy as you’re going to need it a lot.
3 - DPS, front load the damage. Pop Heroism/Bloodlust early. Use 2 and 3 minute cooldowns early and often. Things like Army of the Dead, Flame Elemental, etc can all come in very handy. If you have an interrupt, fear, silence, stun, etc. use it on a healer.
4 - Tanks, you don’t exist. Tanks should almost always drop into DPS specs, as you can’t “tank” anything in this fight.
Example Combination
Just to give an idea of best practices for this fight, lets loot at some example groups. Imagine that your raid group is as follows:
DK Tank
Warrior Tank
Holy Paladin
Restoration Druid
Rogue
Enhancement Shaman
Shadow Priest
Warlock
Hunter
Mage
And the Faction Champion group is as follows:
Restoration Shaman
Restoration Druid
Arms Warrior
Enhancement Shaman
Shadow Priest
Warlock
Your strategy should probably be something like this: Death Knight chooses whatever spec he wants and uses Chains of Ice/Death Grip/Dark Command to keep the Warrior out of the raid and locked down. Warrior tank goes DPS spec, charges in, uses Intimidating Shout, then focuses on the kill target. Rogue focuses on stunning and interrupting the Restoration Shaman. Enhancement Shaman focuses on Purging the kill target to remove Druid’s HoTs. Holy Paladin focuses on Cleanses while the Druid focuses on healing. Kill order should be: Enhancement Shaman, Restoration Shaman, Restoration Druid, Warlock, Shadow Priest, Warrior.
This post is part of the series: WoW Trial of the Crusader Raid Guide
Guide to the five bosses that are a part of the World of Warcraft Trial of the Crusader raid dungeon.