“World of Warcraft: Cataclysm”’s first new instance for high-level players is Throne of the Tides. Located in Vash’jir, this instance features four bosses - but this guide can help you easily conquer all of them.
In the Depths of the Deeps
The Throne of the Tides is a “World of Warcraft: Cataclysm ” instance, designed for players levels 80 and above. It features four total bosses, including Ozumat, the great Kraken that terrorizes the seas of Vash’jir.
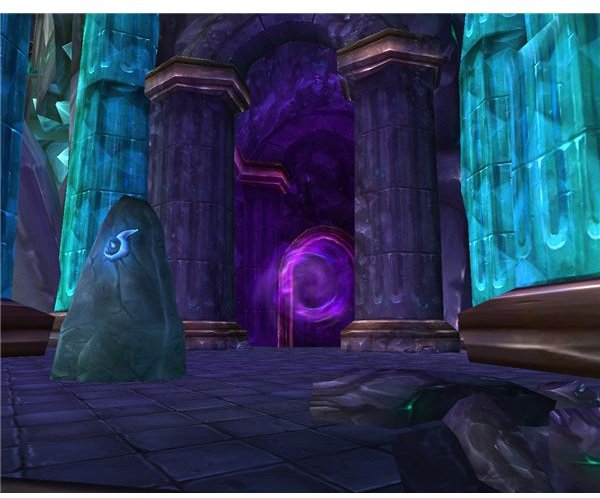
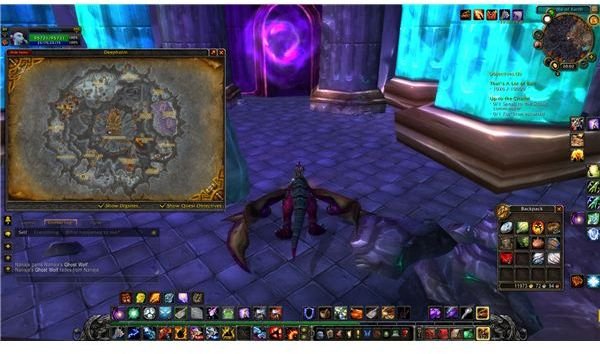
The entrance to the instance is located beneath the Abyssal Breach in Vash’jir, located in the Abyssal Depths zone. It is available on Normal (levels 80-82) and Heroic (level 85) difficulties. There are two quests located inside, plus an additional zone buff obtainable with an Archaeology fragment.
Lady Naz’jar
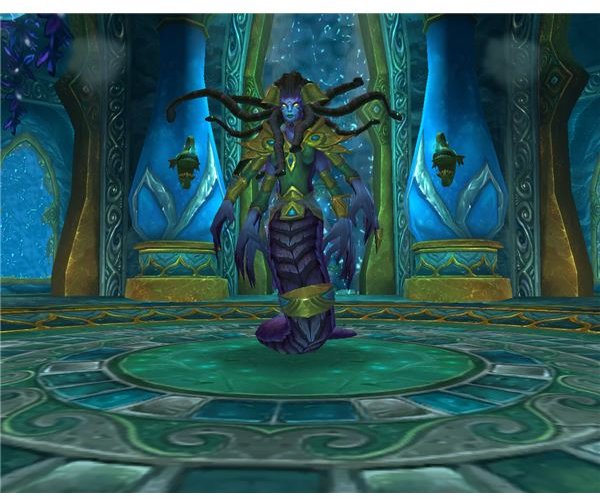
Lady Naz’jar is the first boss inside the Throne of the Tides. Her fight occurs with two alternating phases.
During the first phase, Lady Naz’jar will use three abilities, and should generally be tanked near the central area of the room. She will cast Shock Blast, a powerful spell with a three second (two second on Heroic) cast time on the tank. This should simply be interrupted, as its damage can nearly kill even a moderately geared tank.
She will also cast two spells, both of which appear on the ground before completing. The first of these is Fungal Spores, which will appear brown on the ground and, when it explodes, will cause any player standing in it to take a powerful damage-over-time (DoT) spell. The second of these is Summon Geyser, which appears as a watery blue and will do a high amount of damage and knock back any player caught within it.
At 66% and 33% health, Lady Naz’jar will enter her second phase, and become immune to all damage as she stands in the center of the room. During this phase, she will begin channeling Waterspout, which will send out random watery tornadoes in the directions of players. These should be avoided, as they will push the players back and do some damage.
She will also summon three adds in this phase. Two of these will be female naga spellcasters; these should be focused down quickly by the DPS in the group (and may also be CC’d ). A third melee add will also spawn, which should be picked up by the tank and taken down second or last, depending on whether crowd control is used. Once all three adds are down - or if a time limit is reached - Lady Naz’jar will become active again, activating phase one of the fight.
Commander Ulthok
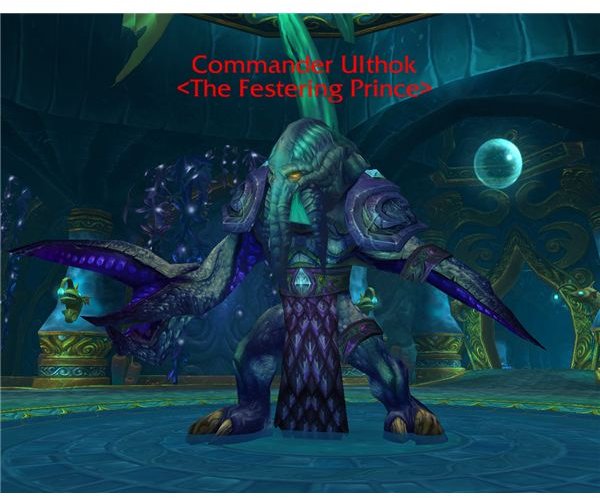
The second boss inside Throne of the Tides, Commander Ulthok uses both kiting and situational awareness.
Ulthok’s key ability is Dark Fissure. This ability has a somewhat long cast time, and cannot be interrupted. It does a massive amount of damage to anyone in front of Ulthok, and leaves behind a void zone when it is finished. Because of this, the tank will want to carefully kite Ulthok around the outer wall of the room, moving out of the way of Dark Fissure and pulling Ulthok to a new location when the spell is over. All other players should make sure to remain behind Ulthok at all times. It’s also important not to use too much space during this fight, as the void zones are permanent until Ulthok or the party is killed, and the party can run out of room if DPS is low.
Ulthok also has three additional abilities, which healers will primarily have to focus on. Ulthok will cast Curse of Fatigue randomly on players, slowing them down - this should be removed if at all possible. He will also randomly Squeeze a target, picking them up and draining their health for a few seconds before dropping them (often into a Dark Fissure). This cannot be avoided, and if the healer is picked up, other party members may wish to help heal them.
Finally, Ulthok will also enrage, increasing his damage, but this may be removed by any enrage dispelling effect, such as Soothe.
Mindbender Ghur’sha
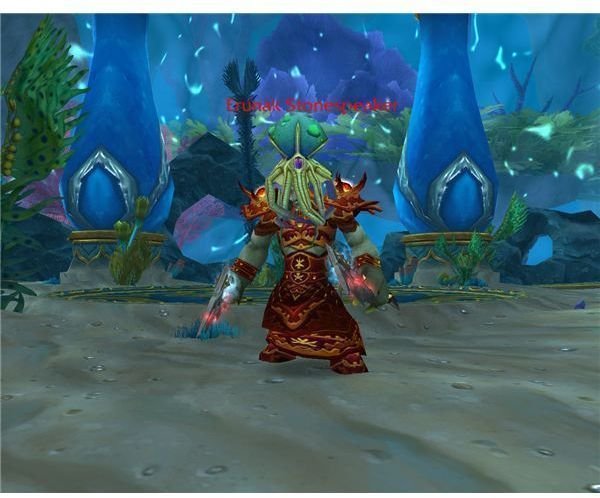
Mindbender Ghur’sha (who begins the fight attached to the head of Erunak Stonespeaker) is the third boss in Throne of the Tides; this is a non-repeating, two-phase fight.
During the first phase, players will battle Erunak Stonespeaker, who is being controlled by the Mindbender. The tank will want to face him away from the party. Erunak has a few abilities during this phase. The first of these is Earth Shards, a randomly targeted spell which will cause earth spikes to appear from the ground and do a high amount of damage. All players should move out of these.
Erunak will also cast Magma Splash, a frontal cone that only the tank should be hit by; and Emberstrike, a magical debuff which should be cleansed if at all possible as it will increase the damage the tank takes each time they hit the boss. Finally, Erunak will cast Lava Bolt on random party members; this should be interrupted as much as possible to reduce the damage done.
Phase two will begin at 50%, and Mindbender will break off from Erunak and attack the players directly. He will immediately control another player, and this party member should be brought down quickly to 50%. This will break the Mindbender off the player, and players may then resume attacking Mindbender normally.
There are only three key abilities that Mindbender uses during this phase. The first, Absorb Magic, lets Mindbender heal for three times the amount of spell damage done to him. Any casters in the group should stop casting when this appears, although it may also be purged or removed with spellsteal.
Mindbender Ghur’sha also will cast an AoE spell , Unrelenting Agony, farely frequently. This spell is unavoidable and must simply be healed through. Finally, he will also cast Mind Fog, a large green gas cloud that will render players in it helpless (outside of moving). Simply make sure that the Mindbender is pulled out of these, and the fight should go easy.
Ozumat, Fiend of the Dark Below
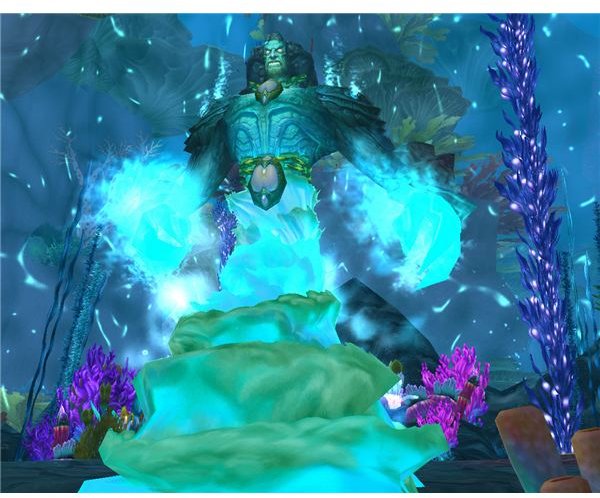
Ozumat is the final boss in Throne of the Tides, and is a complex three-phase encounter. The fight begins when players speak to Neptulon in the center of the room.
Phase One
In phase one, three kinds of adds will spawn; each must be dealt with in different ways.
The first, Deep Murloc Invaders, come in packs, and have low health, making them easily brought down by AoE DPS. These do not need to be tanked, but should be brought down as soon as is convenient.
The second, an Unyielding Behemoth, is the tank’s responsibility to manage during the fight, and should be DPS’d only when other adds are down. This add sometiimes raises up into the area and smashes the ground with a powerful AoE attack, followed by a frontal cone attack, so the tank should keep him away from the rest of the group.
The final type of add are the Vicious Mindlashers. These will spawn individually, with a total of three spawning during the phase. They cast Mana Burn and Shadow Bolt, and should be interrupted often, but do not need to be tanked. Once the third of these is killed, phase two will begin.
Phase Two
Once again, phase two will pit players against two types of adds.
Faceless Sappers are the crucial adds in this phase; three of them spawn at the start of phase two. DPS should focus these down one at a time, and they do not need to be tanked, as they will not attack the players. The second adds, Blight Beasts, do a large amount of damage and have a large health pool, and spawn throughout the phase. These should simply be picked up and kited by the tank around the room.
The final Faceless Sapper’s death will bring phase three, and players should push through this phase quickly. Players must also watch out for large black puddles, simply avoiding standing in them.
Phase Three
Players will finally face Ozumat in this phase, who will appear at the north end of the room. All players will immediately be buffed by Neptulon, increasing all of their powers. Ozumat will also channel a damage spell on all players that will grow increasingly powerful. Save Heroism, Bloodlust, and Time Warp for this phase, and stack up on the northern end of the room. Bring down any remaining adds, and then focus down Ozumat quickly.
References
Sources:
- Author’s own experience.
- Wowhead, https://www.wowhead.com/ .
All screenshots and references from “World of Warcraft: Cataclysm” by Blizzard Entertainment. Screenshots provided by author.