The Iron Council (also called the Assembly of Iron) is a complex boss fight in the Antechamber of Ulduar. Two higher difficulty modes can be activated by killing the three council members in a different order. Learn how to defeat the Iron Council hard modes to earn improved loot and achievements.
Iron Council Difficulty Modes
The Iron Council is an engaging Ulduar boss fight that tests players ability to avoid damaging AoE effects, anticipate massive hits, and think on their feet. It is difficult for tanks, for dps, and for healers. But what happens when your raid team is so good that normal Iron Council holds no challenge anymore? Then it’s time to start doing the hard modes .
The Iron Council has two “hard modes” - one is considered hard_er_ and the other “true hard”. There is no magic button to press, like on Mimiron - instead these harder modes are activated simply by killing the three council members in a different order.
Kill Order: Steelbreaker, Runemaster Molgeim, Stormcaller Brundir
Mode: Easy
Additional Rewards: None
Achievement: I Choose You, Runemaster Molgeim
-———————————————————————————————————–
Kill Order: Steelbreaker, Stormcaller Brundir, Runemaster Molgeim
Mode: Medium
Additional Rewards: Archivum Data Disk (starts quest chain to unlock Algolon the Observer)
Achievement: I Choose You, Runemaster Molgeim
-———————————————————————————————————–

Kill Order: Runemaster Molgeim, Stormcaller Brundir, Steelbreaker
Mode: Hard
Additional Rewards: Hard Mode loot (higher iLvl, better overall) and Archivum Data Disk
Achievement: I Choose You, Steelbreaker
Some New Tricks
As you probably know from doing the normal Iron Council fight, each boss gains a new ability when one of the others die. In normal, the Runemaster gains one more ability and the Stormcaller gains two.
On “medium mode” bosses’ abilities are:
Steelbreaker: Unchanged from normal Iron Council strat. Fusion Punch and High Voltage.
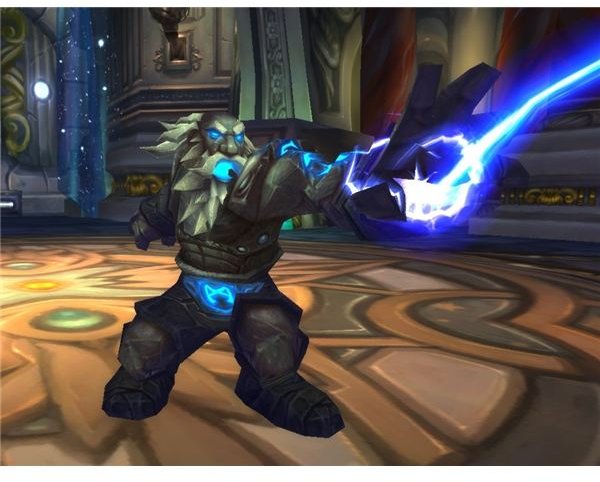
Stormcaller Brundir: Unchanged from normal Iron Council strat, phase two. Will do Overload, Chain Lightning, and Lightning Whirl
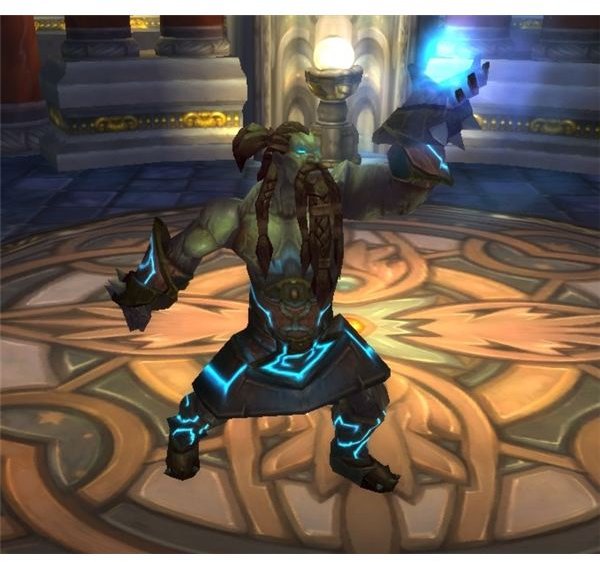
Runemaster Molgeim: Does all normal phase two abilities plus one other. Shield of Runes, Rune of Power, Rune of Death and the new Rune of Summoning. Rune of Summoning happens every 20 or so seconds and will be targeted near a random player, totem, pet, mirror image….. anything. Rune of Summoning will summon elemental adds with 12.5k HP (25k on Heroic). If an add reaches melee range of a player they will explode, dealing roughly 10k damage (15k on Heroic).
-—————————————————————————————-
On Hard mode bosses’ abilities are:
Runemaster Molgeim: Unchanged from normal Iron Council strat, phase one. Will use Shield of Runes and Rune of Power.
Stormcaller Brundir: Unchanged from normal Iron Council strat, phase two. Will use Chain Lightning, Overload, and Lightning Whirl.
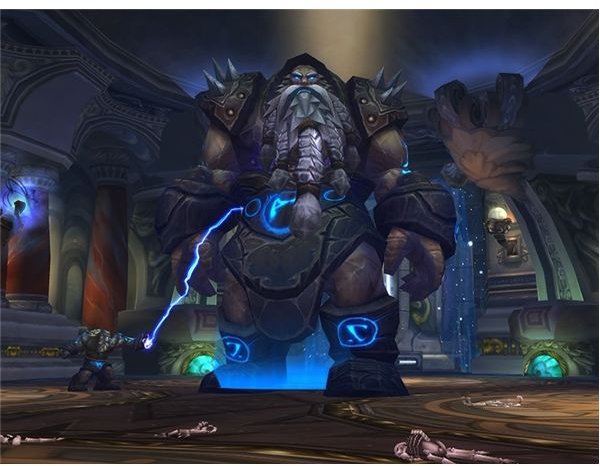
Steelbreaker: All phase one abilities, plus two additional. Will use Fusion Punch, High Voltage, Static Disruption, and Overwhelming Power. Static Disruption begins in phase two and targets a random raid member. Inflicts nature damage to players within 6 yards of them, and increases nature damage taken by 25%. Overwhelming Power begins in phase three. Buff/Debuff on Steelbreaker’s target (main tank) that increases size and damage done by 200%. However, this buff comes at a cost. It will also inflict Meltdown, which causes the target to explode for 30k 15 yard AoE damage and die after 60 seconds. This death is unavoidable. Each player that dies increases Steelbreaker’s damage by 25% and heals him for 20% of his life.
I Choose You, Runemaster Molgeim
When doing the medium difficulty Iron Council fight , only one thing is different. Instead of killing Runemaster Molgeim after Steelbreaker, you kill Stormcaller Brundir. Brundir will not have his Lightning Tendrils ability and should therefore be fairly simple to bring down. You will still have to contend with Rune of Power which can appear under him. While a little bit annoying to deal with because of Brundir’s tendency to stand in one place and cast, this will actually help speed of the DPS of your raid.
After Stormcaller Brundir dies, Runemaster Molgeim will get the all new Rune of Summoning ability. Rune of Summoning happens quite often - every 20-30 seconds. It will target a random raid member and place a purple rune under them. From this rune will spawn elementals that explode for a lot of damage once reaching melee range of a player. Several come, one after another.
The best way to deal with the new Rune of Summoning ability is to position your raid grouped up on Runemaster Molgeim on one end of the room (by the door, or opposite the door). When Rune of Summoning happens the entire raid needs to quickly move to the opposite side of the room, except for a few ranged AoE classes. Marksman Hunters spec’d into Barrage and using Frost Traps are very effective, as are Mages spec’d into Improved Blizzard. The ranged AoE need to immediately begin slowing effects and AoE on the purple rune. If AoE stays consistent through the rune phase it will easily handle all the summoned adds before they have a chance to do any damage. The main difficulty here is keeping them topped off with mana, and you may be forced to use cooldowns like Mana Tide or Innervate specifically for them.
While this running back and forth is the safest way to deal with Rune of Summoning, it can also be annoying and slow down DPS. If you feel your ranged DPS is up to the challenge you can have them attempt to take out the adds on the spot, without the raid moving. Players will need to give the Rune of Summoning a 15 or so yard buffer, but for the most part the raid can stay in the same place.
I Choose You, Steelbreaker
Killing Steelbreaker last really is hard - exponentially harder than the regular Iron Council strategy . Elements are added to the fight that are almost impossible to deal with, but there are ways of minimizing the impact and being prepared for the worst. After you kill the first boss, Runemaster Molgeim, Steelbreaker will gain a new ability.
The first new ability that Steelbreaker gains is called Static Disruption. Static Disruption targets a random ranged raid member. If no members are ranged, it will target someone in melee range. The easiest way to deal with Static Disruption is to have the entire raid group up right behind Steelbreaker accept for 3 ranged. The ranged group needs to be 6+ yards apart from eachother, and from the raid. One of the ranged will be targeted by Static Disruption, but only that player will be effected. The next Static Disruption will not hit the same ranged member as before, but instead target one of the other ones. After the third has been hit with Static Disruption, the first will have lost the debuff and be prepared to take the next. This is the easiest way to avoid excess damage from Static Disruption.
After Runemaster Molgeim dies, Steelbreaker will gain his final and most detrimental ability: Overwhelming Power and Meltdown. The main tank will always be the target of Overwhelming Power, which does increase his damage by 200% but also inflicts the Meltdown debuff. After 60 seconds the tank will explode for roughly 30k damage and inevitably die (yes, even if he has more than 30k HP). A few seconds before death (10 or so) the offtank needs to taunt the boss and the main tank needs to get well out of range. After the explosion happens it is best to have the tank resurrected by a Druid with Glyph of Rebirth. A Soulstone can be used, but is definitely not ideal because of how little health the tank resurrects with.
When the tank is resurrected, the offtank will have already been afflicted with Meltdown. As before, he should wait until the new tank is about to explode then taunt. Tank swapping must continue in this way until Steelbreaker is dead. This is very difficult because Steelbreaker will be healed for 20% of his life every time one of the tanks dies. DPS has to be extremely high, and Bloodlust/Heroism should be saved for this time.
This post is part of the series: WoW Ulduar Boss Guides
Check out this article series for strategies to take down the bosses of Ulduar in World of Warcraft.
- WoW Ulduar Raid Boss Guide - Auriaya
- WoW Ulduar Raid Boss Guide - Freya
- WoW Ulduar Raid Boss Guide - The Iron Council (Assembly of Iron)
- WoW Ulduar Raid Boss Guide - General Vezax
- WoW Ulduar Raid Boss Guide - Razorscale
- WoW Ulduar Raid Boss Guide - Thorim
- WoW Ulduar Raid Boss Guide - Kologarn
- WoW Ulduar Raid Boss Guide - Hodir
- Ulduar Raid Boss Strategy - Ignis the Furnace Master
- Ulduar Raid Boss Guide - The Iron Army and Flame Leviathan
- Ulduar Hard Mode - The Iron Council (Assembly of Iron)