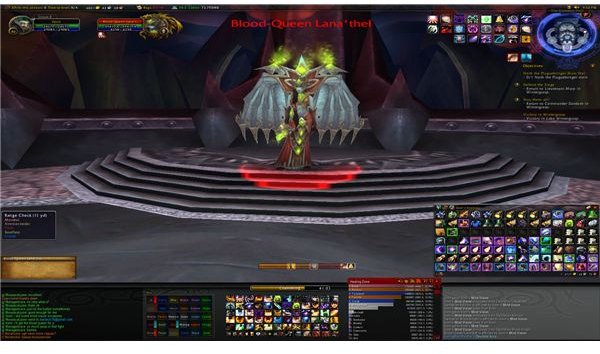
How to defeat the Blood Council in World of Warcraft’s Icecrown Citadel. Learn how the first fight of the Crimson Halls works.
So, What is the Blood Council?
The Blood Council is the first boss located in the Crimson Halls section of Icecrown Citadel. The council consists of three different darkfallen princes and is a “controlled chaos” style fight which may seem daunting at first, but much easier once you get the hang of it.
- Prince Keleseth, which you may remember from Utgarde Keep .
- Prince Valanar, which you may have skipped over if you avoided Naxxanar in Borean Tundra .
- Prince Taldaram, which you may remember from Ahn’kahet .
These princes which you’ve previously killed are back, and they’re meaner and more arrogant than ever as you enter this wing in an attempt to stop them and move on to Blood Queen - and snag some loot in the process.
How the Fight Works
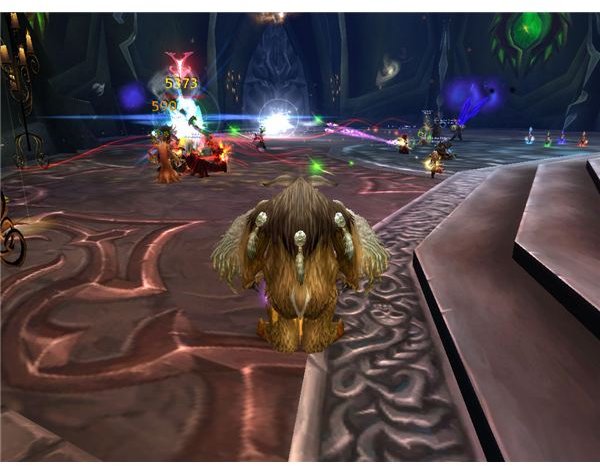
Well for starters, one of the most important things to understand about this fight is that all three princes share the same health pool - so when it’s gone, all three of them are done for. However, only one of the princes will actually be vulnerable to DPS at any given time, so it’s paramount for your raid’s DPS to pay attention to which prince can be hurt at any given time and to switch their attacks and pets to him. Tanks as well - when the health pool switches from prince to prince, it’s likely that the tank might not have enough threat on the new target to hold it so everyone really needs to pay attention to threat levels during this encounter. This fight, like many of the boss fights in Icecrown Citadel, is very movement heavy so you’ll be shifting positions a lot during the course of the battle.
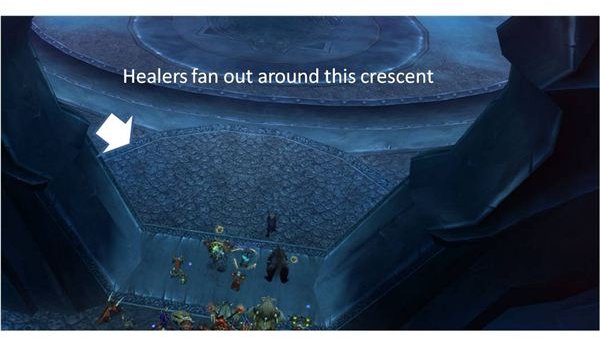
There’s very little difference in this fight in 10/25 man, except you’ll be a lot more pressed for space in the 25 man and you’ll need more tanks. Since spacing is probably the most important issue in this encounter overall, prepare your raid accordingly.
Each prince will be doing different things during the whole fight, and a “big move” when they “go active” during the course of the fight, as the health pool passes to each one of them. How to you beat them? Read on.
Balloons and Prince Keleseth
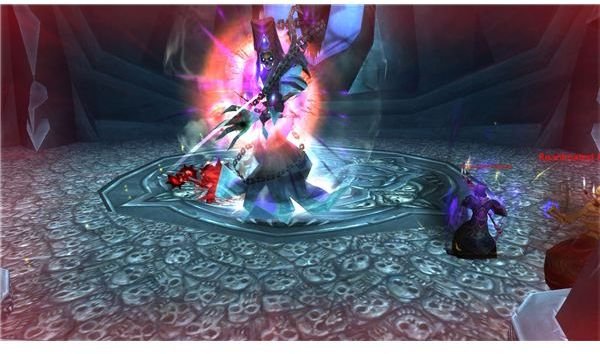
Prince Keleseth may be the most interesting thing about the encounter. Your tank for this prince will be running around grabbing the “balloons” that he’ll spawn around the room. These giant floating blueberries will give the person grabbing them a very powerful shadow resistance buff called Shadow Resonance. When Keleseth “goes active” he’ll blast the person tanking him with an incredibly powerful shadowbolt that will kill anyone if they’re not properly stacked up with “balloon buffs”. It’s absolutely imperative that your Keleseth tank is able to grab these Dark Nucleii and that your other players don’t hit them or kill them - this will wipe your raid in a hurry.
It’s worth noting that many groups use a ranged tank to fulfill this role. Note the purple balloons in the photo “sticking” to the tank.

Shock Vortexes and Prince Valanar
Prince Valanar is one big reason your raid needs to stay fluid during the encounter. Shock Vortexes and “Empowered Shock Vortexes” will penalize and kill your raid if they stand near each other during these occurrences so it is very important to keep plenty of space between your ranged members and to instruct your melee to scatter during the “go active” Empowered Shock Vortex. Note he’ll also be tossing around Kinetic Bombs which will do a large amount of damage if they end up hitting the floor as well as knock people about - You can attack them to “bounce” them into the air, keeping them afloat much like bouncing a balloon. The raid designer for this fight must really, really like balloons.
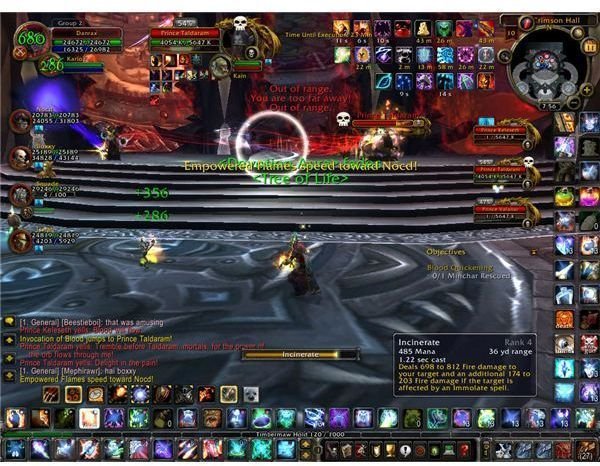
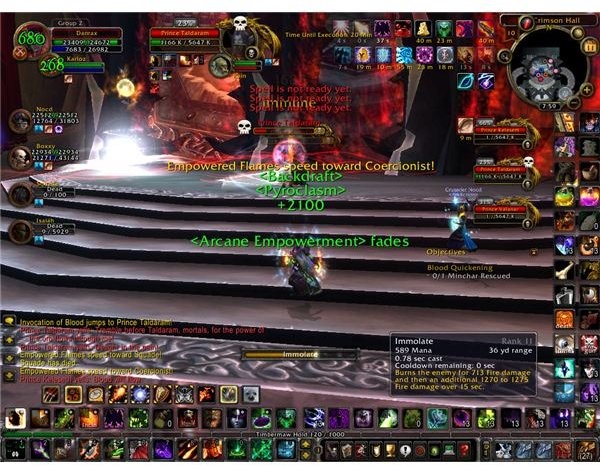
Flame Balls and Prince Taldaram
Your raid needs to pay attention - random members will be targeted for the ball of flame and most importantly, the “Empowered Ball of Flame”
For the regular balls of flame, just have the individual run away as far as he can - they’ll take less damage based on how long it took to hit them.
The Empowered Ball of Flame is what wipes a lot of raids on this fight before they get the hang of it - The person targeted will need to kite the giant red ball through the raid so it hits other people during it’s flight. The huge impact damage of the ball will be lessened by everyone who “chips in” by taking a smaller hit along the balls path before it detonates at the end.
Pulling it All Together
It might seem like a lot of abilities and things to do at first - there’s tons of stuff going on during this fight and it’s very difficult to keep track of them all as you try to dps/heal/tank. When you first start your attempts just focus on getting the “main prince” switches down and learning how to deal with their Empowered abilities - that’s the most important thing. You’ll find the secondary abilities will fall into place rather quickly if you can just deal with the big ones, and pretty soon you’ll find that the incredible amount of things going on in the backdrop just sort of flow together.
“Controlled Chaos” style fights have always been some of my favorite raid encounters when done correctly, and this fight is a solid addition to the raid archives. Don’t try and keep track of everything going on, you’ll just overwhelm yourself pretty quick - just pay attention to the important things and this encounter will be down in no time.
This post is part of the series: WoW Ice Crown Citadel Guides
From raiding the Icecrown Citidel to beating the Blood Council to taking down Lady DeathWhisper and Lord Marrowgar, take a look at these boss guides for Ice Citadel in World of Warcraft.
- Icecrown Citadel - Beating the Blood Council
- Besting the Blood Queen - Taking on Lana’thel in Icecrown Citadel
- Ice Crown Citadel – Lady DeathWhisper – 25 Man Strategy
- Ice Crown Citadel – Lord Marrowgar – 25 Man Strategy
- Raiding Icecrown Citadel: Rotface 25 and 10 Man Regular Mode
- Raiding Icecrown Citadel: Festergut in 25 and 10 Man Regular Mode