This guide gives comprehensive details on how to modify the original Morrowind game so that it looks entirely different, giving a game released some time ago a ‘next-generation’ look.
Expanded Graphics Guide
Although guides on altering Morrowind’s appearance have surfaced some time after the release of the game, even before the birth of its two expansions in ‘Bloodmoon’ and ‘Tribunal,’ the idea of a ‘Morrowind Expanded ’ guide, in structured form, was conceived by former Birmingham City University lecturer David Haden who is also a published author.
The original guide, printed as a blog, features extensive information on how to turn a somewhat dated video game, if only aesthetically so, into a modern looking title by modifying internal content with the addition of notable ‘mods’ or texture-packs. A ‘Mod’ is simply a module, usually created with the construction set given by Bethesda, which alters or adds to existing aspects of the game.
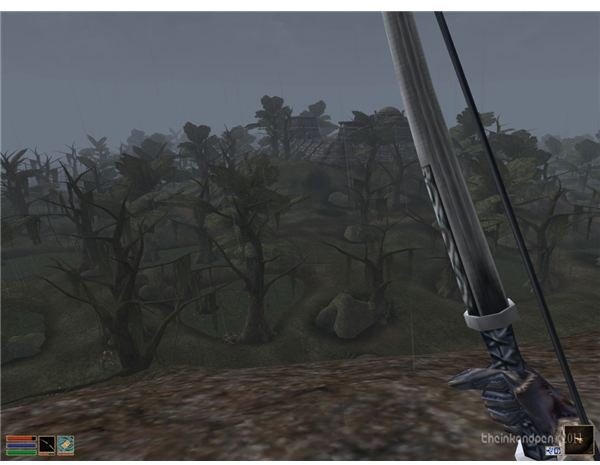
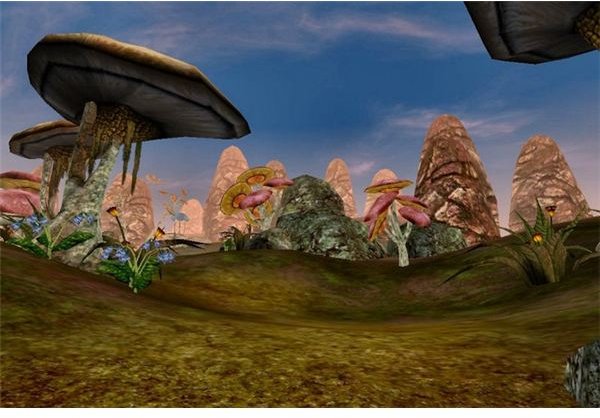
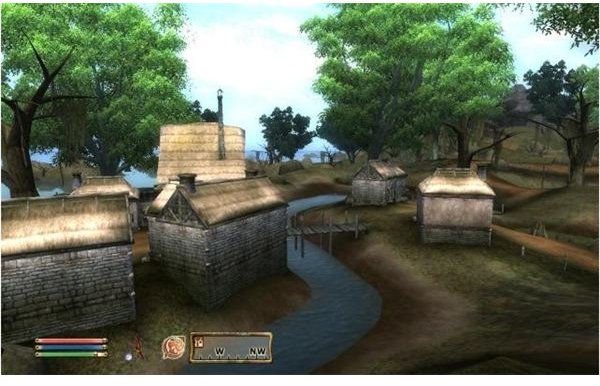
With the continuous release of modded-content, creatively put together by fans and enthusiasts alike, Morrowind can be re-dressed accordingly to offer an entirely new experience. Wooded pastures, rich forested areas and detailed volcanic landscapes are unveiled in this ‘Morrowind – Expanded Graphics Guide’ which seeks to add something to the original blog. This is merely a guide on the visual aspects of the game and hence it does not list mods which relate to gameplay-enhancement.
First Things First
Before reading onwards you will want to install the two expansion packs subsequently released, which are ‘Tribunal’ and ‘Bloodmoon’ as mentioned above, both featuring new explorable areas, quests and various other frolics. You can buy both expansions separately,
which should cost less than a tin of spam (current food prices,) or simply get yourself a copy of ‘Morrowind: Game of the year edition’ which includes everything. Install Tribunal first, then Bloodmoon.
The reason you need both packs is that the main application used to expand Morrowind’s graphics needs all the expansions and the latest patch installed. This is not the only way of modifying the game’s visuals: there will also be a section on how to graphically enhance the game so it resembles its bigger brother, ‘Oblivion.’
The choice of what kind of game you want to play, whether it is one which retains some of its original feel or one affected by comprehensive changes, is entirely up to you and the screeshots provided should help.
Projected Towards the Future: The Graphic Extender

Once you have installed the latest patch for ‘Bloodmoon’ simply:
-
Download the latest version of ‘Morrowind Graphic Extender ’
-
Extract it, and go to the ‘Data’ folder
-
Copy both ‘shaders’ and ‘Texture’ folders into the original ‘Data’ folder for the game (i.e. C:Morrowind\Data\)
-
Copy the remaining files and the folder (MGEgui, dinput8, mge3 folder etc…) inside the directory of the game (i.e. C:Morrowind)
- Launch ‘MGEgui’
You’ll be presented with various options affecting the game’s graphics in various ways. The Graphic Extender is necessary so that enhanced lighting effects (i.e. HDR) or other more realistic aspects can be added.
Examples of Settings
The easiest way is to leave default settings as they are, and only change some settings in the ‘Global Graphics’ and ‘Render State’
tabs. You can also set ‘Distant land’ according to your preference in the last tab which increases drawing distance and the details of distant object as you wish.
Some examples:
- Set a high-enough resolution in the ‘Global Graphics’ tab (i.e. 1280x960 or more)
-
Set Anti-Aliasing to x8 in the ‘Global Graphics’ tab
-
Set Anisotropic filtering level to x16 in the ‘Render State’ tab
-
Set Scaling Filter to Anisotropic in the ‘Render State’ tab
-
Set your desired distant-land draw-distance in the last tab. The settings are intuitive and you can hold your cursor on them for an explanation.
-
Set Mipmap LOD bias to -2 in the ‘Render State’ tab.
By changing these values you should begin to notice differences already. Experiment at will or refer to a more complete explanation of the settings . You can also select ‘High detail shadows’ in the ‘Morrowind.ini’ tab, which does make a difference but requires a powerful video card.
Fill-in the gaps: Texture Packs
There are quite a number of texture packs for the game, some vivid and realistic, others sombre: it is entirely a matter of taste. The most popular still remains the combined pack 3.0 which adds enough detail without changing the original ambience completely.
Other interesting ones are Vibrant Morrowind which adds just that vibrancy to the world, Andy’s Texture pack or Darker Morrowind which is a personal favourite and adheres to the original dark continent of Ashlander culture.
Next you will want to update the body and faces’ models. Popular modules remain Better Bodies and Better Heads (run a search for version 2.0.7 since there is no official source.) The models by Astarsis , a community member, are also quite good and the difference is considerable. The site indicated also contains a large number of other mods.
For considerable enhancements to flora and fauna, the modules created by Vality are a must. Most notable are modifications to the Ascadian Isles, Balmora and the Bitter Coast, although the redressing of the ice caverns is also easy on the eyes.#
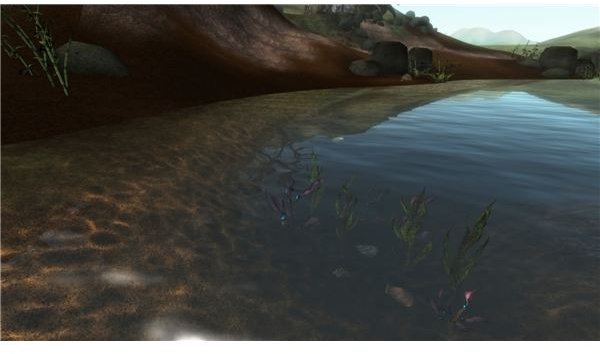
Lastly, as part of our Expanded Morrowind, you might want to download the Animated grass , which adds further realism with its gentle swaying to a mild breeze.
I Want to Be Like You - Morroblivion
If you own Oblivion and its expansion, Shivering Isles, it is possible to convert Morrowind to look almost exactly like it. In case you
don’t, it is still possible with some attention to detail and patience.
The Morroblivion site offers detailed instruction on how to do both, and it saves a lot of time in downloading and installing the above mods. If you are installing the required content with Oblivion and Shivering Isles present, you can travel from Vvardenfell to Cyrodiil and even undertake the main Oblivion quest.
Do bear in mind that this conversion is entirely ran by fans, and hence it is prone to errors or glitches. However, the project is still being worked on and various fixes are continuously released.
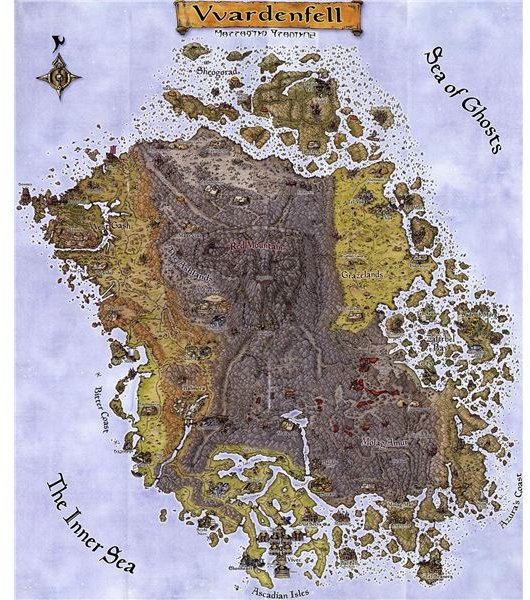
In any case, you now have something which little resembles the original purchase: enjoy exploring a new Vvardenfell.
This post is part of the series: Morrowind Mods & Customizations
Overhaul your Morrowind game play with these modes and customizations.