X-13 holds a very special stealth suit, and it’s all ours after we run a few tests and prove our abilities on the course. There’s also plenty to grab on the observation course, and a few optional challenges for interested parties.
Lab X-13
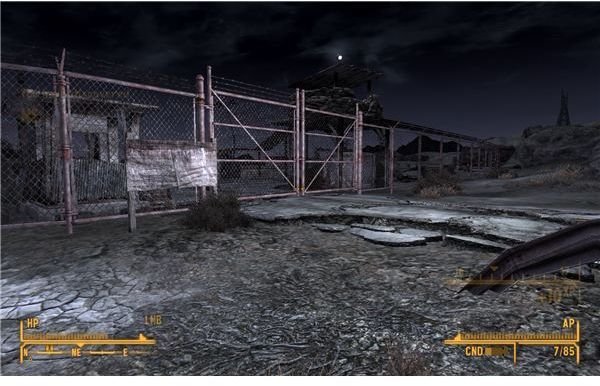
This is a surprisingly easy course, and it involves very little combat. Take the long walk to X-13 and watch out for the nightstalkers and lobotomites that guard the way. Once you get inside, things will be a bit safer. If you have the sonic emitter’s upgrade, you can disable the field to the right and get the key to the X-8 kennel from the suitcase inside. The main attraction is to the left though.
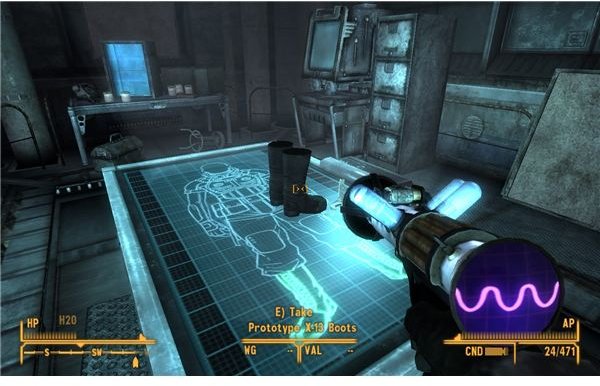
Walk through the three labs to pick up the gloves, boots and torso piece for the X-13 stealth armor. As noted, this is very special armor. It starts off with a high bonus to Sneak, and offers automatic use of Med-X and Stimpaks. It also talks to you and will warn you of nearby hostiles.
The objective for now is to actually make it to the test course, but it’s well worth your time to walk around the observation deck and check all of the computer’s. The computer with the fancy lad snack cakes and greasy toolbox has an implant upgrade for the auto-doc. There are also two upgrade codes for K 9000 mods that you can get off of the computers, which can then be giving to the CIU and bought.
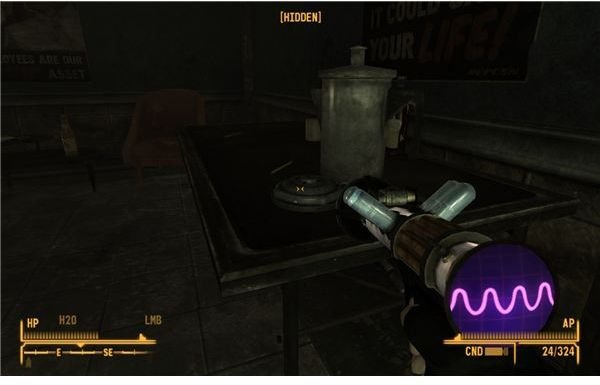
There are also extra chemistry sets, which can be used to create a mix of drugs or five stimpaks, as long as you have 25 points in Science. Keep an eye out, since it’s at least a good source of money.
There is also a “Test Area 2” right next to the main course. If you can pick the lock, you’ll be able to get a protonic inversal axe from inside the destroyed VR simulator, which is an incredible weapon against robots.
When you’ve explored to your heart’s content, you can go up to the entrance to test area one and use the computer at the door to get inside. As long as you have the stealth suit on, it will let you inside.
The Basics of the Stealth Course
Don’t worry too much about saving before the stealth course. Failure isn’t permanent, and in fact, for non-stealth players it’s a good idea. The basic course is just a simple theft. You can’t be seen by the robots, at all. If they see you, that’s it. Being spotted is an instant failure, which just means that you have to leave and restart the course.
Note: Stealth boys should make this much easier, but I won’t assume that you have one. If you do, just use it and enjoy the easy course.
Note, that it is possible to stay back after failing, in which case, you can just kill the robots. This appears to be intentional, since there’s dialogue from the stealth suit for it. Regardless, it’s an option. Just go around and shoot the weak robobrains, and one-shot the turrets to clear the field.
If you want to do it legitimately, you can try to stealth shot them (the sonic emitter’s critical is quite nice for this). The best path that I found was to swing to the right, pick the Average or Easy lock and make it to the back hallway. Then, it’s just a straight shot behind the first patrol in the hallway to the left. You can then trail behind the second and pick the steel Hard lock to get back up the steps to the observation deck. Once you’re up here, you can safely walk along the rafters and then drop down in the well decorated main office.
If you can’t pick the lock, you’ll need to swing to the left and watch out for another robot in the hallway next to it.
You should be able to just grab the X-13 document out of the wall safe. This will end the test and net you a boost to the suit, and a few energy cells and a magazine in the reward safe at the start. Return to the beginning and just run it again. There isn’t much of a change, since the robots will still be disabled if you choose to kill them.
The Last Necessary Test
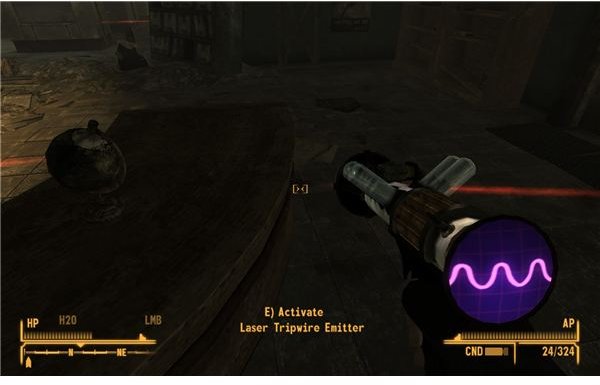
The tripwires, as you may have noted from a computer message, can be easily disabled. 50 points in Science will change the IFF code, and 50 points in Repair will disarm the tripwire. Just approach it and kill the emitter, or just avoid the lasers. You can jump over desks or duck under the beams to evade them, if you can’t kill them.
The course is basically the same though. Go to the right, weave between the beams and make it up for an easy jump down into the office. Avoid the beams in the office by landing on the desk, and quickly loot the safe to end the test and get enough of the technology unlocked to please Dr. Klein.
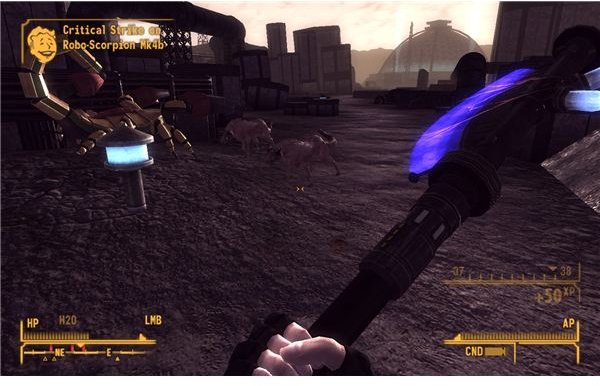
This will also anger Dr. Mobius, so I hope that you’re ready for a fight. The usual tactics against his roboscorpions will work. If any robots survived, they should fight for you. They’ll die quickly, but they’ll at least be a distraction. The scorpions should be fairly spread out, so just keep an eye out for them and just cut them down as you go.The new protonic inversal axe is a real beauty in these close quarters.
The Optional Tests
It’s not a bad idea to run the last two tests though, since that will get you a few magazines and a boost to Perception and Agility built into the stealth suit.
For the third test, they’ll add proximity mines to the mix. They’re basically just the radios from Dead Money. You’ll need to either disable them or run away quickly before the beeping gets too fast and the mines simulate an explosion, which means a failure.
The mines have four red lights, but they can be well hidden. I didn’t find it too hard to just run through the course, especially since all of the robots will be dead from the scorpion attack anyway. Just watch for any tripwires that you didn’t already turn over to your side, and keep moving along the same basic run. Loot the safe to net the rewards.
The fourth and final test is a bit different. For this one, you have to disable the robots. This doesn’t mean kill. You’ll need to walk up behind them and hit “E” to deactivate them. Any dead robots will respawn, but any converted tripwires will still be yours.If the tripwires are a big problem, just hang behind after a failure and convert them.
Move to the right at the start and quickly deactivate the one in the hallway to the left. The second is just to the back right. You should be able to just slip past and shut it down too. Just quicksave, then peek out to see whether it’s facing the other way. Then just run in behind it and deactivate it.
The third one is over to the left. It runs a very short patrol by a few desks. You should be able to just go through the doors and shut it down in the same way. Don’t worry about the mines nearby. They’ll shut off as soon as you deactivate this robot.
Once it’s done, you’ll get the last reward and bonus, and officially finish the tests.
References
All screenshots from Fallout: New Vegas - Old World Blues
All information based on a level 35 character’s playthrough. If you have any other questions, please ask them in the comments section below.
This post is part of the series: Fallout: New Vegas - Old World Blues Walkthrough
Old World Blues takes you to the Big Empty for some old world science and general B-movie craziness. This walkthrough will cover how to get the technology from X-2, X-8 and X-13, kill Dr. Mobius’ giant roboscorpion and how to find all of the personality holotapes for The Sink.