Dirk the Deranged has a secret, and with some “clever” wordplay, you, too can learn what it is. Just don’t tell Durk that you know (he wouldn’t believe you anyway)
Welcome to the DDO Quest Guide for “Durk’s Got A Secret”

This is a quest guide for the Dungeons and Dragons Online Freemium (for those who don’t know this term, look it up here in the General Terminology section of BrightHub’s MMO Gaming Dictionary . I hope to have a series of these walkthroughs, so keep checking back for more!
QUEST OBJECTIVES:
-
Kill the first Kobold brother while the second is away
Advertisement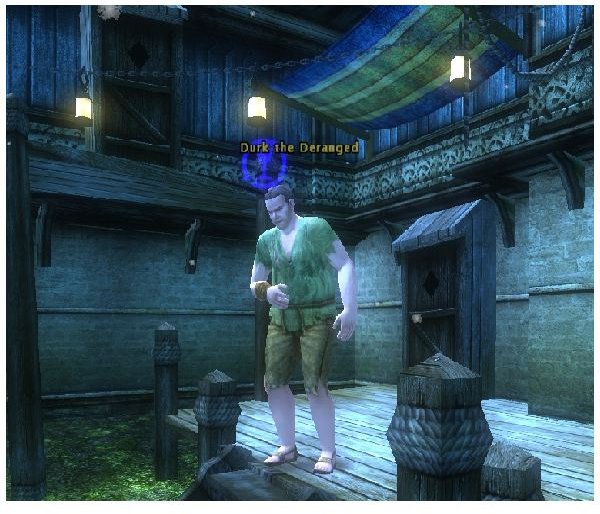
-
Kill the second Kobold brother while the first is away
OPTIONAL OBJECTIVES:
- Open the rear section of the sewer
- Eliminate the Troglodyte Henchmen
- Eliminate the Troglodyte Shaman
MAIN QUEST:
Dirk the Deranged has a secret, and with some “clever” wordplay, you, too can learn what it is. Just don’t tell Durk that you know (he wouldn’t believe you anyway). After accepting the quest, head down into the Den of the Kobold Brothers that’s right nearby Durk. This is a level 2 quest so I wouldn’t choose the “Normal” difficulty unless you’re a few levels over the quest, or have a partner or two.
That said, head inside and head southward. The DM will inform you that, “You wish all these bones were a little cleaner. The air reeks of rotting meat.” Keep your nose pinched as you look to your left. You’ll see a branch from your immediate path, this leads to several
grey oozes, so keep either a ranged weapon handy, or a weapon that isn’t your primary weapon. Oozes do a LOT of damage to your equipment, so I’d recommend a ranged weapon, and run-and-gun tactics to keep them at bay.
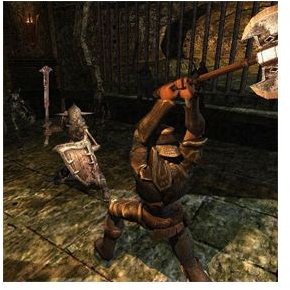
After slaying the oozes, go back to the path heading south. Soon enough you’ll run into a few kobolds,generally a Kobold Thrower, Kobold Shaman and Kobold Warrior. By the time you’ve taken this quest, you know the tactics for kobolds: Stab, slash or bash them into oblivion. Though you may have a rough time with the Kobold Shaman, they’re royal pains with their spellcasting and constant leaping backwards to avoid your melee attacks.
MAIN QUEST (continued)
After taking down the oozes , continue south until you reach the bend in the path to your right. Here you’ll find another Grey Ooze dripping down from the ceiling to attack. Handily defeat the ooze with your prior tactics and continue onward. Another bend will take you southwards once again.
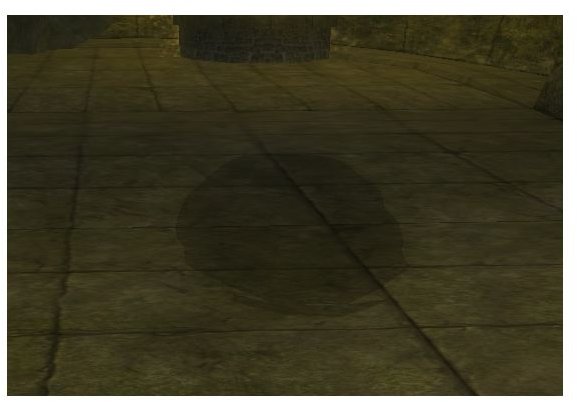
At this time you’ll be hit with a T-Junction. Take a left, and you’ll be met with two more Grey Oozes. Kill them both and continue onward. Not much further on there will be a right turn, and the Dungeon Master will inform you that, “The floors, walls and ceiling drip with ooze. It quivers as you approach…perhaps in anticipation?” Yay, more ooze. Kill the three oozes that emerge to attack and continue on your path.
At the end of this short hallway is a wall that looks suspiciously like a secret door. First, destroy the few kobolds here that attack you, then consult your mini-map and you’ll see that, indeed, you should be able to go beyond that wall. Searching will do you no good, and I’ll come back to this later in the OPTIONAL QUEST section of this guide.
For now, head left and take that hallway to the south as it turns. You’ll run into a few more kobolds that will rush to attack you, take them down and you’ll notice a sealed door at the end of the hallway. This is also an Optional quest to open the rear section of the sewer, which I’ll review in the OPTIONAL QUEST section. There is also a door to the east.
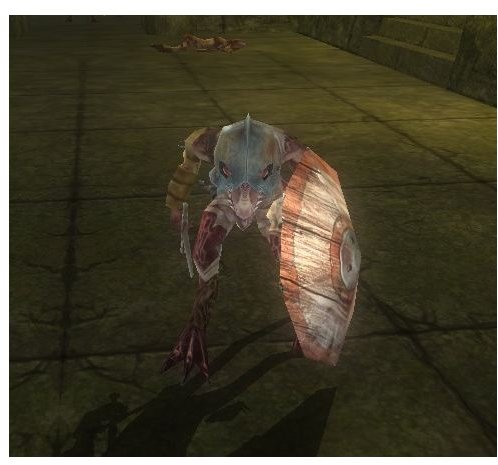
BE CAREFUL, here is one of the main objectives, and there are a LOT of kobolds to contend with, including a Kobold Chieftain, one of the two Kobold brothers. There is at least one shaman in the mix, as well as a few Kobold Throwers, Warriors and regular Kobolds are in the mix, as well. Once the chaos dies down (along with the kobolds), the DM will announce that, “The second of the kobold chieftain brothers has been slain,” search the area.
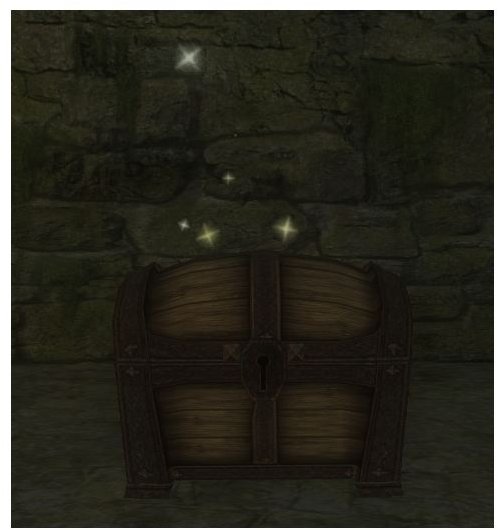
At the northern section there will be a chest which should have lots of goodies for you to take home. There will also be a valve to turn which we’ll come back for later on in the Guide. You can turn it if you like, and the DM will announce that, “The rear section of the sewer has been opened.” This completes one of your optional objectives. However, we’re not at that point yet.
MAIN QUEST (continued)
Head back outside, and back to the section where I mentioned the secret door will be (the top of the inverted-U on your minimap). From here, head to the other side of the inverted-U. In the niches on either side of the path will be a kobold thrower or two and a kobold shaman. Take them down as you normally would (you should be used to combat by now) and notice that the door at the rear entrance of the sewer will be open. Don’t bother with this just yet, and take a look to the west (which will likely be on your right).
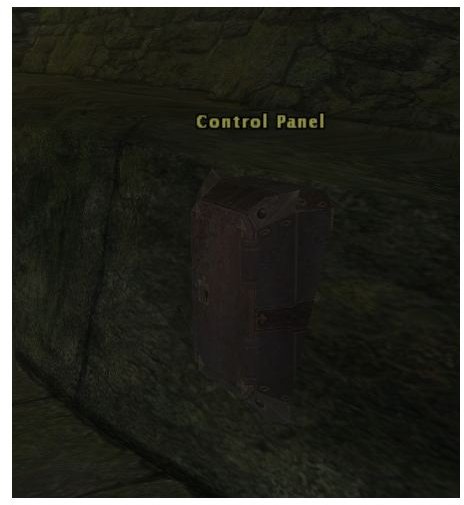
If your Spot check is high enough, you should be able to spot that there is a trap here and a message stating that you “sense danger” will pop up on the screen. If you happen to be a Rogue reading this guide, pause here, and search. If your search skill is high enough, what looks to be a fuse box will appear on your right, shimmering white halos will slowly emanate from the box.
Don’t be alarmed, this is just the box to disarm a trap. If you have a high Disable Device skill (and Thieves Tools), disarm the trap. If not, be prepared to take some fire damage.
Run screaming through the two posts, noting that the fire is now charring your poor, poor armor and clothing, and keep running until you hit the door. BE CAREFUL as you open the door, this is another Kobold Chieftain lair.
Here you’ll find an array of kobolds similar to the ones you fought with the first (second) chieftain, as well as the DM informing you that, “The bulging chest in this room could only belong to one of the kobold brothers you’ve heard so many secrets about….”
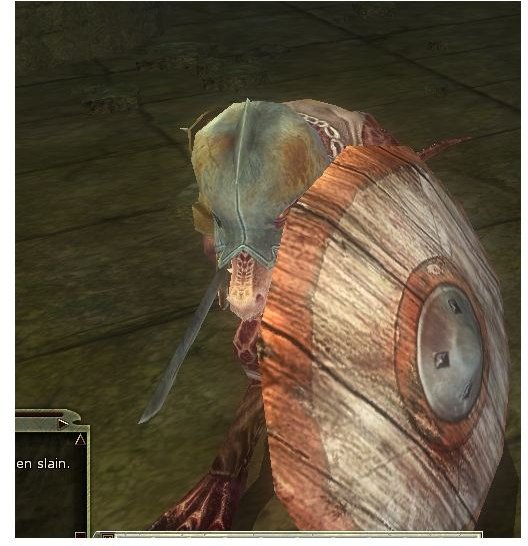
After you take them down, the DM will inform you that, “The first of the kobold chieftain brothers has been slain.” Hooray for us. Now go loot his chest of goodies. It should be in the southern half of the room on the western side, in a cubby. It’ll be shimmering like the previous one, so just loot away.
Congratulations. You’ve just completed Durk’s Got A Secret. But you’re not done yet, we still have the optional quests to go.
OPTIONAL OBJECTIVES:
Eliminate the Troglodyte Henchmen:
For this quest, I’m afraid, you’ll need at least a competent Search skill . So, if you have the skill, read on.
The first Troglodyte is in the northern section of the sewer, in the first inverted-T section of the dungeon (marked on the map included with this Guide), hidden behind a very obvious secret door. Search for the door that I’ve marked on the minimap, and open it. Upon opening it, you’ll hear the Dungeon Master tell you, “A troglodyte? It must be a hired henchman. And where there’s one trog…”
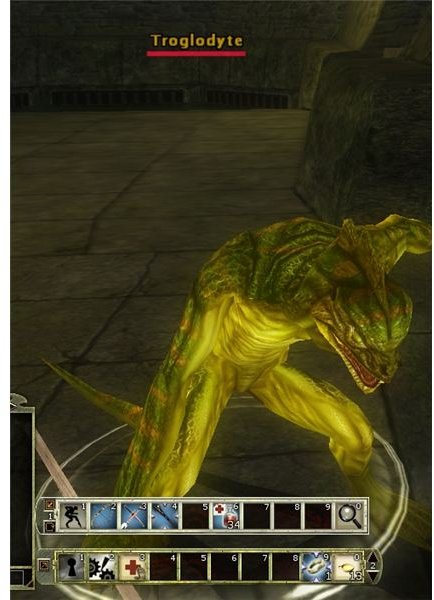
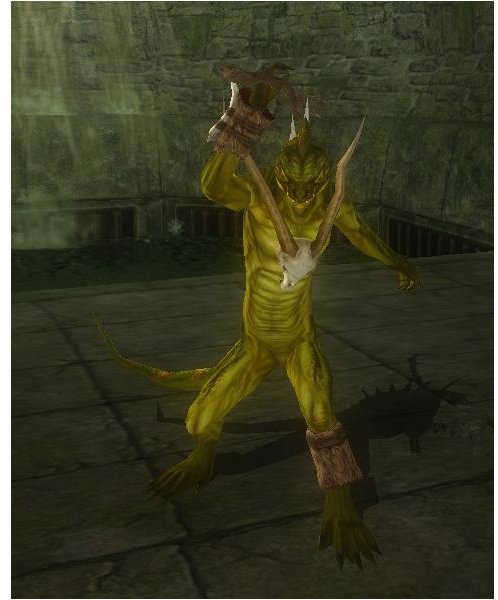
Here you’ll find a couple of Kobolds hanging out with a hidden troglodyte. Melee classes, beware of the Troglodyte’s “stench”. It is a debuff that will lower your attack rolls and make your melee attacks slower if you fail the Fortitude save.
Once you’ve taken down the Troglodyte and his friends, the northern section will have a chest for you. You’ll also have netted a fairly decent experience reward, as well.
We now have one more Troglodyte to take down. For that, head to the place I’ve marked “First Lever” on the map accompanying this guide. Once there, you’ll notice that there’s a grating in front of where you’ll want to be. Turn the valve just to the right of the grating, and the grate will zoom upwards, opening the way. Break the barrels and box in front of the lever and head over to the place marked, “Second Lever.” The wall that was once there will now be gone, and in the recess behind the vanished wall will be another lever. Flip the lever, the Dungeon Master will inform you that, “A faint vibration passes through the floor,” a good sign.
Turn south from here and the very obvious secret door will be gone. There you’ll find the second Troglodyte, hiding like the first. Oncehe’s been taken down (take into account the “Troglodyte Stench” once again, and be careful) the Dungeon Master will inform you that, “The troglodyte henchmen have been slain.” Yay you, this Optional Objective has been completed.
Still one hidden objective remains.
OPTIONAL OBJECTIVES (continued)
Eliminate the Troglodyte Shaman:
This is a hidden, optional objective that’s in the southern section that you opened up earlier. Head south through one of the doors
that you opened on either side of the ovular section of tunnels, there you’ll find an array of kobolds that you’ll need to take down before finding the final objective. A shaman or two, some kobold warriors and possibly a kobold thrower will litter the area, take them down and head to the very sturdy looking door.
This is the only problem that I’ve found with DDO, sometimes you need a Rogue, and this is one of those times. Have the rogue in your party unlock the door with the “Open Lock” skill. Once you head inside the door, and head up the slope of rushing water, you’ll hear the Dungeon Master inform you that, “You smell that unmistakable odor of another troglodyte, but this one seems stronger than the others.”
This is the Troglodyte Shaman. Beware, for he has spells similar to the kobold shaman (Magic Missile, Cause Fear, etc) with an additional spell, Melf’s Acid Arrow: a spell that deals a burst of acid damage, as well as several seconds worth of damage over time from the acid. All of this is on top of the Troglodyte Stench that I warned you about earlier in the Guide.
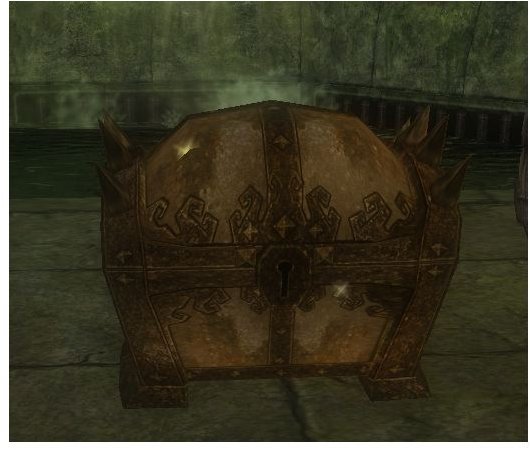
After the shaman is dead, you’ll hear the Dungeon Master inform you that, “The troglodyte shaman has been slain,” and a chest will appear all sparkly and new at the back of the room. Loot the chest, and you are 100% done with this dungeon. Congratulations.
Click the “Finish” button, and you’ll be on your way to turning this quest in to Durk, tell him to keep being crazy and collect your reward.
Thanks for reading my Guide for Durk’s Got a Secret! Remember, if you haven’t really checked out much about Dungeons and Dragons Online , you can do so with the Dungeons and Dragons Online Review .