This guide covers the Mage Origin in Dragon Age: Origins. It covers every part of the Origin story from the first steps in the Fade until the end of the origin story that sees you depart the Mage Tower to help combat the Darkspawn hordes.
The Harrowing: Survive the Harrowing
Before beginning the walkthrough, it’s probably a good idea to make sure that you don’t take healing spells. Instead, settle on offensive ones. The reason why will become apparent while playing.
After the cinematic, a conversation will occur. Go through the dialog and you’ll be transported to the Fade. Upon gaining control, open the journal. Read it and right click the Disturbing Statue for a codex entry. This will also give some experience points. Also, loot the vase.
Afterwards, take the path leading south-west on the mini-map. A Wisp Wraith will appear. Defeat it and the two that appear further on. After the third wisp, continue. A dialog sequence will occur. It’ll become apparent that not everything is as it seems in the Fade. The mouse will follow you, but be uncontrollable. Then continue on the path.
You’ll be in a circle of fire. Right click the Lyrium Vein, then take the path leading south-west. Kill the Wisp Wraiths and before talking to the Spirit of Valor, loot the vase and click on the Twisted Structure. Talk to the spirit about the weapons. If your willpower statistic is high enough (which it should be), you should be able to acquire the spirit’s weapons without a duel. Then continue.
Defeat the Spirit Wolves when they appear. Continue along the path. Talk to the Sloth Demon. You can either fight the Sloth Demon or have it teach you the bear form by answering riddles. Answer the riddles. The correct answer for the first riddle is ‘a map’. The second ‘a tongue’. The third ‘a dream’. After passing the test, Mouse will become a bear and a controllable party member. Now head back.
At the Spirit of Valor, more Spirit Wolves will appear. Kill them. Continue to the circle of fire. Don’t click the Lyrium Vein yet. Talk to the demon that appears. After the dialog, kill the demon. It’s not too difficult and it’s just a matter of using Mouse’s abilities. Do note that fire spells won’t damage the demon though. Also, Wisps will spawn. If playing on normal, ignore the Wisps. After it’s defeated, another dialog will occur. Choose the ‘I’m starting to think the other demon wasn’t my test’ option when it appears. After the dialog, this part is complete.
A Mage of the Circle
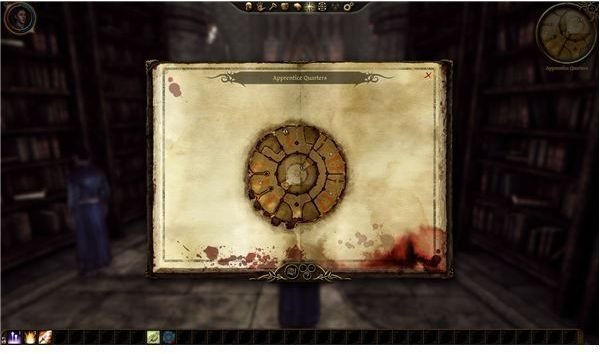
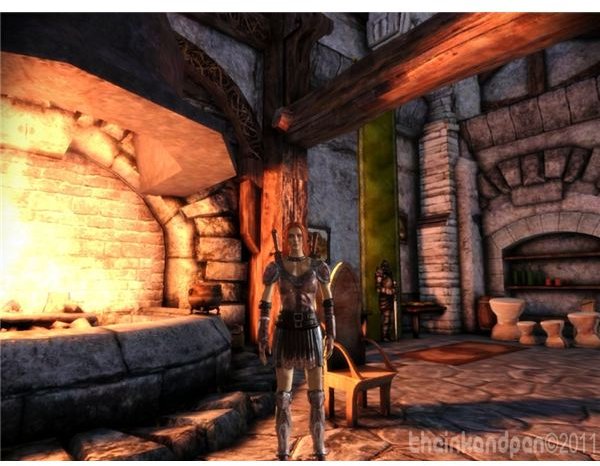
During the dialog with Jowan, choose not to tell him anything. Afterwards, open the map. You’re situated in a circular area, with several sections. Loot the area. Then, head to the second floor.
Again, the next area is circular. Like the last area, loot everything. Once everything’s looted, open the map and head to Irving who’s indicated by what seems like an arrow. A dialog between Irving, a Templar and someone else will occur. That someone is Duncan, a Grey Warden. Escort Duncan to his quarters. It can be found by looking at the map and moving to the next ‘arrow’. Also, equip the new equipment you received.
Afterwards, talk with Jowan. It doesn’t really matter what dialog you choose, as you’re forced to help him one way or another. So, you may as well just agree to help him.
In the High Tower of the Mages: Bound in Blood and Magic
After speaking with Jowan and Lily, the first task is to go to Owain. He’s near the entrance to the first floor. Talk to him. As it turns out, you need a signature from a Senior Enchanter to acquire the Rod of Fire. Open the map and you’ll see that Senior Enchanter Leorah has a quest. Talk to her.
Convince her to let you through the nearby door. Open the door and go through it. Loot the area and go down the linear path until the path splits into two directions. Take the eastern path and you’ll encounter spiders. Kill them, then loot the main area.
Take the path leading west. Follow the path, killing the spiders and looting. Eventually, you’ll come to a room where you’re ambushed by two spiders. Kill them, loot the area and take the path leading north. Another spider will attack and once it dies, the quest should update saying all of the spiders are dead. Leave the area and talk to Leorah. Have her sign the form. Go back to Owain and get the rod. Head back to Jowan.
After the conversation, go back to the first floor and enter the basement. Also, equip Jowan and Lily. Open the door and more dialog will occur. Click the door straight ahead and use the rod via the conversation choice that crops up. Try the other door to the west. A Sentinel will attack. Kill it and go down the linear path, killing any enemies and looting the area. The door down the stairs to the north is where you want to go. Open it, kill the two Sentinels, loot the area and open the next door. Kill the Robed Sentinel first. Open the next door and kill the Deep Stalkers. Open the next door. Again, kill the Robed Sentinel first. Open the door closest to the one you just opened and loot the area. Then, carry on going down the western passage. Enter the next area. Three Sentinels will attack. Kill them. Again, open the next door and carry on. Same drill as normal, kill the Robed Sentinel first.
You’ll reach a square room then. Examine the statue. Then the Artifact. Choose the ‘doubt we could move it’ option. Click the bookcase, move it via the relevant dialog option and click the Artifact again. Go into the room you gained access to. Kill the Sentinels. Leave the elite until last. The phylactery is up the stairs on a table. Open the next door titled ‘Second Door’ and leave the area.
After the cutscene and conversation, the origin story is completed.
Other origin guides on Bright Hub can be found at:
This post is part of the series: Other Dragon Age Origins Walkthroughs
Take a look at some of these other walkthroughs for Dragon Age Origins.
- Dragon Age: Origins Walkthrough - Crime Wave
- Dragon Age: Origins Walkthrough - Mage Origin
- Dragon Age: Origins Walkthrough - Dwarf Noble Origin
- Dragon Age: Origins Walkthrough - Brecilian Forest - The Mage’s Treasure
- Dragon Age: Origins Walkthrough - The Trial of Crows
- Dragon Age: Origins Walkthrough - Dalish Elf Origins Story
- Dragon Age: Origins Walkthrough - Human Noble Origin
- Dragon Age: Origins Walkthrough - City Elf Origin Story
- Dragon Age Origins Walkthrough: Dwarf Commoner Origin Story