Well, this is it. We need to kill the Archdemon and end the Blight. Our war is coming to an end with this really long battle. If you need any help bring him down, then just look here.
The Archdemon
It’s time for the final battle. There are a ton of different ways to handle the fight depending on your party. You can pick away at the archdemon with your mage and archer while the fighters hold off the horde. You can just protect the Dalish while they pick away at the archdemon. You can do a suicidal rush with your warriors with a healer giving them a lifeline. Or you can tear it apart with the ballistae in the tower.
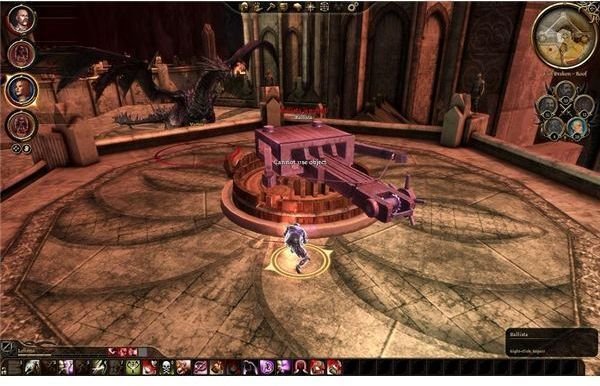
I personally like using the ballistae, since that’s a pretty good way to fight. A ballista can fire as fast as you can click and it will cause about 115 points of damage with each hit. The archdemon is also kind enough to take up a position in front of at least one of these at any point. The only trick is that the ballistae will jam occasionally if you are playing on anything above easier. Murphy’s law dictates that they will also jam at the worst possible moment in the battle. A rogue can fix the jam and reload the ballista, which is why I suggested that you bring one with you. If your rogue dies, then your only option is to just move on if one of them breaks.
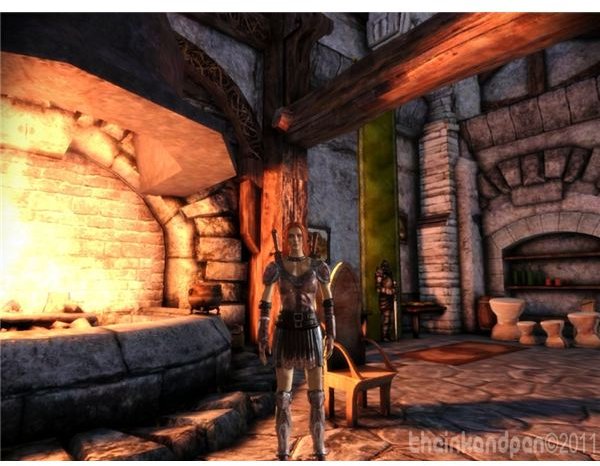
For a melee fighter who’s going to be in the thick of the fight, the Juggernaught armor is your best bet. If someone is wearing juggernaught armor with the corruption helm, then they’ll be almost fully protected against the archdemon’s spirit flame attacks. They are still vulnerable to grabs, swipes and wing attacks though.
A mage is actually a bit limited since only a few spells work. Stuff like winter’s grasp should still do a bit of damage, but I honestly felt like it was much better to use your mage as a healer. Keeping your tank and rogue alive will be a much better use of mana. If they have some good crowd control spells, then can also shut down the hordes that will spawn as the fight continues.
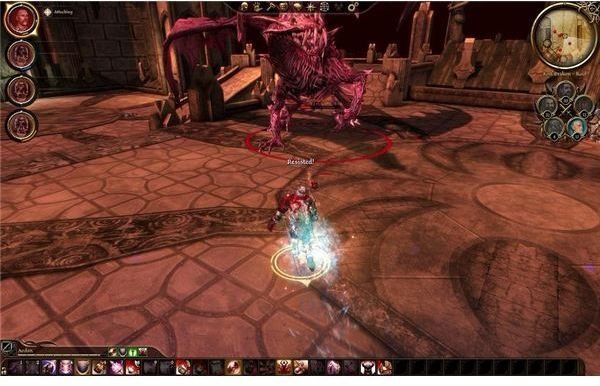
Speaking of that, let’s handle the archdemon attacks. It can do some pretty standard dragon stuff. It can grab a fighter and basically just kill him unless a mage breaks the attack. It can use its wings to knock everyone back. It can do general swipes too. It will breathe fire, but it’s a special spirit flame. Normal fire protection won’t help. It can also do a very special attack that covers a huge portion of the field in spiritual flames. This can wear away at rogues and mages really quickly, so keep an eye on them.
Killing the Archdemon
With all of this out of the way, let’s cover the fight. The safest way to do this is to summon the Dalish and then get up on the towers. I just left the Dalish to fight for themselves. They lasted for a surprising amount of time and I believe I had about fifteen left at the end of the fight out of the fifty I had at the start. They’re a useful distraction at the least.
Then I suggest that you put your party on hold and try to keep them up here. It’s a good spot and the darkspawn should be distracted enough by everything else. It’s then just a matter of getting on a ballista and having the rogue fire as often as possible.
The archdemon should fall back after losing about 20% of its health. It will take up a new place that’s still within range of other ballista. Just rinse and repeat. The horde will spawn a bit faster now and with more fury. The good news is that a lot of your allies, like Arl Eamon or First Enchanter Irving, should join the fight. You might want to have your healer try to keep an eye on them. Keeping them alive will keep them available for distracting the darkspawn and keeping the horde back.
It might not be worth your attention though. If you’re moving quickly, then you should be able to just keep firing until it dies. If you get stalled for a moment, then it might retreat again and do a bit of a last berserk before it dies. Just keep your distance, keep that rogue alive, and keep up the fire. The archdemon should die and the final decision should play out.
If you survive, you should get a moment to talk to all of your companions in the hall. Just enjoy the final dialogues and finish up the game. Enjoy the ending and see how all your decisions played out.
This post is part of the series: Dragon Age: Origins Walkthrough - The Final Battle
We’re just about done with the darkspawn. We’ll need to regroup at Redcliffe, break the siege on Redcliffe castle, and then go to Denerim to kill the Archdemon and free the city from the darkspawns’ grasp. If you need help killing the Archdemon, then look here.
- Dragon Age: Origins Walkthrough - The Siege of Redcliffe
- Dragon Age: Origins Walkthrough - The Final Battle - Push to the Palace
- Dragon Age: Origins Walkthrough - The Final Battle - Taking the Palace
- Dragon Age: Origins Walkthrough - The Final Battle - Fort Drakon
- Dragon Age: Origins Walkthrough - The Final Battle - Killing the Archdemon