We’re moving up to take on the archdemon. All that stands between us is two floors in Fort Drakon. We’ll need to kill some more darkspawn and mages, but we’re almost done. If you need any help, then look here.
Fort Drakon - First Floor
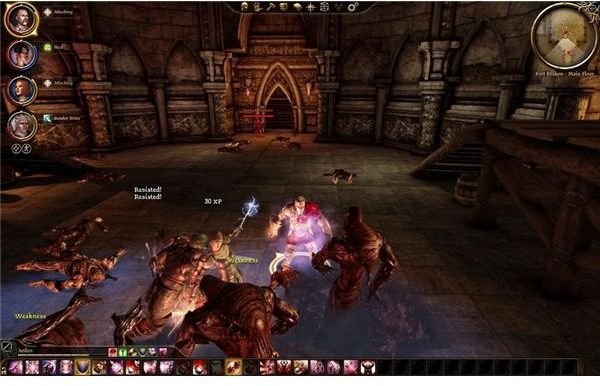
The entrance to Fort Drakon is full of more enemies. I had a lot of fun calling up the golems, since they kinda crushed everything for me in a few seconds. It’s your decision though. There are a few ogres and some emissaries. If you’ve made it this far, you really shouldn’t have any problems. The worst part is that there are a few barricades protecting the archers, so your warrior will need to knock those down and clear the way. Other than that, just break right through.
The first floor actually shouldn’t have too many enemies. You’ve also already been here for the “Captured!” quest, so you should know the lay of the land. There are only two real issues. The first should be a bit of an ambush by the room with all the ballista towers. A darkspawn conjurer will call up a few shades and shrieks and then move about the room. I didn’t really have any problem with this. Make sure your mage focuses on dealing out some damage while your main group holds back his summons. He’s still just a mage, so he’ll die pretty quick.
The only other problem is a little hard to describe location wise. As you leave the main halls, you’ll find a door that leads to a really narrow corridor linking the prison and staircase areas. This corridor is a huge trap. There’s a grease trap in the center and emissaries and alphas on each side. If you just storm in, you’ll get ripped apart. Send your rogue in to disarm the trap and lure out one of the groups. Lead them back to your party and take them out. It’s pretty easy to do if you aren’t covered in grease or facing two groups at once.
Kill the other ambusher and then take the path to the left. This staircase will take us to the second floor.
Fort Drakon - Second Floor
Once again, I really hate to be a bit lazy, but it would be quite inane of me to list just about everything. There are no truly new enemies up here and I have to imagine that your party can handle just about anything you’ll run into. If not, we’ll have a bit of fun with the archdemon then.
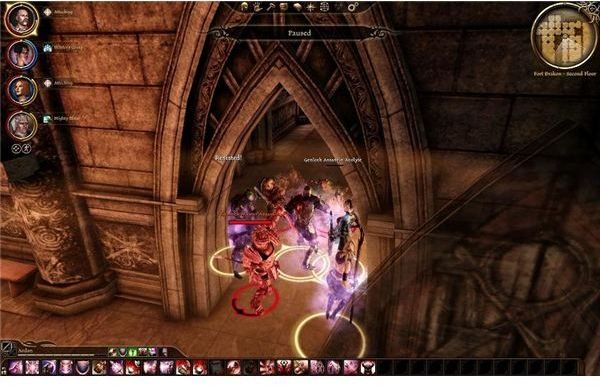
There are a few groups of darkspawn spread out in a steady grind. There are some emissaries and alphas. Just handle them like you always do. The biggest shock will be an ambush by some genlock assassins and the genlock assassin master. Their knives should barely scrape your armor at this point though. Just stand your ground at the door and attack them. If you keep them tied up, then shouldn’t be able to do any annoying backstabs. Once they’re dead, you just have to keep moving.
After following the curving path, you should find a giant pile of darkspawn corpses next to a very bloody Sandal. He’s our last chance to stock back up. I suggest you buy every health and mana potion he has. You can sell anything you don’t have equipped to raise the money. This is it, so don’t be cheap. We’ll need everything we can get our hands on for the next fight.
This post is part of the series: Dragon Age: Origins Walkthrough - The Final Battle
We’re just about done with the darkspawn. We’ll need to regroup at Redcliffe, break the siege on Redcliffe castle, and then go to Denerim to kill the Archdemon and free the city from the darkspawns’ grasp. If you need help killing the Archdemon, then look here.
- Dragon Age: Origins Walkthrough - The Siege of Redcliffe
- Dragon Age: Origins Walkthrough - The Final Battle - Push to the Palace
- Dragon Age: Origins Walkthrough - The Final Battle - Taking the Palace
- Dragon Age: Origins Walkthrough - The Final Battle - Fort Drakon
- Dragon Age: Origins Walkthrough - The Final Battle - Killing the Archdemon