The archdemon is on the move and we’ve got to save Redcliffe with our rag tag army. This fairly easy warm up to the final battle shouldn’t give you too much trouble, but I’ll give you any help that you might need with it.
Redcliffe Village Under Siege
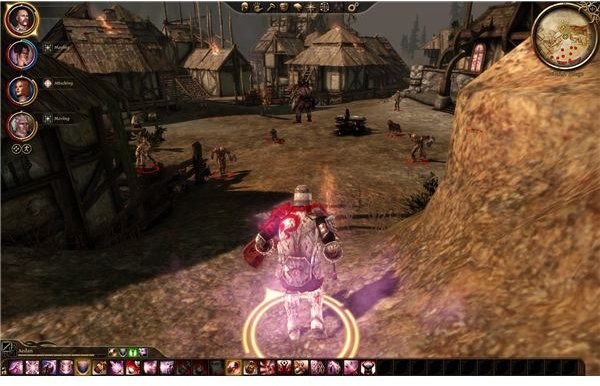
When you arrive at Redcliffe, the city will already be under attack.
You need to charge into battle and break through to the castle. There are a lot of darkspawn here. Most of them are just darkspawn grunts though. These guys are painfully easy. You should be able to take them out with one hit. There are also some mages and a few ogres. You should be really good at killing these guys by now.
All you have to do is punch through all of the weak darkspawn and then grind through the ogre by the windmill. We need to secure the town itself first. Go down to the same spot you held in the original siege and keep everyone close. These ogres can be a challenge if you let anyone get overwhelmed. Hitting one with your full party should make quick work of it though. Once you’ve swept the area for new darkspawn, you should be able to go back up past the windmill and to the castle
The Castle
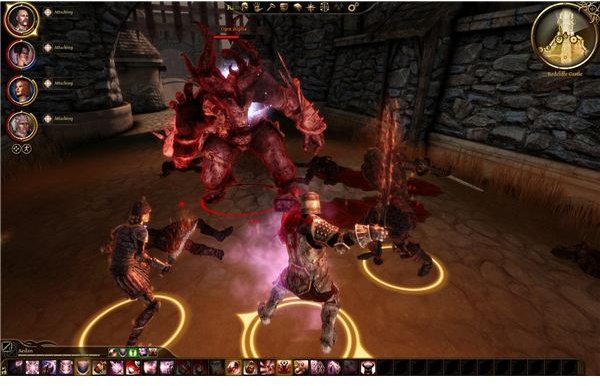
The Castle is under attack from the horde, but there are some allied archers at the top of the steps. Try to protect them. Don’t have everyone rush up the steps though. Mages should spawn on both sides of the bottom of the steps, so keep a warrior or a mage within range to take them out.
Once the first wave is down, a second wave should attack. You shouldn’t have much trouble dishing out some damage to these grunts.
The big fight is the third wave. An alpha ogre will attack and you’ll need to stay alive long enough to take him down. Hopefully you’re not too wounded from the grunts. You shouldn’t have too much trouble just surrounding him and taking him out. Once he’s down, you can go into Redcliffe Castle and talk to Arl Eamon and Riordian to learn that things are a little rough. It seems that the real battle is at Denerim.
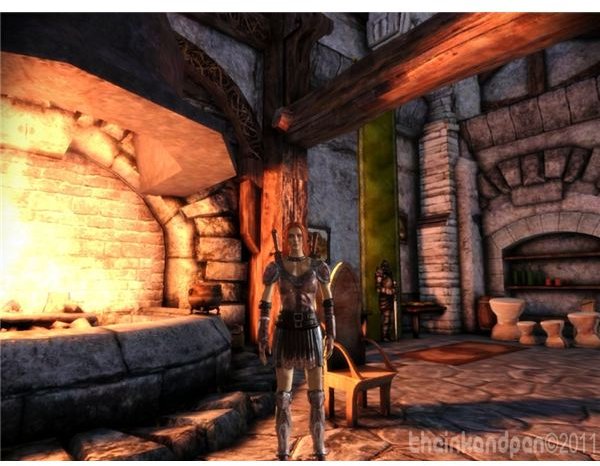
We’ll head out in the morning with the army. For now, you can walk around and talk to some of the different captains and make another stop with a merchant to stock up on health potions for the end. Our real goal is to find Riordian in the upper bedroom. He’ll break the bad news that one of you needs to make a big heroic sacrifice to kill the archdemon.
Once you’re done talking to him, you need to go into your bedroom. Morrigan will be waiting for you, even if she abandoned you before. She has a bit of a proposal for you. Apparently she knows another option. If you hook up with her the night before the battle, she’ll give birth to a purified version of the archdemon and you won’t have to die. It’s your call.
If you’re a woman or you just don’t feel like doing the ritual with Morrigan, you can talk to either Alistair or Loghain. They should reluctantly agree to it.
Doing the ritual just means that nobody has to die. With the expansion coming, that might be a big deal for anyone wanting a continuous story. The big material difference is that Morrigan will walk away if you don’t do the ritual. This could mean losing your best combat mage before the final battle. Make sure you’re ready for the consequences.
Once you’ve made your decision, you should rest and wake up as the march to Denerim begins. Enjoy the pre-battle prep talk and then get ready for the final battle.
This post is part of the series: Dragon Age: Origins Walkthrough - The Final Battle
We’re just about done with the darkspawn. We’ll need to regroup at Redcliffe, break the siege on Redcliffe castle, and then go to Denerim to kill the Archdemon and free the city from the darkspawns’ grasp. If you need help killing the Archdemon, then look here.
- Dragon Age: Origins Walkthrough - The Siege of Redcliffe
- Dragon Age: Origins Walkthrough - The Final Battle - Push to the Palace
- Dragon Age: Origins Walkthrough - The Final Battle - Taking the Palace
- Dragon Age: Origins Walkthrough - The Final Battle - Fort Drakon
- Dragon Age: Origins Walkthrough - The Final Battle - Killing the Archdemon