During the Broken Circle quest in the Circle Tower, you should find several side quests. Summoning Sciences, Five Pages Four Mages, and The Watchguard of the Reaching, are the three big quests to complete before you leave the tower. Learn how to find the notes and beat them all.
Summoning Sciences
This one takes place completely within the library on the first floor. We get the opportunity to do a little summoning for some loot and experience. The directions for this are in the codex in game too, at least for the first 3 summoning fires. The fourth summoning fire is a secret, which I’ll share at the end.
For all of these, remember that you can hold down TAB to spot the items with which you can interact.
The first summoning isn’t too tough. You need to touch the summoning font and then walk over to the right side of the room and touch the Tome of Spirit Passages. It’s on the bookshelf near the entrance. Then you can touch the first Summoning Fire. This will bring up a type of fade hog. It will die, but you can check the body for a piece of garnet.
The second summoning is a little trickier. Touch the summoning font, then touch the Rodercoms book, the statue, and finally the second summoning flame. This will summon a trickster whim. We’ll have to deal with him a little bit later.
The third summoning is harder and will actually involve a fight. Touch the summoning font, then Elvorn’s Bestiary, then move over to the big table by the entrance to touch the carving spot, then the Spiritorum Etherialis, then the statue, and then the Novice Phylactery by the statue. Once you’re done, touch the third summoning flame. This will summon a bereskarn. This is a type of darkspawn bear mixed with a hedgehog. It shouldn’t be too tough if you have Wynne as a healer. Just have a warrior buff it while the rogue and another warrior or mage do some damage. Check the body for a pair of Charged Mitts. These are pretty nice for a mage who likes lightning spells.
The fourth and final secret summoning is just for a codex entry. If you looked around, you should have seen a fourth summoning flame by the staircase up to the second level. To use it, we’ll have to run around and basically touch everything. I think you were supposed to use trial and error for this, but I’ve got the correct order.
Touch the summoning font, then the Tome of Spirit Passages, then Rodercoms, then the statue, then Elvorn’s Bestiary, then the carving spot, the Spiritorum Etherialis, touch the statue again, then touch the phylactery. Switch to a rogue character and approach the summoning the fourth flame. Save and then touch the flame. A mage called Arl Foreshadow will be summoned up for a few seconds before he teleports back himself. Have your rogue walk forward and use stealing on him. If it succeeds, you will automatically get Codex 231, “The Notes of Arl Foreshadow.” It’s just a humorous little list and it shouldn’t be too hard to steal. Just reload if it fails.
That officially completes Summoning Sciences.
Five Pages, Four Mages
Five Pages, Four Mages is a fairly quick quest that we actually won’t finish here. Our business now is to grab the 5 relevant pages from the third floor of the circle tower. Through the Great Hall, there are 5 things labeled as Torn Pages on the bookshelves and podiums. I hate to be lazy, but any directions are fairly useless for a circular level. The simple way to find them all is to just check the side rooms and press TAB. The last one should be in First Enchanter Irving’s Office before the stairs. It seems that these mages all bought a worthless and fairly expensive document from a con artist.
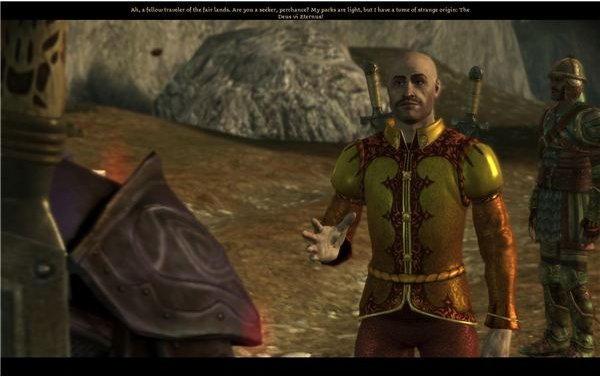
Once you have all five in your possession, you’re basically done for now. You’ll get a random encounter later while you’re walking around the world map in which you meet the merchant in quest. His name is Beyha Joam. It’s not too difficult. You have to fight him no matter what, so you should hopefully have a combat party with you.
The one big danger is that he has a mage on the little hillside behind you. Have some rush the mage, or have one of your mages hammer her with spells. She has some really good spells that can do tremendous damage to your party. Once she’s dead, it’s a simple matter of helping your buffer warrior survive against Beyha and his men while your other warrior and a rogue cut them down. Search Beyha’s body for the Cameo Cowl. It gives a nice boost to cunning and health regeneration for your mages.
Watchguard of the Reaching
The Watchguard of the Reaching quest in the Circle Tower can net you one of the best dragonslayer swords in the game, if you’re lucky. I’ll cover that later, though.
To start this one, just pick up one of the six notes. There are three on the first floor in the Apprentice Quarters, two on the second floor in the Senior Mage Quarters, and the final one in the Great Hall on the third floor. The best way to find the first five are to go into the bedroom areas and hold down TAB. This will highlight everything. They aren’t really hidden. For the first floor they’re just in the apprentice foot chests. The second floor has them spread out on table areas. The final note is on a big table in the first room on the third floor. This is the one with all the statues, which we’ll need for the quest.
Once you have all six pieces, you should have everything you need to carry out the ritual. You need to touch four statues in the right order in the Great Hall area. The first three are in the first room. If you’re following the clues, you need to touch the one with the bowl first. Then touch the one with a sword raised. Then the one planting a sword in the ground The fourth one is further along. Once you get to the big center room and kill the abomination, you should be able to see a big statue with a shield in the center. Touch that. If it doesn’t shock you, you did it right. You should also get a notification on the quest being updated.
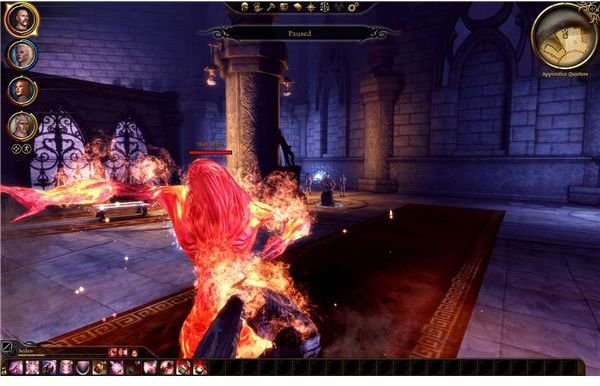
At some point, run down to that room on the first floor where you met Wynne. There’s a locked door to the basement here. Save first. We need to do this for a few reasons. It’s a tough battle and we may not get good loot out of it the first time. Try to open it and the monster will spawn behind you. Shah Wyrd is just a big rage demon. The good news is that if you did this during the Broken Circle quest, Wynne’s three mage friends will be nearby and they’ll help out. They can do a fair bit of damage too. This means you just have to have your warriors soak up the damage while the rest kill him. Rogues are alright but Mages with ice spells are the best. Just try to keep him pinned.
Once Shah Wyrd dies, you get to see how lucky you are. A pile of rags should appear where he dies. Check it. If you’re lucky, then it should be Yusaris and some gems. If you’re not lucky, then it will be some mediocre chainmail. Yusaris has a fairly high drop rate, but you might still need to do the fight a few times. It’s really worth it though, since this will be nice to have when we’re fighting dragons.
This post is part of the series: Dragon Age: Origins Walkthrough - Broken Circle
The quest to gain the Mage Circle’s help isn’t an easy one. We’ll have to clear out a 5 story tower, fight lots of demons and abominations, travel through the fade to beat the lieutenant demon, and finally fight and kill Uldred at the top. Look here if you need any trouble with the Circle Tower.
- Dragon Age: Origins Walkthrough - Circle Tower - Clearing the Tower
- Circle Tower Side Quests for Dragon Age: Origins
- Dragon Age: Origins Walkthrough - Circle Tower - Escaping the Fade Part 1
- Dragon Age: Origins Walkthrough - Circle Tower - Escaping the Fade Part 2
- Dragon Age: Origins Walkthrough - Circle Tower - Killing Uldred