The Broken Circle quest will require you to fight your way through a very large tower that’s filling up with undead, demons, and abominations. If you need any help clearing a path through the horde and making it to Niall and Sloth, then look here.
Lake Calenhad and the Tower Entrance
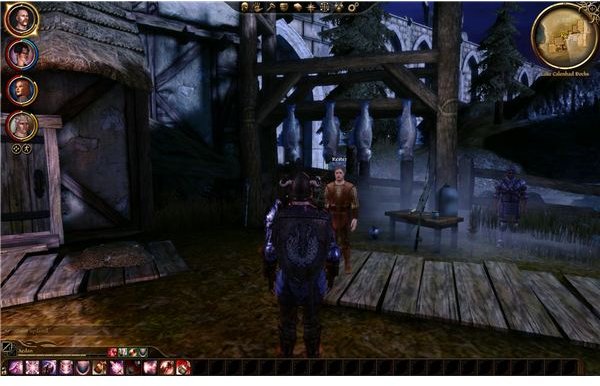
There isn’t much to do on this side of the docks. You can talk to the ferryman if you want, but your main goal is to talk to the templar standing by the dock. You should be able to use some basic persuasion to convince him to let you cross the lake. If that fails, you can drag Morrigan along with you for a little help. I believe I had two levels in Coerce and made it through, so it shouldn’t be too tough. Don’t bring Morrigan to the tower though, since she’ll try to provoke Wynne and you’ll end up losing some approval.
Once you’re across, you’ll meet Knight-Commander Greagoir. He’ll explain the situation. It seems like a bunch of abominations have been pouring out of the tower and he’s sealed it off. He’s also going to use the Rite of Annulment to kill everything inside. This isn’t good if we want to get the mages’ help. You can also chose to support him by going in yourself to kill the abominations and “cleanse” the mages. This is the start of your choice. You can either side with the templars and get their aid in the final battle, or stick with the mages. I suggest that you go with the mages. We’ll deal with that a bit later. The level plays out the same for now.
Talk to the quartermaster if you need more supplies, and then head through the door when you’re ready. You should remember what he said though. Those doors will seal behind you. Once you go into the tower, you have to finish the quest before you can move on to the next one. It’s also a fairly long quest, but you’ll get a good healer out of it.
Explore the first set of apprentice quarters for a bit. There shouldn’t be anything in here that wants to kill you. You can loot the chests and read the books and notes on the floor. Make sure you get the three notes about the Watchguard of the Reaching. They should be in the apprentice footchests scattered around the bedroom areas. There’s also a secret stash of goods under one of the beds. “Denri’s Bed” should show up if you press “TAB” and look around the rooms. You might need to get the note about “The Spot” to find out about it though. Move forward and curve around to find Wynne.
She’s got a group of the mages holed up in the Apprentice Quarters behind a shield. She has to be one of your party members, so rebuild your attack party and get ready to go. I took Sten and Leliana with me to make a balanced party. My warden was basically a more effective version of Alistair, so I was just keeping things balanced and cliché.
First Floor - The Library
Approach the shield and tell her to take it down, then charge out and face the abominations. I spotted some rage and hunger abominations. These guys aren’t too tough. You just have to stay together and cut them down. There’s only three, so you shouldn’t have trouble.
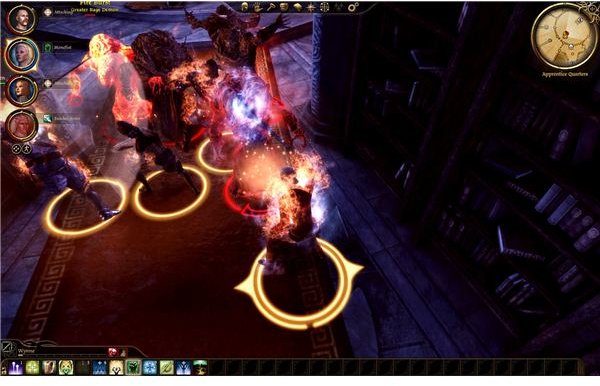
Move forward a bit to face the next group. There’s a few more abominations along with a rage one. Focus on the rage demon first to prevent it from using it’s powerful magic, then grind down the others. You shouldn’t have any trouble. Take some time to search the library. If you find one of the two “Torn Notes” in here or try to use the summoning font, then you’ll get the side quest “Summoning Sciences.” It’s a neat little side quest that you can take care of as soon as you kill off the last group of abominations past the door.
Heal up and open up the doors in back for one more big fight. There’s a rage demon along with about six or seven abominations. Charge through and see if you can cut down the rage demon quickly, while another warrior holds back the abominations at the door. Wynne should stay far back enough to be safe. If she stays alive, then you should be fine.
If you’re doing the Mages Collective quests, then this chair at the table by the steps is one of the places of power. Hold down TAB if you have trouble clicking it.
This wraps up the first floor for the main quest. There’s still a few side quests to take care of. If you want to save some time, go ahead and do Summoning Sciences and collect the three notes for the Watchguard of the Reaching. You can tell how many you have by how many sections are present in the codex entry. The stars separate each new note. Those are covered in the side quest section for the sake of organization (they don’t really fit in on their own).
Second Floor - Some Blood Mages
Things are stepping up a little bit.

We’ll meet Owain the tranquil at the top of the steps. You can talk to him for a bit if you want to find out about Niall and the Litany of Adralla. Once you’re done, you need to move out through the only open door and into the next area. The blood mages up ahead will attack as soon as they see you. They aren’t actually that tough, since you should be able to pull them into melee combat quickly. They will usually heal themselves, but you should be able to wear them down before they do much damage.
One survivor will beg for her life. You have the option to execute her or spare her to allow for redemption in the new army. It doesn’t seem to have an approval impact (at least not on Sten, Wynne, or Leliana).
While you’re in the area, you can look for “Bel’s Cache.” It’s in a fireplace area. You should be able to spot it with TAB, at least you should if you’ve been picking up notes.
Second Floor - Room Clearing
Move on into the quarters for another round of room clearing. Remember to press TAB to ensure that you find everything. There are another two notes concerning the Watchguard of the Reaching. The first room should just be a few abominations. Just cut through them as usual and loot the place. The second room should have four shambling corpses at the entrance and two abominations further inside. These shouldn’t be much of a challenge either. Go ahead and approach the closet. Godwin is inside. There isn’t much to do for now unless you did Orzammer first and have a delivery for him. If not, then just let him hide again.
Next stop should be two blood mages looking for money. A strong abomination will spawn and try to kill them. You can actually hang back a bit. He should focus on them first and they should eventually focus on the abomination. Just surround and pound the abomination once he’s done.
There’s one more stop ahead but it should just be more of the same.
The final combat area is a bit of a makeshift temple with a few more enemies. Just kill them off and look at the statue, if you want. The important thing is that it has a black vial kept safely on it. Grabbing this vial will spawn a revenant. It’s a very strong revenant and it tore my level eight and nine party apart before we could take off a tenth of his health. It’s just a part of the optional Black Vials quest. If you want to give it a shot, go ahead. Just save first.
Move on ahead and go into First Enchanter Irving’s office and quarters. There’s a lot of loot here and a lot of important things. You should get several codex entries here along with some decent equipment. More importantly, you need to search his marked chest for the Black Grimoire. This is a very important gift for Morrigan. You should also search his desk for a Painted Box. This is for another quest, but we might as well get it now. Once everything is looted, you should go up the stairs to the third floor.
Third Floor - A Bit of Arcane Horror
Your entrance to the Great Hall is lackluster. There aren’t any enemies at first. Go into the common room on the side and walk across the floor. Once you make it halfway across, three shambling corpses should rise up and attack. Once you finish them off, another seven should rise and an arcane horror will spawn in the next room with a guard and fling the door open. This is a really tough battle.
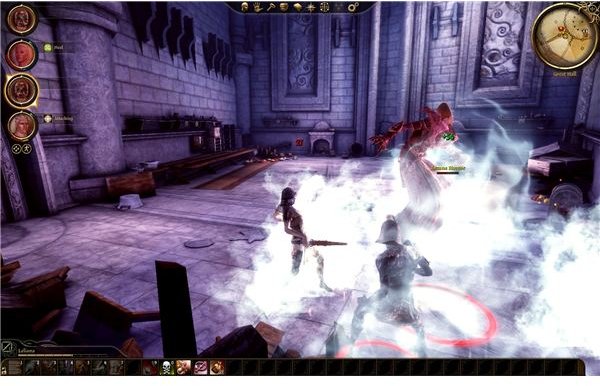
Arcane horrors are very powerful spellcasters and there are just too many melee soldiers blocking our paths. If you want to fight fair, you’re going to have to use some spells or have a warrior do a bull rush to kill him quickly before he can kill your whole party with his spells. It’s not too hard to kill an Arcane horror in melee combat, but it isn’t easy either since they heal at a decent rate and dish out a fair bit of damage.
The best way to do this is to cheat a little bit. As you finish killing the third shambling corpse in the first attack, run back to the stairs and wait for a moment. The second wave should spawn and rush over to the door. Just have your warriors stand here and cut them down. It’s surprisingly easy. The arcane horror has to travel a bit further now to get a line of sight. It might not even move if it can’t see you and get triggered. This means we can rush back and have our whole party surround and pound it into submission. It’s really easy if you don’t have a bunch of zombies in your way.
Once it’s dead you can explore and loot a bit. Remember to use TAB to highlight everything. The last note for the Watchguard of the Reaching is up here. It’s just sitting on the table. The 3 statues here are also part of the quest. You should probably trigger that now if you want. Just touch the one with the bowl, the one holding a sword up, and the one pointing a sword down. If you don’t get shocked, then you’re doing good. The last one is a bit further ahead.
Third Floor - Room Clearing
When you’re done with the common room, you just have to do some more room clearing. The big addition is that you should run into three possessed templars here. They have the ability to really hurt a mage, so make sure that Wynne stays back a bit and that your warriors keep them tied up.
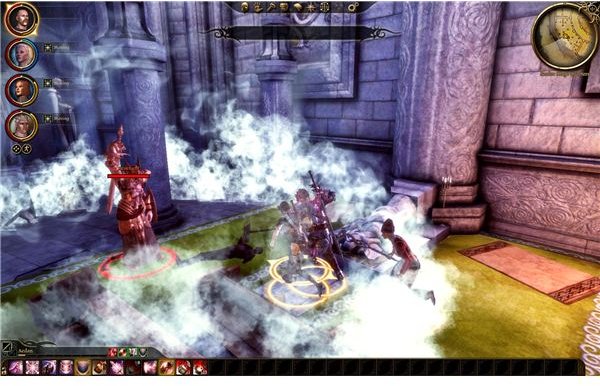
Advance a little and take out some more abominations and templars. As you get to the end, you’ll see a door to your left and right. Don’t go into the center room just yet. Save and take the door to the right. Your big fight will be against a desire demon and five charmed templars at the end. This is a really tough fight, since the demon’s magic is strong and the templars can do a lot of damage. Your best bet is probably to have a warrior and Leliana rush the desire demon. Between some generally tanking and Leliana’s backstabs, it will die fairly quickly. Sten should be able to hold out against the templars for now, especially if Wynne uses heal and rejuvenation on him. Throw in a group heal to cover the demon’s area of effect spells. It might take a few tries, but you should be able to beat her.
Go ahead and loot the last room and then move into the center. You should save again. There’s another big fight here against a high level abomination and some shades. I found it a bit easier than the desire demon fight though. You should be able to repeat your tactics, with Leliana and a warrior pounding the abomination while Sten distracts the shades and Wynne keeps everyone alive.
As a side note for this area, you can probably stop worrying about deaths for now. Our injuries will get a reset in just a few more fights, so if you can limp it out you’ll be fine.
If you touched the statues earlier, then look at the big statue in the center of the room with a shield. Touch it to complete the summoning. If you don’t get shocked, then it worked. You should also get a note about the quest updating. For this one, you should probably go ahead and move back downstairs to the spot where you meet Wynne and wrap it up. You might as well take care of it now.
Also, make sure that you pick up the 5 Pages, 4 Mages quest. You can grab the torn notes on the podiums spread throughout the Great Hall.
Fourth Floor - A Good Nap
We won’t be up here for long. Advance a bit further and walk into the open room. There’s a desire demon and a charmed templar here, but it’s a little unique. She’s charmed him into a nice fantasy where he has a lovely family and she’s actually pretty content with just making him happy and experiencing the world. You can choose to fight and kill her. He’ll defend her so you’ll have to take out 2 higher level people at once. Your best bet is to take one out of the fight, either with a warrior distracting them or some magic paralyzing them. Either way, it will be tricky and it won’t have much of a reward.

If you let the demon go, surprisingly no one will really care. In fact, Leliana will give you 1 approval point because at least the man was happy. Killing the demon on the other hand will make Sten lose 3 approval points, since he feels that you should have let the templar solve the problem on his own. This won’t happen if he never raises the point though, so if you want to kill the demon just don’t let her try to persuade your party.
After this has taken its course, you can move on to the next room. Don’t go into the center area just yet. That’s a point of no return for now. Engage the blood mage and his three templars in the next room. He is much stronger than the average one in the tower and they’ve got some really powerful magic. Make sure that you save first.
This one is basically the same though. Sten is your diversion while your warrior and rogue go up to stab the mage repeatedly. Wynne should be able to stay out of trouble and at least keep someone alive. Go ahead and use your poultices if you need them. We’re almost done.
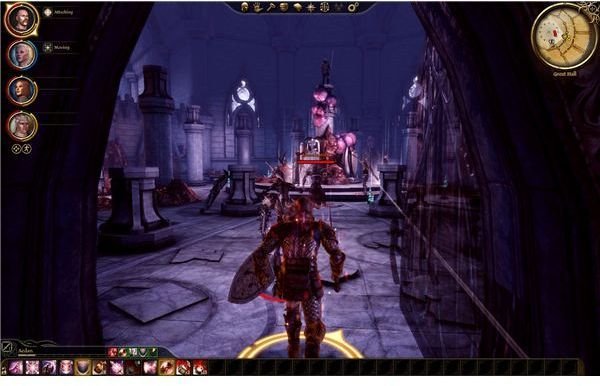
When he dies, you just need to limp into the center room. We’ll meet the sloth demon holding down the fort and he’ll send us off on another adventure.
This post is part of the series: Dragon Age: Origins Walkthrough - Broken Circle
The quest to gain the Mage Circle’s help isn’t an easy one. We’ll have to clear out a 5 story tower, fight lots of demons and abominations, travel through the fade to beat the lieutenant demon, and finally fight and kill Uldred at the top. Look here if you need any trouble with the Circle Tower.
- Dragon Age: Origins Walkthrough - Circle Tower - Clearing the Tower
- Circle Tower Side Quests for Dragon Age: Origins
- Dragon Age: Origins Walkthrough - Circle Tower - Escaping the Fade Part 1
- Dragon Age: Origins Walkthrough - Circle Tower - Escaping the Fade Part 2
- Dragon Age: Origins Walkthrough - Circle Tower - Killing Uldred