Five more maps released for Modern Warfare 2; three new, two returning from CoD4. Are you new to the maps, or do you just want to know what might be happening where you’re not looking? Maybe you want to figure out an alternative play style? Well, Look inside for tips and strategies for the new maps!
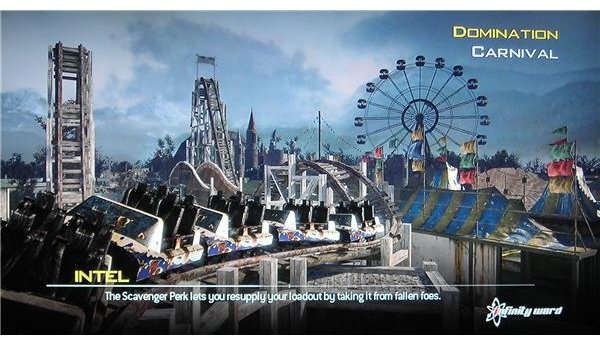
New Map: Carnival
First of the three new maps in this second map pack for Modern Warfare 2 is Carnival. Themed around an abandoned carnival, as t
he name implies, it’s probably one of the best maps for Modern Warfare 2 in it’s entirety. Virtually no part of the map is recycled from other maps, like cars and windows and set pieces throughout the other old maps. With every bit of the map being brand new, there is plenty to explore and a ton of little details to notice. It’s also one of the most varied maps, with locations where every type of weapon will thrive, from Riot Shields to Sniper Rifles.
Domination A point is probably the easiest point to hold. There’s no convenient location from which to access it unseen; all of it’s access points are either deep in enemy territory or out in the open corridors of play. The slight roof above it gives a little protection from explosives, though as always you’re best served trying to take the point with a shield. The point is located in the bumper cars area, so there are a few rusted out wrecks to use as cover, but the most of the point is open to it’s general area.
Next door and around the corner, across the castle’s moat, is the Domination B point. This point sees action quickly and immediately, as both sides spawn close enough to assault it within moments. More so than any other point on the map, this one will be exploding rather constantly. There’s a little cover, but every bit of cover has a back side it’s open to. Taking cover on B is a matter of knowing where the enemy is and trying to kill them before they kill you, more than anything else. Of particular interest is the castle wall, where most defenders will like to sit. Those players can be snuck up behind from the roller coasters, or they can be sniped from the fun

house across the way. B will probably be the most contested point of the map.
The final point, C, is tucked away by the rocket tower, tilt a whirl, and back side of the fun house. While the rocket ship is a great place to snipe from, it also leaves you quite exposed, and often times people will shoot at it just to see if they get hit markers before trying to kill whoever may be inside. On the other hand, hanging halfway up the ladder will allow you to detonate a C4 pack placed on the point when you hear you’re losing it, without having to be exposed at the top or the bottom. Meanwhile on the broken tilt a whirl, you can cover the entrance fairly easily without being easily killed yourself. Usually, since the B point has most of the action, it will be easy to sneak around through the roller coasters and try to take C out from under the noses of the players assaulting B.
New Map: Fuel
Fuel is the second of three brand new maps added in this map pack, and it strikes chords with players who remember Modern
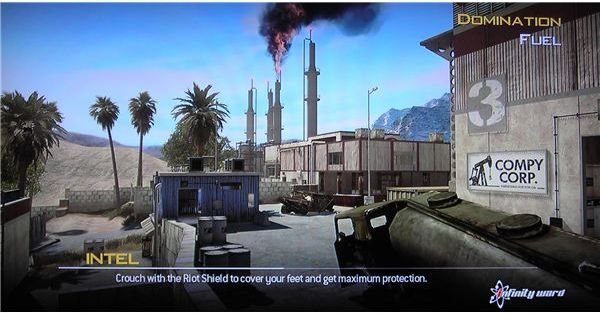
Warfare 1’s maps like the Tv station, in that it has lots of twisting buildings but a sprawling outdoor area as well. Unfortunately, at least in most game types, the larger outside area will barely be used at all in the course of normal play. A small section of the outdoors is useful for assaulting B, and if you feel like taking the long way, you can sneak up on A or C from each other, but more often than not you’ll run the long way, get killed, and decide to stop wasting time.
The Domination A point is located at the bottom of the long slope. It has a few buildings and a few wrecked vehicles nearby, but for the most part, it’s open and somewhat easy to tube. It has a nice point where you can shoot grenades all the way to C at the start of the map, but that’s only useful for a few shutout situations and you’re better served not attempting it without a team of players who know what they’re doing. The one benefit A has as a point is it’s openness; it’s hard to get spawn locked at A.
The second point is located inside some buildings, with a lot of approaches but only a couple of true entrances. When you approach B from the outside, you can capture it from the outdoors, but only if you climb up on some rocks. Otherwise you’ll have to enter the room it’s in, which is protected by doors on either side. You can crawl through the drainage ditch to get in to one, or you can climb the long way to enter the other. Either way, a few skilled defenders can hold the point the whole game.
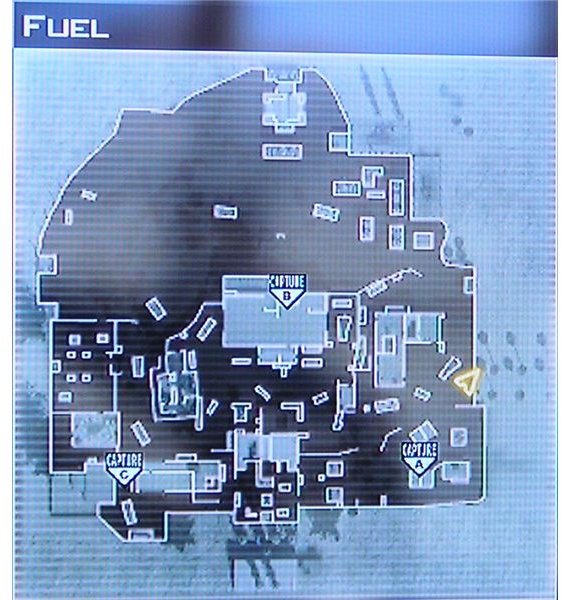
The third point, Domination C, is off in the corner opposide A along the same side. It’s a relatively straight shot up the side of the map from one to the other, but a lot of cover allows the defenders to try to pick off attackers before they get too close. The one benefit that C has over A is that it has several places to hide, allowing defenders an easier time of defending. It’s also slightly closer to B, allowing the C side team to assault the middle point with a higher degree of success simply by dint of having closer spawns.
While msot of the action can and will take place at the B point, this means a few players can flank around and swap the A and C spawns at almost any time, and the map’s size makes it hard to get from B to either point soon enough to defend it. This makes for a fairly dynamic game.
New Map: Trailer Park
Trailer Park as a domination map is more of a confused mess than any of the other maps, and possibly more so than on any other
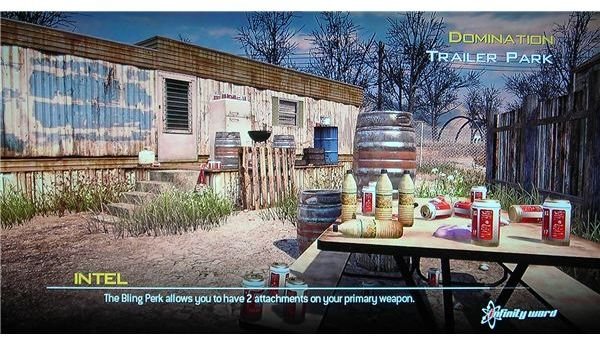
game type on the map. The B point by the pool is close to both spawns and will constantly see action, and the few corridors to C will leave it a mess as well. Only A will be reasonably defended, but the small size and lack of cover of the map mean all the points will see a lot of bullets all match long.
The domination A point, being set back a small distance from the other points, will see the least action of all three of them. It has somewhat more cover and more places to hide, due to the airplane graveyard in some hick’s back yard, but that isn’t saying much. It’s reasonably easy for that reason to sneak up on, because there aren’t likely to be too many defenders. On the other hand, since the map is so small, it’s likely that defenders can reach attackers before they cap the point and kill them. Bring defenses.
The Domination B point is by the pool, and the defenders definitely have an advantage. They can kill from windows of two trailers covering the area, or they can flank from the point they spawn near to kill the attackers. On the other hand, if an attacker manages to sneak in throught he chaos, it’s possible that lying prone amongst all the bodies will let you capture the point without too much effort. Of course, the trick then becomes holding the point, and if you’re not careful, that’s going to be quite difficult.
The Domination C point is the easiest one to become spawn locked at, and it’s unusually easy to access from the beginning of the
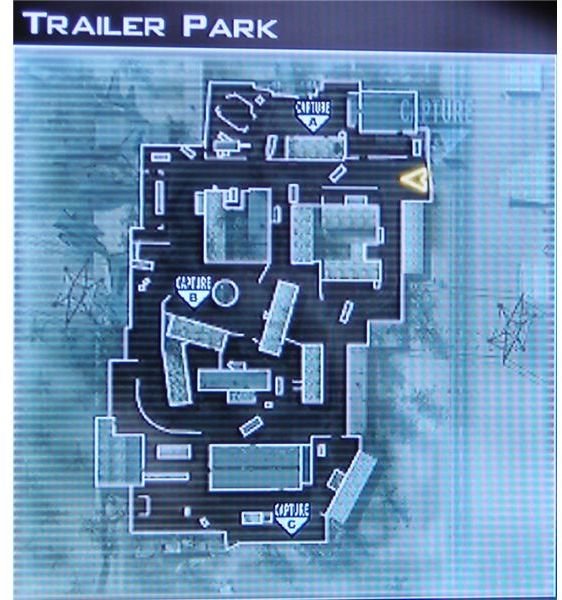
match. One long sight line from A to C allows a fast runner to access the point nearly as soon as the map begins and, possibly, kill the people who are capping the point to begin with. Of course, this only facilitates a triple cap off the bat, and if your team isn’t good enough to keep up with it, then such a strategy doesn’t help that much.
The trick to trailer park is to use a lot of guns that spray bullets, a lot of explosives that don’t go dud at short range (such as the AT-4 or the RPG) and to use FMJ rounds on all your weapons. The walls of all points of cover are easy to shoot through, and it doesn’t hurt to spray a few bullets here and there just to see if someone may be hiding. If you can do that, you can defend your points fairly easily, and assaulting the opposition is made that much easier.
Returning Map: Vacant
Vacant is a small map, on par with Rust or Scrapyard, but with a much more enclosed feel to it. Only the area near one point is open
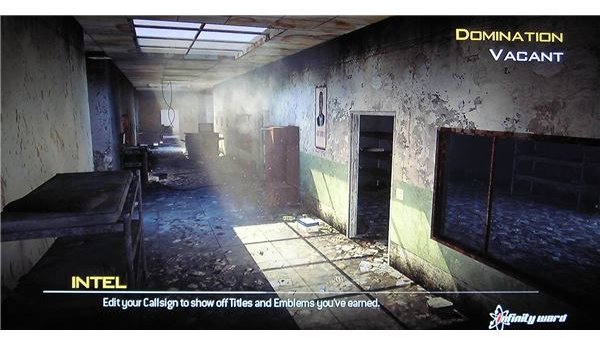
enough to allow killstreaks to do much work, and the other two points are virtually impenetrable by anything from the air. This makes the AC-130, Chopper Gunner, and even the Predator Missile virtually useless. On the other hand, sentry guns will do a LOT of work on this map, if you put them in the right places. Other than that, your shotguns, SMGs, and claymores will do most of the killing for you.
The A point in Domination is stuck outside, just like you would expect. This is the point that killstreaks can affect, though unless your team has both B and C, you’re not going to be able to spawn lock them with just air support. You’ll have to guard one of the six different entrances; the left side warehouse and it’s side door, the two windows and their middle door, and the far side door. Six entrances, in a domination game using six people on a side, mean that almost always one person is going to get in.
The B point is in the middle of the little courtyard, and has absolutely no cover from it’s entrances, or the sky. It’s one place where a predator is going to land and cause some hurt. The only sure way to capture this point is to have so many bodies thrown on it that it’s impossible to tell who is alive and who is dead, and only then hope that you’re not going to explode when someone tosses grenade into the little enclosed room.
Meanwhile the C domination point is in the far back computer room. Neither domination nor ground war domination are small enough
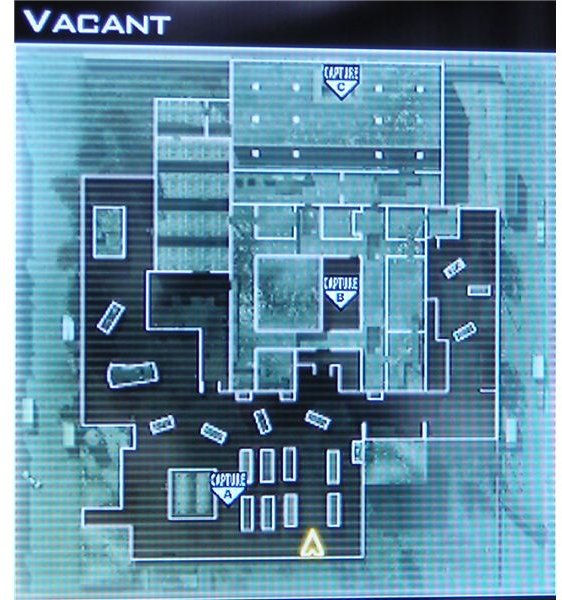
game types to have the gated doorway open, so you’re going to have to deal with two entrances to the area. One is on the warehouse side, which is easy to defend against anything short of explosives. The other is more likely to be forced open by sheer weight of people, so you’ll want to focus your defenses there. The gate will allow attackers a glimpse inside, but they can’t access or cap the point from there, so it’s only worth using to get an idea of where the defenders are inside the computer room itself.
Vacant is one of the two maps returning from Call of Duty 4 in this game, so veteran players will know all the ins and outs. Just remember to rock out your AA-12 shotgun and you’ll probably be fine. No matter what, though, go outside to call in your care packages. You won’t hit the skylights right.
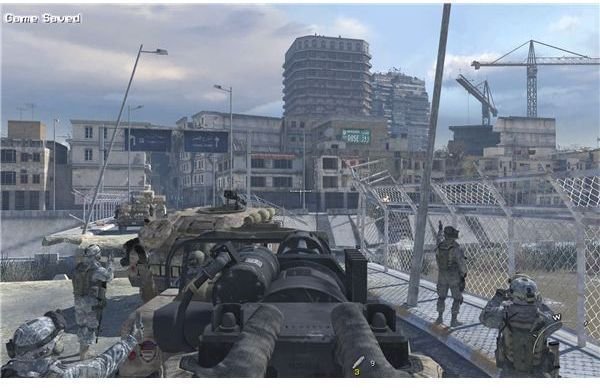
Returning Map: Strike
Strike is a wide open city map much like Invasion or Karachi in terms of gameplay and flow. While it isn’t as full of rooftops as Karachi,
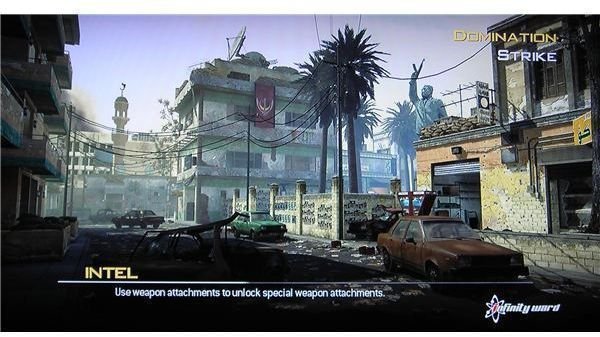
and it doesn’t have as many long sight lines as Invasion for snipers, it has plenty of everything. The best points to hold in this map are A and B, because it’s easy to spawnlock the enemy in the back of C, because of how far back they spawn. Killstreaks will help. One key difference between this map and it’s older version in Modern Warfare 1 is the building over C, which was made to be more accessible by adding an extra staircase entrance through the laundry room. This doesn’t help with the spawn lock, however.
The Domination A point is partly up the hill, defendable by snipers, explosives, and everything in between. It’s slightly more isolated from the action than the other points, and it’s much harder to spawn lock the enemy at A than it is at C. Players that spawn at A also get the benefit of two prime defensive locations for B; the building between them and the small deli behind that building. Both of these places are easily sniped from some part of cover at C, but that’s assuming the players on C realize you’re there.
The B point is where 95% of the action will take place during your typical domination match. Players from both sides will rush; C
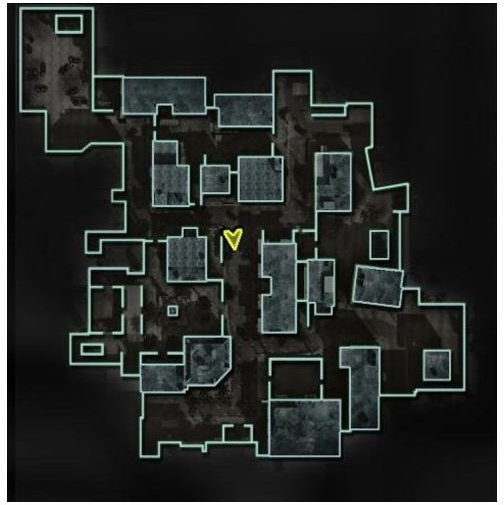
players to avoid the spawn lock, A players to try to start the lock. It will be covered in smoke and explode fairly often, which makes it a lot of fun to defend with a riot shield and some C4 fast detonations. Since most players still don’t know how to deal with a shield user, this will be highly effective at the start of the map when you’re first trying to take the point. It will become less effective if there’s a C spawnlock, because the riot shield won’t make it past the cover it needs to be effective.
The C point, as mentioned, is the least desirable. It’s only advantage is a relatively undefended portion of the map where it can access A from and flank behind the defenders. Of course, unless most of the team tries to take that path at the same time, they’re not likely to capture A from it, as B is close enough to A to allow the defenders of A to react and kill the attackers.
Overview
While this guide is meant for players that know what they want from the maps, and have already bought the map pack, don’t fret if you haven’t taken the plunge just yet. Check out our review of the map pack to see what we think of it! Or, if you’re done with Call of Duty, try checking out a different game like Heavy Rain or, if you’re the facebook type, Lexulous !
This post is part of the series: Modern Warfare 2 Map Packs
Reviews and guides for various Call of Duty: Modern Warfare 2 map packs.
- Stimulus Package: Modern Warfare 2 Map Pack Review
- Call of Duty Modern Warfare 2: Second Map Pack Overview
- Call of Duty: Modern Warfare 2 Map Pack Strategies
- Call of Duty: Modern Warfare 2 Map Packs: Are They Worth It?
- Call of Duty Modern Warfare 2 Resurgence Map Pack Review
- Call of Duty: Modern Warfare 2 “Stimulus Package” Map Pack