In this MW2 Spec Ops guide we take a closer look at the five Charlie missions and offer up some hints and tips to help you get through.
Charlie Spec Ops
The Spec Ops missions in Call of Duty: Modern Warfare 2 are a really mixed bag. Some are co-op only, some can be played solo, some are easy, some are really tough. In this guide we’ll offer some advice for the Charlie missions which are the third set of Spec Ops missions in MW2.
Hidden
You can do this mission solo if you prefer or you can tackle it as a co-op mission. It is a bit easier with two players but there’s no reason you can’t clear this environment on your own. We find ourselves near Chernobyl so there are radioactive zones on the map which will screw with your vision, and if you hang around, eventually kill you. This is just a different way to mark out the map bounds and all you need to do is keep within the warning signs.
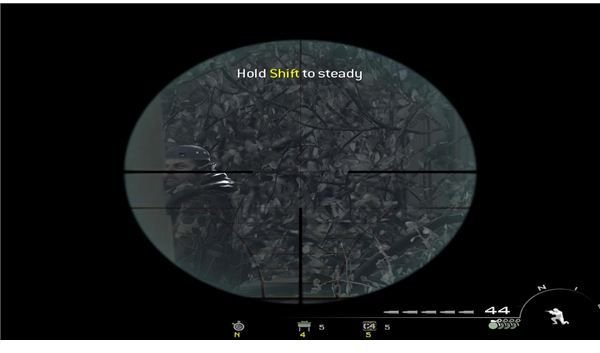
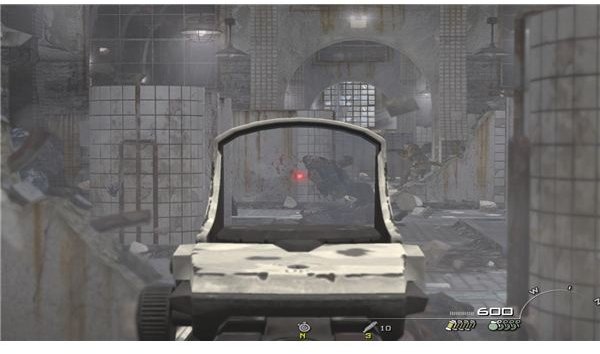
It is really tough not to draw some fire in this mission no matter how stealthy you are because there are hidden camouflaged snipers in the long grass and they seem to be waiting for you. You need to watch out for the glint of sniper scopes, that’s often the only clue you’ll get that someone is lining up a shot. Move slowly through this level, try to keep behind cover, and when a new vista opens ahead spend a moment scanning for movement. You’ll sometimes see the heavily camouflaged snipers moving to a better vantage spot.
With two players you can use one to draw fire while the other pinpoints the enemy snipers and takes them out. There are a few patrolling and stationary soldiers to take out in the first section before you’ll come up against three snipers hidden in the first field. After this, navigate around to the left by the ruined tanks and you’ll find another four snipers in the next field. Keep an eye on the watchtower as you approach the church and then use that spot to clear the way ahead. You’ll find another bunch of guards patrolling and then another four snipers beyond the second house between you and the end of the mission.
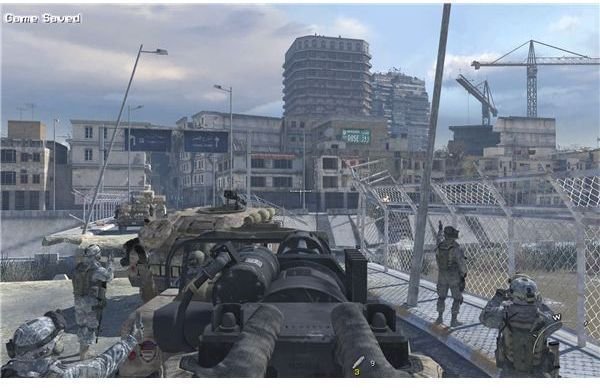
Breach and Clear
As with all the other missions this is much easier with two players because you can take a side each but it is achievable on your own. You’ll remember the gulag assault from the single player campaign. When you breach the wall make sure you take out as many men as possible before grabbing cover. Your first problem is the men up on the balconies at either side. Throwing a grenade up there can be a useful way to clear them out and buy yourself some time to pop up and take a few shots.
Once you have cleared the first chamber and you advance to the door, you’ll trigger a wave of enemies on the next set of balconies and some riot shield guys on the ground. Fall back into the first room and take out the balcony guys through the windows. Once they’re down you can use grenades and keep circling the cover to get in behind the riot shield guys as they stalk you. You can also aim for exposed feet and hands to get them to drop the shield and then blast away.
You only need to make it to the hole in the floor of the third chamber so you could just use a flash bang to disorient them and run through. If you time it right you’ll be able to escape pretty fast but it is more fun to pick them all off. You could alternatively pick up a riot shield yourself and make a break for the hole, just don’t get cornered or it’s all over.
Time Trial
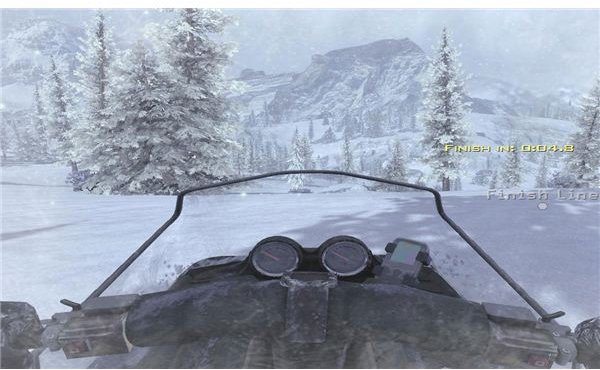
This is another snow mobile run but it is important to catch most of the flags in this one so either learn their positions or control your speed so you catch them. It is easier with two because the second player can catch flags that the first one misses. It is best to have a run through on this one to get the flag positions. The first section is probably the trickiest. When you get to the end slope just go for it, don’t be tempted to swerve for every set of flags because you’ll probably crash and it only takes a few seconds to hit the ramp and complete this mission.
Homeland Security

This is really tough on your own so I’d advise playing it co-op although it can be done solo. You’ll be defending against five waves of enemies starting off with soldiers and ramping up to include helicopters, BTRs and Predator drone missiles. When the missiles kick in at wave three you’ll need to take cover inside. You can fight off the first couple of waves from the gas station using the sentry gun near the door and dotting some claymores round the back before taking up a position near the counter.
By the third wave you should advance to the diner where you’ll find another sentry gun and a bunch of rocket launchers and alternative weapons . The sentry gun at the counter works well while you duck in and out the back door and hit some guys from the side by the dumpster to the left. Just make sure you duck inside when the missiles rain down (you’ll get a warning when it has a lock on you).
The enemy infantry will try to flank you, so keep checking outside the back door in both directions. It is easiest to finish the guys off completely (there is a count on the HUD) before grabbing an RPG and going for the helicopters or BTRs. You can use the enemy missiles to take out infantry or vehicles if you time your outside appearances correctly, but this is a risky strategy.
There is a third sentry gun on the roof of Nate’s but if you decide to go for it be careful or you’ll be targeted by the Predator drone. Try setting it up just after the drone has fired and then clear off the roof back inside the diner. If you cover the exits with claymores this isn’t a bad place to finish off the mission.
Snatch and Grab
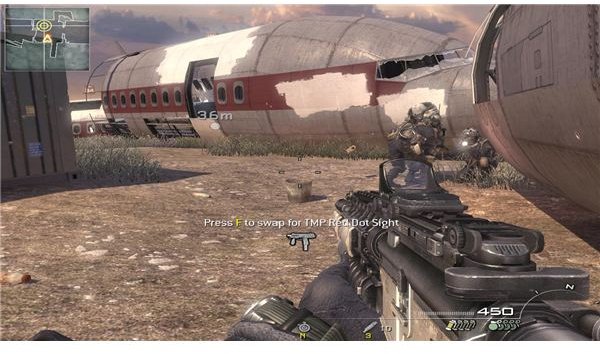
This is a really tough challenge because you’re up against Juggernauts and a large number of Shadow Company troops. On the plus side if you are careful you can avoid the Juggernauts and the enemy soldiers are limited so once they’re all down you are safe. If a Juggernaut gets your scent you’ll hear a music cue and you need to take action. Hide from them till they lose interest and then move on.
The first part is easy if you take it slow. Use the empty aircraft hulls as cover and snipe the soldiers ahead. Sweep all the way around the laptop before you actually approach it and make sure you’ve cleared the area. You’ll need to hold F for a short while to download the Intel before moving on to the second part. You reach the second part by going through an aircraft hull. Approach the lip very slowly and snipe the troops ahead before dropping down.
You can just sprint for it, but be ready to drop enemies as you run through the final section of wreckage at the brow of the hill. Alternately take cover and advance slowly, hiding from the Juggernauts as you go. You can snipe them but it is easier to avoid them altogether, of course once they have your scent the choice disappears rapidly. You can hide in the middle section of aircraft which links the two fields and you can get back up there from the second field if you need to. You could even clear the route before you take the laptop Intel if you wanted to, or in co-op divide the fields between you. This is a good mission with plenty of choice and various approaches will work.
This post is part of the series: Modern Warfare 2 Spec Ops Guide
A complete guide for the Spec Ops missions in Call of Duty: Modern Warfare 2.
- Modern Warfare 2: Alpha Spec Ops Guide
- Modern Warfare 2: Bravo Spec Ops Guide
- Modern Warfare 2: Charlie Spec Ops Guide
- Modern Warfare 2: Delta Spec Ops Guide
- Modern Warfare 2: Echo Spec Ops Guide
- Modern Warfare 2: Special Operations Missions Guide
- Modern Warfare 2 Special Operations Mission: Ready To Take It On?