The little interrogation isn’t going well. Some Russian special forces operatives are moving in to kill Clarke and we need to pull him out. I’ll help you fight your way out of Kowloon, navigate the difficult descent to the street and finally help you get clear of the battle.
Saving Dr. Clarke - Escaping the Apartment
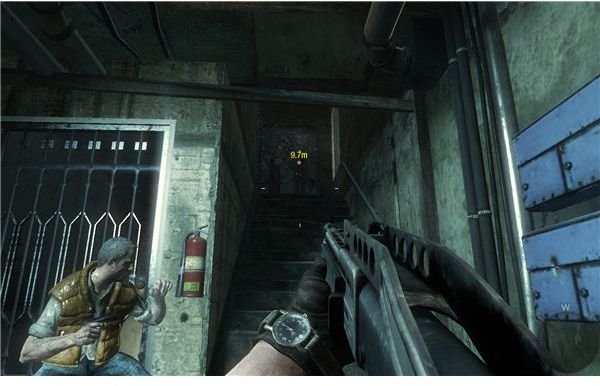
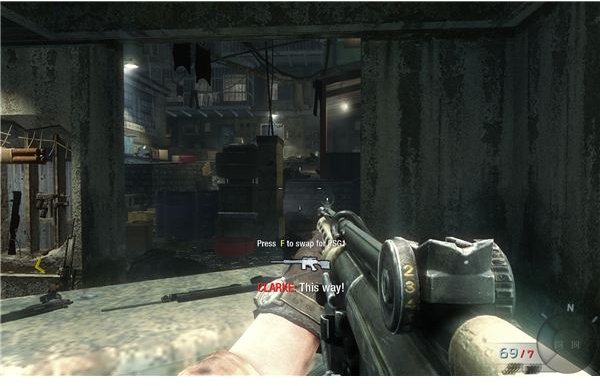
Follow the context keys for the interrogation. Once it’s over, run up to the table and get behind it. Use the pistols to pick off the two Russians that advance. The rest should be hit by the gas. Follow Clarke up the hatch and around the corner. Use the corner for cover and shoot the three soldiers at the end of the hallway. Trade out your pistols for a SMG and a shotgun. Fire on the man in the elevator and carefully move forward. Move up the steps and look to the right. Angle a shot out the window to hit the man lying in wait.
Move up to the rooftop and drop down after Clarke. Watch the left side for any soldiers that they missed. Don’t stop to engage, just keep moving and firing. Run down and break into a sprint, then leap over the gap to reach the balcony. You’re safe for the time being. Wait for Clarke to open up his weapon stash. Grab whatever you feel most comfortable with. I suggest getting something for medium range and something for short range. You should probably know what you like by this point. An SMG and shotgun work well.
Follow Clarke out and try to get the drop on the soldiers again of you. Move into the hallway and get ready for a grind. Get into the niche on the right and look to the left. Shoot the soldier behind the door and hit a few in the hallway. Rinse and repeat this little maneuver all the way down the hallway. Just get into a room, sweep the next from this cover and check the hallway. Leapfrog from point to point and you’ll reach a checkpoint and an exit soon.
Saving Dr. Clarke - The Rooftop Battle
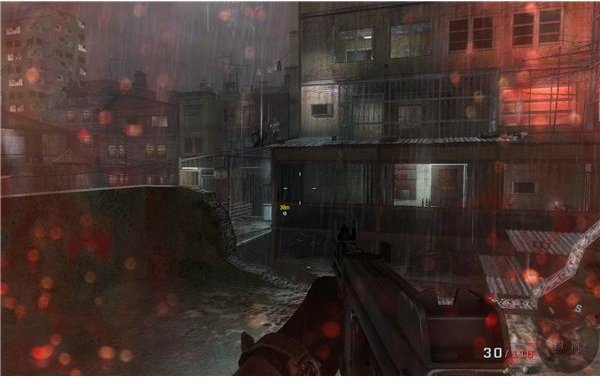
Note that the rooftops frustrated me enough to make me drop from Hardened to Normal, so take that as you will. Get into the left corner of the balcony and kill the soldiers in the building across from you. Drop down (make sure that you’re not hurt, or the fall might kill you). Climb the short stack to get into the building across from you. Use the doorway to flank the next wave of Russians as they try to hold the center rooftop. Look out and take cover behind the last air conditioner block. Try to thin the herd a bit with a grenade and some gunfire on the windows across from you. The key secret seems to be dropping off the left side, by the ladder. You should be able to kill a solider at the bottom, go around a big object on the roof and then flank the soldiers by the marker.
Once you’ve cleared a hole, sprint through and get onto the stairs. Move down and take cover with Clarke. Once again, engage the men briefly and clear a hole. When Clarke tells you to go to the pipe, sprint forward and make it to the hole to escape briefly. Follow the section of pipes until you find two men. Drop down. Weaver should shoot one, so just melee the other for an easy clear. Move up and slide down the roof while holding a fast firing weapon. You’ll get a slow motion section as you near the bottom. Just rake some fire across their backs to clear the rooftop.
Advance a bit further to finally reach a checkpoint and see Clarke’s little backup plan.
Escaping Kowloon - A Rough Road
Grab new weapons from his stash, if you aren’t happy with what you have or if you just need more ammo. Advance and shoot the soldier in the little shack. Jump inside and use the other window to ambush a soldier on the rooftop.
Climb out and drop down to rejoin the men. Look to the upper left and clear out the next group, then help them pick off the guards in the windows. Keep dropping down and get into the hallway. Take advantage of the slow motion moment and fight off the two men that breach the door. Fire and move quickly straight ahead. If anyone stops you, just knife them. They’ll breach the roof at the end. Fire through the smoke and bring them down, then pick off their spotter above them.
Get onto the balcony and basically just repeat what we’ve done before. Leap over to the balcony on the right after Clarke and help him clear out this hallway too. Just rinse and repeat for a bit until you make it to the next weapon cache by the locked door. I suggest you grab the machine gun for this one. You’ll need the large drum magazine and the firepower to cover Clarke while he unlocks the door.
Escaping Kowloon - Almost Home
Take cover by the big block on the right side. Fire straight ahead and pick off the men as they approach. Weaver should keep your left side covered, so focus on the right for the most part. Be ready to take down any rushers trying to flank you though. Weaver isn’t that fast. Hang on until the door unlocks and then follow him down the rooftops. Sprint over the ramp and jump to trigger the next scene. Nothing we can do about Clarke, it’s time for us to get away.
Follow Weaver down the path and help him clear the way. There should be just a few men directly in your path. Avoid the others by moving quickly. Make sure that you’re at full health for each drop. Don’t jump for any of them. Just walk off and fall onto the extended platform below. Jumping just increases the fall damage. Move down the ramp until you fall through.
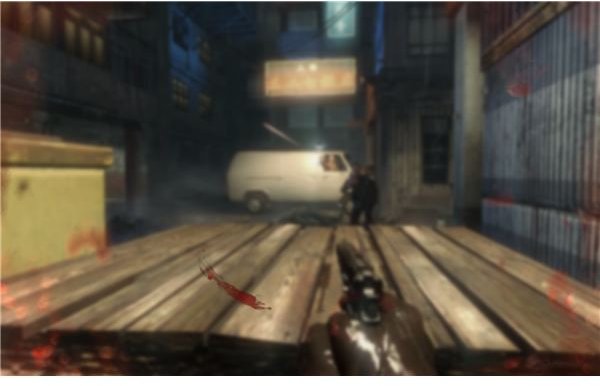
Grab the pistol and fire at the men in front of you. There’s nowhere to go, just hold on until the van smashes into the wall and clears a path. Get into the van to escape.
This post is part of the series: Call of Duty: Black Ops Walkthrough - Part 2
Things are starting to heat up. We need to figure out what Dragovich is up to. We’ll need to try to rescue Clarke, go back to an old Soviet mission, attack a few Vietcong villages and finally start up the assault on Dragovich’s compound.