Gears of War 2 Walkthrough: Find all the Gears of War 2 collectibles.

Collectibles
Acquiring all of the collectibles in Gears Of War 2 results in an achievement of you are playing it on the Xbox 360 console. For recovering five collectibles you get five gamer points and finding all fourty-one collectibles gets you a nice 30 gamer points. You can complete both of these achievements on any difficulty. The items themsevles usually contain some extra information about the storyline or characters in the game, making them very interesting to anyone who’s actually paying attention to the storyline.
Act 1: Tip Of The Spear
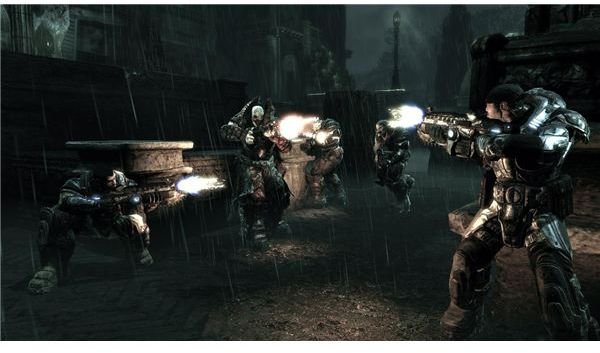
Chapter One: Welcome To Delta
#1 - The Eagle Newspaper.
When you begin the game you will be asked if you want to train or head straight into battle. Select train and walk down the alley, you should easily spot the newspaper on the middle of the street.
#2 - Ambulance Driver’s Log
Towards the end of the training section you will drop down a ladder. Drop down, turn right and go into the garage to find the log.
Chapter 2: Desperation
#3 - Doctor’s Journal
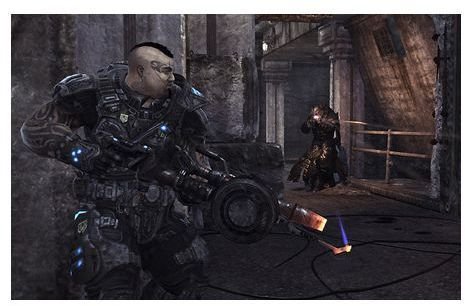
You will start the level on the second floor of a building, once you have fought you’re way onto the ground floor, the journal should be in a small closet on your lef-hand-side.
#4 - Jacinto Medical Center File
As you make your way through the building you will come across a reception area filled with a huge desk. The file is on the ground in the room.
#5 - COG Letterhead
The letterhead is lying on a desk in a small room beside the ruined cafeteria.
#6 - COG Proclamation
Further ahead the COG promclamation can be easily found as it is lying on the floor beside some ammunition.
#7 - COG Tags: Private Dylan Murphy
The tags are on your right-hand-side behind a pillar as you walk out of the hospital.
Chapter 3: Rolling Thunder
#8 - Grindlift Spec Sheet
The sheet is on the vehicle behind you just as you begin the level.
#9 - Ammo Requisition Form
When you get off the rig to defend Dizzy, the driver, you can find the form near the ammo to the left.
Chapter 4: The Big Push
Does Not Contain Any Collectibles
Chapter 5: Roadblocks
#10 - Jacinto Sentiniel Newspaper
Check upstairs in the building you start in to find the newspaper.
#11 - Memorial Inscription
The Inscription is on a wall to yout right at the war memorial area, it should be cathing the light as you move, making it easier to spot.
#12 - Landown Deliver Driver’s Note
The note is in the back of the Imulsion fuelling station.
#13 - COG Tags: Private Samuel Lee
Before you try to bypass the car wreckage blocking your path, enter the small room on your left to find the COG Tags.
Act 2: Denizens
Chapter 1: Scattered
Does Not Contain Any Collectibles
Chapter 2: Indigenous Creatures
#14 - Grindlift Pilot’s Journal
Turn left when you reach the second rockworm and cut through some vines to enter a small room and find the journal and some ammo near a grindlift.
#15 - Kantus Scroll
After you kill the reaver and some drones you can find the scroll behind the Troika at the back of the platform before you leave.
Chapter 3: Disturbing Revelations
#16 - Locust Emblem
Check on your right after you go through the stone door to find the emblem near some ammo.
Chapter 4: Sinking Feeling
#17 - Ilima Help Wanted Ad
You can easily spot the Ilima Help Wanted Ad to the right of the Bloodmounts.
#18 - COG Tags: Hank Bissel
After Cole saves you go towards the wall with graffitti on it to find the COG Tags.
Chapter 5: Captivity
#19 - Ilima City Journal
Release Baird from the Locust Jail Cell and check the alcove to the right to find the journal.
Chapter 6: Intestinal Fortitude
#20 - Car Gold Magazine
Turn left as soon as the level begins to find the magazine on the ground.
#21 - COG Tags
An avalanche of rocks fall behind you after you speak with Carmine, run to escape being crushed and go to the left of the oncoming ramp to find the tags. You will more than likely die while attempting to get this collectible, but don’t worry it will still be in your journal when you respawn.
Act 3: Gathering Storm
Chapter 1:Dirty Little Secrets
Does Not Contain Any Collectibles.
Chapter 2: Origins
#22 - New Hope Computer Printout
Check the tiny room t your right just after the mission begins to find the printout.
#23 - New Hope Memo
The memo is in a room just off of the hallway right before you get to the room with the flamethrower.
#24 - New Hope Medical File
As you go through the facility you will find a room with turrets on the ceiling, let them take care of the wretched running around and then deactivate them using the switch behind them. The file is in the room behind this.
Chapter 3: Rude Awakening
#25 - New Hope Journal
When you leave the facility ignore the train and turn right and go into the small building to find the journal on the floor.
#26 - Captivity Marks
head towards the end of the train yard before getting on the last train to find some captivity marks scratched into the wall.
Chapter 4: Ascension
Does Not Contain Any Collectibles.
Chapter 5: Displacement
#27 - Stranded’s Journal
After you take care of the gunboat, go towards the right-hand-side of the ruins to find the journal at the top of a flight of stairs.
Act 4: Hive
Chapter 1: Priorities
#28 - Locust Terminal
When you reach the terminal to look for Maria don’t activate it. Instead activate the terminal across from it to get the locust terminal collectible.
Chapter 2: Answers
#29 - Locust Prisoner’s Journal
The journal is sitting in an alcove to the left of the second terminal in the level.
Chapter 3: Hornet’s Nest
#30 - Locust Jailer Document
At the start of the level go downstairs, turn right and follow the corridor until you fint the document on the ground.
#31 - Human Finger Necklace
Defeat the two grinders and run fast ( and I mean really fast) into the room with the Troika before the door closes. The necklace is behind the Troika at the end of the room.
Chapter 4: No Turning Back
#32 - Locust Calendar
You will enter a room with an orange glowing pedestal to your left. The pedestal is the calendar, activate it to receive the collectible.
#33 - Locust Defense Plans
Activate the bridge and cross it, turn left to find the plans on the ground at the end of the corridor.
Chaper 5: The Best-Laid Plans
#34 - Locust Invasion Map
Just before you get into the locust lift, walk around the edge of the palace to find the map in an alcove on the right-hand-side.
#35 - Trinity of Worms
The trinity of Worms is a pattern on the ground. Defeat the grinder and walk up the stairs he was shooting from.Follow the hall to find the pattern on the floor.
Chapter 6: Royal Inquisition
#36 - Locust Tablets
At the start of the level you will enter a room. Turn left to find the tablets between two columns.
Act 5: Aftermath
Chapter 1: Escape
Does Not Contain Any collectibles
Chapter 2: Desperate Stand
#37 - COG Recon Report
After the first battle, go down the stairs on your right towards the platform, the report is there beside some ammo.
#38 - COG Tags - Seargeant Devon Jackson
Check the floor on the right of the longshot during the last fight to find the tags.
Chapter 3: Free Parking
#39 - Jacinto Sentinel Newspaper
After you fight the grinder, check behind the wall to his right to find the newspaper.
#40 - You can find the tags inside a ruined building on the left-hand-side towards the end of the level
Chapter 4: Tenuous Footing
#41 - Stranded’s Journal
When the building collapses don’t leave straight away. Check behind the desk in the corner to find the journal.
More Gears of War 2 Information
Want more Gears of War 2 information? Here are some other great articles here in the Console channel that you don’t want to miss:
Gears of War 2 Review: Welcome Back to Sera
How to Setup A Gears of War 2 Horde LAN Party
Xbox 360’s Gears of War Achievement Guide
