Warhammer Online: Guide to the Atldorf Sewers
Altdorf’s Underbelly
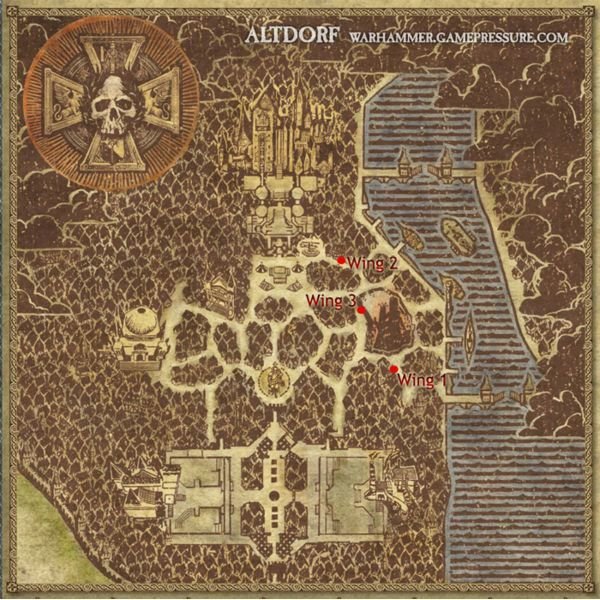
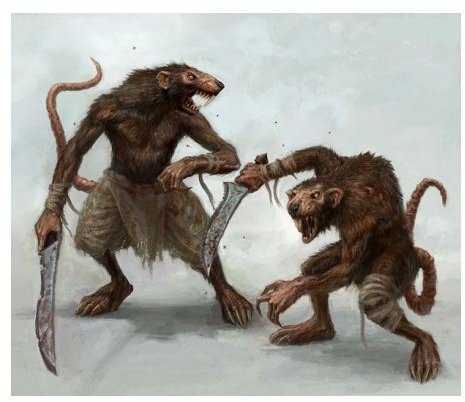
Altdorf contains many mysteries, and one of these is the sewers system, infested by skaven. In Tier 2, three particular instances are open to you, each with their own challenges and rewards. These instances are recommended for a group of six players rank 13 and above, though it is not impossible for a group to bring some slightly lower members along and still succeed. In terms of composition, it would be best to have two tanks, two dps and two healers, but the tanks are the only ones that are truly vital – the last wing will be extremely hard without them. Other than that, all you need are you strength and your wits.
Images
Wing 1
Wing 1 is by far the easiest of the sewer instances. It is located south of the Bright Wizard college, and can be done with a group of players 12-15. This instance is, compared to the other wings, extremely short. The mobs in this instance range from level 13 to 15 and come in groups of two and three, rarely four. The pulls are not difficult with decent healing and tanking and hold few surprises. One exception is that about halfway through the sewer, you will encounter a couple of groups of skaven that include assassins, invisible enemies that will beeline for your casters – take these down first. Barring any unforeseen mishaps, you should reach the boss in one piece.
Images

Kokrit Man-Eater
Kokrit Man-Eater is not a tricky fight in that he is a relatively straightforward boss, but it can be difficult unless everyone involved is paying attention and knows their role. He wanders back in forth in a room at the end of a short hall – it is best to have your tank pull him into the doorway and to have your casters and RDPS at the end of the hall. This is because he has a not insignificant AoE with a decent range. This can hurt a lot, but as long as your ranged careers stay far away there should be no problem. He also has a ranged goo attack that does some damage, but can be safely ignored if your healing is at all adequate. Once downed, Kokrit Man-Eater will drop 1-3 Keeper’s Boots and some other blue or green gear.
Wing 2
Wing 2 is much more of an instance, containing significantly more mobs, a mini boss, and a pair of final bosses actually worth mentioning. Wing 2 is easier to get to, located just a little ways northeast of the main square in Altdorf. It is not recommended that you attempt this instance without your party having an average level of 15. This wing features a somewhat more rounded lineup of enemies, including the mainstays that you fought in Wing 1, but with a few surprises, the most important of which are the plague monks. These baddies have a nasty aura, so tank them away from the group and take them down first. There are also more assassins here, so be sure to protect your casters from any unwanted attention.
Images
The Bulbous One
The mini-boss, the Bulbous One, is a level 16 Chaos Spawn hero that dwells in a side room halfway through the instance. He is fairly easy if you brought along enough DPS. He has an aura that does AoE damage and he will stack a debuff on his highest aggro target. Stay on task and kill him quickly, and you should have no problem. He drops random rare and uncommon items.
Images

Prot and Vermer Fangchitter
Prot and Vermer are two level 16 Skaven heroes. How difficult the brothers Fangchitter are will depend entirely on the make-up of your party, but be warned: they can be extremely difficult. In terms of abilities and stats, they appear to be exactly the same, which is both a curse and a blessing. On the downside, it means you need two tanks, minimum, to take down the bosses, but on the other hand, if you can handle one Fangchitter, it ensures your success versus the second. That being said, there are many things that make this fight unpleasant, if not infuriating. One, the brothers appear to leave behind some sort of green poison, and if you’re not careful, you may find yourself taking an excessive amount of damage. If your tanks or healers can’t take it, then keep them moving. Second, either the brothers are extremely finicky when it comes to aggro, or they have an aggro wipe. This means that at any given point in time, they may peel off the tank in order to take shots at the softer members of your team. Make sure your tanks save their taunts until they absolutely need them, and make sure everyone is paying close attention to their aggro generation. Upon defeat, the brothers will drop an apparently random amount of Keeper gear (all pieces are possible) and some other rare and uncommon items.
Images
Wing 3
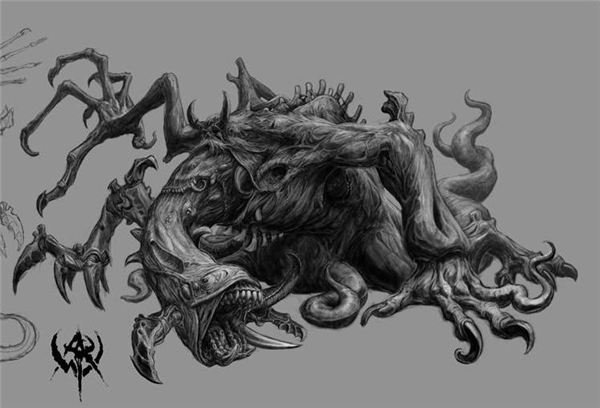
Wing 3 is the final, and most difficult of the three sewer instances. It is located almost exactly between the two other entrances, just west of the Bright Wizard college. The mobs here are closer to level 17, and you may wish to tailor your party to accommodate this fact. It is also the longest of the three instances, though not by a significant margin. Your biggest threat here are the groups of rat ogres, paired with packmasters. Kill the packmasters first, as they make the rat ogres tougher and smarter. The ogres have an AoE like Kokrit, but it is far less dangerous. Tank them away from your casters in any case. There are also several corrupted wizards lurking in the far reaches of this instances, but while their spells can be nasty, if you made it this far you should have little trouble. Note that in one of the first side rooms is the Warprot Kidnapper, who carries baby Gustav with him, for the Poor Gustav! quest
Master Moulder Vitchek
Master Moulder Vitchek and his ogre companions are simply larger, more dangerous versions of the packmaster groups that you will have encountered on the way to the final battle. Take down Vitchek first and his rat ogres should be no problem. Watch out for the usual things, AoE stomps and aggro wipes mostly, but if everyone stays on their toes, this fight may well be easier than Prot and Vermer Fangchitter. Upon death, Vitchek will drop 1-3 various blues and greens, but not the Keeper’s Set. However, whoever lands the killing blow on Vitchek will receive a skaven tactic fragment, granting 5% evasion when fighting skaven (and more if you have more than one fragment).
Images
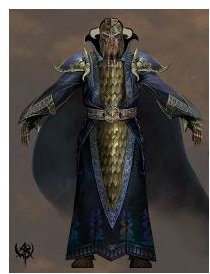
Goradian the Creator
Hidden deep in the back of this instance is Goradian the Creator, who bears a distinct resemblance to the corrupted wizards you will have encounter along the way. While not especially hard, Goradian can be tricky for the unprepared. His ordinary attacks are damaging, but completely manageable. At ¾ health, however, he will summon a swarm of nurglings. At half health, he will summon spiders, and at a quarter health, he will summon maggots. These summons can overwhelm even well armored characters, so make sure you have plenty of AoE and your healers are prepared for the extra damage. Otherwise, this fight is fairly straightforward. Upon death, Goradian will drop 1-3 pieces of the Keeper’s set, most likely the body.
Before you go…
Completing the entirety of the sewers can take a long time, and the difficulty of the wings can vary greatly, so check with your group before going and be prepared for some setbacks. Trying to complete the entire Keeper’s Set can be frustrating, especially since by the time you are able to do so, you may have better options. In any case, you should absolutely do Wing 1 until your boots drop, as it is quick and easy with a competent group. It is up to you whether or not you think the rest are worth doing.
Be sure to check the MMO channel and it’s RSS feed for more Warhammer Articles.
If you liked this guide, be sure to check out our Guide to Tier Two Armor Sets and Guide to Tier 1 Armor Sets.