Starcraft 2 Beginner's Guide
Don’t Give Up!
You may have just started playing this game, and you find yourself at the bottom of the bronze league, struggling to create a few units before your enemy kills you with vastly superior numbers. Or you may have just played your first placement match and you’ve already started thinking “Well, this game is not for me!”.
Fear not! Starcraft II offers a great variety of strategies and tactics to defeat your opponent, but learning how to properly utilize them is rather difficult. There are however, a few things to remember as a new player. This article will help you find your way through the labyrinth of multiplayer gaming.
Picking a race
First, you will need to pick up a race and stick to it. But before deciding which race best suits your gameplay, you should try playing at least 10 games against friends or computer opponents with all three races until you learn the basic principles of each. This will not only help you decide which race to play, but will also give you an insight into the strengths and weaknesses of the others, so that you can exploit them in future games.
Once you are comfortable with a race, you should keep playing against friends or computers, gradually increasing difficulty until you are sure you know all the basic unit compositions and strategies.
The principles of macro
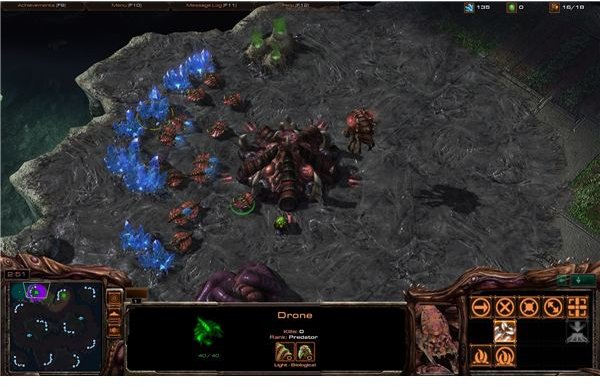
As with most strategy games out there, in Starcraft II it is very important to produce an army and replenish losses very fast. Creating a powerful and efficient economy is the key ingredient for victory. While the game provides only two natural resources for players to gather in a rather simplistic way, macro-managing your economy and unit production is probably the hardest thing to learn in this game. If you mastered that, you will probably be among the best players in the world.
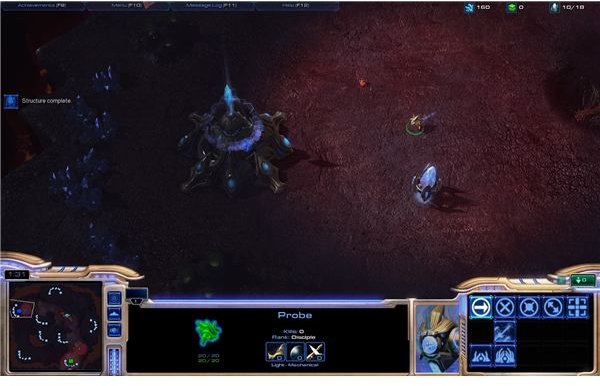
According to Blizzard, a mineral field or a vespene geyser is mined at maximum efficiency if there are 3 workers gathering from it at any given time. This is only true for geysers. Mathematics and experience have shown us that using 2 workers instead of 3 for mineral patches will ensure m
aximum efficiency. An expansion will usually have 8 mineral patches and 2 geysers. That means each mining operation should have around 16 workers for minerals and 6 for gas, totaling around 22 workers. However, it is advised to have more than 16 workers for 8 mineral patches, as enemy raids can kill a few workers from time to time and your economy will suffer if you use exactly 16 workers. The number should
be around 20 workers for 8 mineral patches.
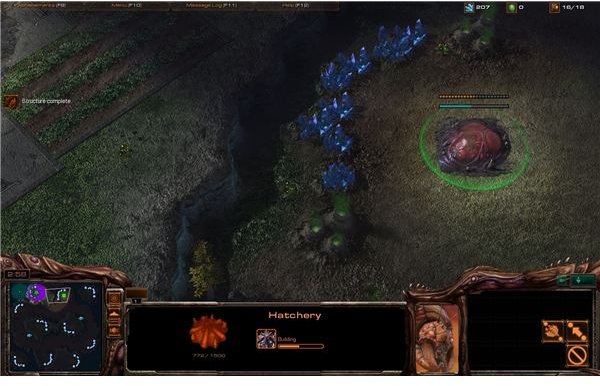
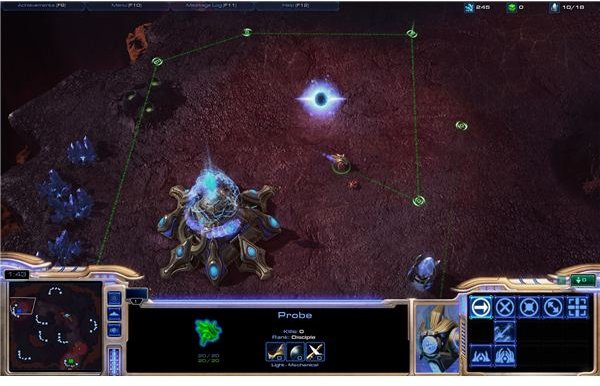
Another thing to take into consideration is that your economy can not sustain continuous production of more than a handful of units at a time. To increase your production rates, you will need to mine from at least two different locations. That means you will have to expand outside of your starting location.There are many strategies that involve expanding very early in the game, before your opponent has a chance of stopping you. Maps will usually have an expansion available near your spawning location which is easy to defend. You also need to remember that you will run out of resources sooner or later, and you will need to expand to more and more locations around the map, while preventing your opponent from doing the same. Mining from two places at once will allow you to train more units at the same time and to replenish your losses faster, as well as using your more powerful units more often.
How to properly micro-manage your army
Micro-managing, often shortened to simply “micro,” is a term used to define the control of your army and specific units while in combat. Micro involves hit and run tactics, kiting (using ranged weapons against melee units) and using unit spells and abilities. Most units in the game will have an ability which is usable by default or needs to be researched. These abilities, if used properly, can swing the outcome of a battle.
If a player can control his units well he can win a battle even when out-numbered. Key bindings are a crucial aspect of micro-management. Instead of clicking the button for a specific spell and then aim it using your mouse, you can greatly increase your speed and reaction time by using the hot key assigned to that spell. The hot key of any spell is specified in its tooltip. If you are not comfortable with the default hot key, you can change it from the menu while on the Battle.net main screen. It is best to have the most important spells from different units assigned to the same hot key; Q, W, E and R are the best hot keys to use.
The counter system
A counter is a unit that has a natural edge when fighting another unit. In some cases, units cannot return fire when attacked. For example, a flying unit attacking a melee ground unit will be considered a counter to that (melee) unit, because the ground unit will be unable to defend itself against the flye
r’s attacks, as it cannot shoot up in the air.
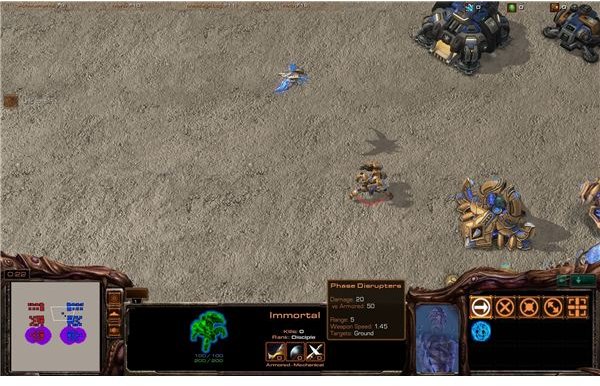
Some units will deal bonus damage against others. You will find examples of such units bellow. A weapon that lists “vs: armored 50” will deal 50 points of damage to any unit with the armored attributes. Units can be armored, light, mechanical, biological, massive, structures, giant, psionic or any combination of these. These attributes are displayed in the unit information tab when selected.
The high ground advantage is another way of countering the opponent’s army. A unit sitting on high ground will be safe from any attacks coming from low ground. To attack units on high ground, a player must gain vision of the attacker, by either running up on ramps or by using a flying unit. This is only applied for ground units, as flying units do not get the high ground advantage.
Scouting
Scouting is very important in any RTS game. Knowing what the enemy is up to gives you the chance to prepare accordingly. Most new players hit a brick wall when it comes to scouting, and up until gold league, most won’t even bother scouting. Fortunately, there are a few things to look for when scouting the enemy bases, and this article will sort everything out.
How and when to scout
When to scout is a rather lousy question. When to start scouting is a lot more appropriate, because you should be scouting regularly. Zergs and Terrans have a much easier time scouting the enemy bases, and they are far more adaptable to enemy tech switches. Protoss on the other hand, are a much more rigid and inflexible race, and they should start scouting at 9 supplies, as opposed to 13 supplies for the other two races.
The initial scout is very important. Most new players assume that scouting should stop once you found the enemy base. This is wrong. The early stages of the game all come down to build orders with specific timings. Players can’t really mess with these timings, because it can cost them the game. Spending more time with the scouting worker in the enemy base will give insight on what devious plans the enemy is hatching in his corner of the map.
Interpreting the Information Gained While Scouting Early in the Game
As mentioned above, each build order in this game has specific timings. Even if the enemy may not be using a cookie cutter build, there are clues to what he might be doing in the way he manages his early game. The list bellow gives some advice on what to expect after scouting said situations:
If your enemy is zerg
- Double gas: usually means a fast mutalisk rush
- One gas, spawning pool under construction or already finished: speedling rush
- No pool and/or two overlords: fast expansion
- 5-6 workers, pool undergoing, lots of larvae stockpiled: 6 pool all-in rush
- Pool done, a spore crawler done/under construction and/or possible fast expand: infestor ling build
If your enemy is protoss
- Double gas: usually means a DT rush, but may also point out to a void ray rush. Either way, get anti air static defenses. They provide both detection and protection against void rays.
- 1 gateway done, another under construction, 1 or no gas, no cybernetics core: Most of the time this is a 2 gate mass zealot rush
- 1 gate done, cybernetics core under construction, 1 or 2 gases: 4 gates build. This can either go in a rush, or simple macro game. Keep scouting.
- 1 forge: either a forge FE or a cannon rush
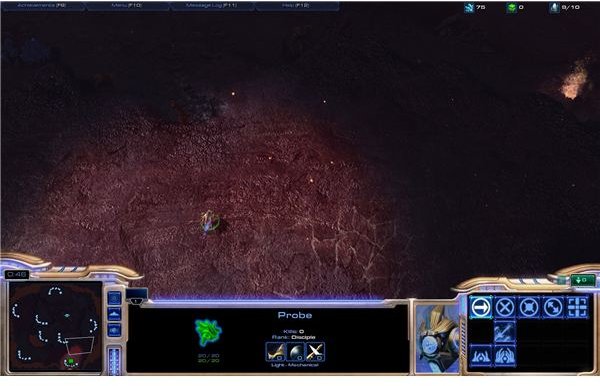
- Nothing: look around your base for proxy
If the enemy is Terran
- Double gas: banshee or thor rush, most of the times it’s banshee
- 2 barracks, no additional workers being trained: 2 rax rush
- No barracks: look around for proxy
- 1 barracks done, another under construction, 1 or 2 gases: MMM push
Terrans are the exception to the rule: early in the game, their builds mostly look the same. You should return with scouts after the 5 minute mark, to see what they are up to.
If your enemy is random…
…first find out what race he is.
Images
Mid and Late Game Scouting
In longer games, it is necessary to scout the enemy every now and then, to see what he is up to, where he is expanding, what unit composition he uses, the level of his weapons and armor upgrades, defence lines, and possible weak spots in his defences.
At this stage in the game, it is rather difficult to scout with a single worker, because the enemy will stop you in no time. Luckily, all races have advanced scouts tuned for the mid and late game
If you are a Protoss player, scouting can be performed with an observer. If you do not have observers yet (you should get them) try using a phoenix, either a real one or a hallucination. Their high speed and long sight rage makes them perfect for scouting. Once you have observers, move them in key positions around the map, in the enemy base, or even task them to follow the enemy army. Remember, observers are invisible unless the enemy has detection.
If you are a Terran player, you can use scans from Orbital Command, marine drops (do some damage while you are at it), or a hellion run by. As a means of detection, you have the Raven, a supporting spell caster from the Starport, and scans. You can also use vikings.
If you are zerg player, you should use your overlords and creep. During the game, you will create lots and lots and lots of overlords. Don’t keep them all in one place, spread them across the map, in key positions. Spreading creep is also advised. Your units will move a lot faster on creep, and you will be able to see what is happening on your creep network. Zerglings with speed upgrades, mutalisks and burrowed roaches are also effective at scouting.
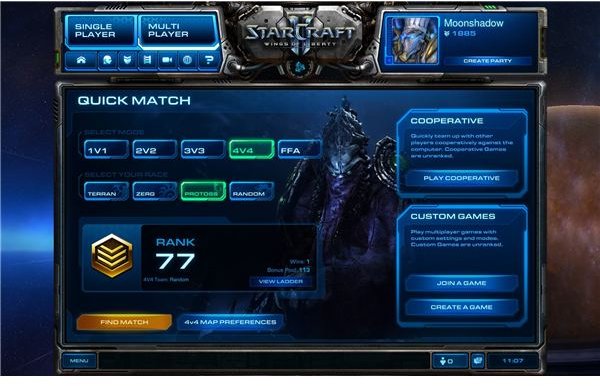
The Matchmaking System, Leagues, Ladders and Rattings
Starcraft 2 uses a complex ladder and match making system. Although Blizzard has not officially given any detailed information about how exactly this system works (to avoid exploits), they have provided us with the outlines of the mechanics. This article will sort out most of the confusion around this system.
Leagues and Divisions
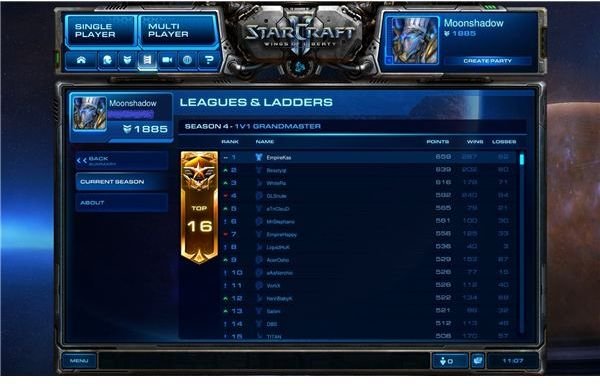
Ranked from the highest to lowest skill level, there are a grand total of 7 leagues
-
Grand Master league, containing top 200 players in each region. This league is created a few weeks after the start of each season. Players can only be demoted from this league if they are too inactive and their bonus pool grows too large. Only available for 1v1 bracket.
-
Master League, containing 2% of all active players. One can only get here if promoted from Diamond League or if they finished last season in Master league.
-
Diamond League: contains 18% of all active players. One can get here either through promotion or placement matches
-
Platinum League: Standard league, contains 20% of active players
-
Gold League: Standard league, contains 20% of active players
-
Silver League: Standard league, contains 20% of active players
-
Bronze League: Standard league, contains 20% of active players
Divisions are groups of 100 players (or teams) within a league, with the exception of the Grand Master League which has only one division of 200 players. Players cannot move from one division to another inside the same league, unless they get promoted and then demoted. Players are ranked inside their divisions by the ammount of points gained from rated (ladder) games. Ranking inside a division does not affect your chances to be promoted (see bellow).
Match Making Ratting
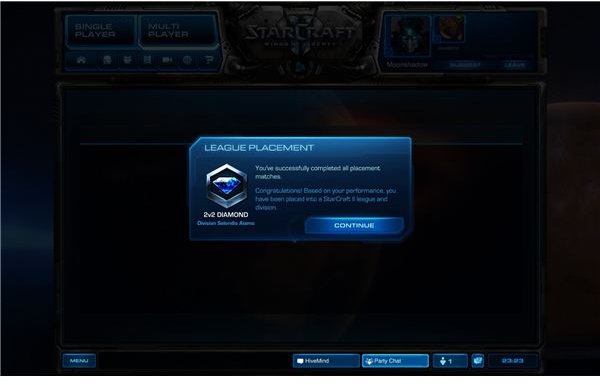
Each player has a hidden ratting which, in theory, should reflect his or her skill level. Initially, a new player will have 0 match making ratting (or MMR), and will be asked to play 5 placement matches for each type of game (1v1, 2v2, 3v3 or 4v4). These placement matches will determine the initial MMR of each player. They usually are against average level players already in the ladders. Depending on how many games you win, you will be placed in a league. The outlines of the initial placement are as following:
-
5 games won, placed in Diamond league
-
4 games won, placed in Platinum league
-
3 games won, placed in Gold league
-
2 games won, placed in Silver league
-
1 or no games won, placed in Bronze league.
Note that you cannot get directly into the masters league, players will have to be promoted from Diamond.
Once the initial MMR has been decided, the system will attempt to place you against opponents of equal or close MMR. Each win or loss will modify (increase in case of a win, decrease in case of a loss) the rating depending on the opponent’s rating.
Once a certain rating threshold is reached, the system will promote or demote you from the current league. The only exception to this rule is the Grand Master League. In this league, players only get demoted if they stay inactive for too long. Their MMR will have no impact on their standings in that league once they have been promoted.
The Favored System
The system is tuned to make you only win around half of the games you play; that being said, when you are on a winning streak (win a lot of games in a row), the system will match you against opponents of (much) higher MMR than yours, and will eventually stop your winning streak, either through promotions or simply by matching you against very skilled opponents.
The favored system is there to warn players when they are matched against someone of equal skills or when there is a big difference between the two players. You will only be promoted when you start playing “even matches” against players of higher leagues. You will be demoted when you start losing matches in which you were considered favored.
So, How Exactly does the Matchmaking System Works?
Once a player has completed his 5 placement matches, the system will do its best to keep the player from winning more than 50% of his games; this means that if you are on a winning streak, the system will do its best to stop you. There have been situations in which bronze players would fight against platinum or even diamond ranked player. If you are on a losing streak, the system will give you easier and easier opponents until you win again. It is all based on trial and error. Once you played enough games (around 100 or so) the system will know for sure what your skill level is, and then your win ratio will come closer and cloaser to 50%.
“Ok wait. If the system will keeps me at a 50% win ratio, how will I get promoted?” The answer to this question is rather complicated. As a rule of mathematics, it is impossible for the system to make you win exactly 50% of the games. Sometimes you win more than 50% or less than 50%. If you win just above 50% of your games (say you win 54%), your MMR will increase over time (since you win more than you lose), and you will eventually have a MMR similar to the one players in the league(s) above you .When that happens, you will be promoted one, maybe even two leagues. Similar situations occur when you get demoted. Although you can’t see the MMR, you can tell if you are due for promotion if you have “even matches” against players from leagues above you.
There is however, a side effect to the “50% rule”. If you are on a winning (or losing) streak (of let’s say…10games) you would expect to be promoted(or demoted). But the promotion(demotion) doesn’t come. This happens because the system doesn’t know where to place you. The system will try to find the place where you have a win rate as close to 50% as possible. If you keep winning (or losing) the system won’t know what to do, and will give you harder and harder opponents untill you lose or easier opponents untill you win. This is why sometimes, players get promoted after a loss or demoted after a win.
Ladder Points and Bonus Pool
The ladder points are basically your displayed score within a division, which decides the rankings in said division. They are in no way related to your MMR, and neither do they have any influence when your opponent is chosen. They merely offer a reason to play more a climb on top of the division. However, as a side effect of the 50-50 rule, if you played enough games, your displayed ladder points will get closer and closer to your actual MMR, but never reach it. If you keep your bonus pool to 0 and stay for a while at around the same value of ladder points, then the value of your MMR isn’t far.
Because some players may not have enough time to play all day in order to gain a top position in a division, the bonus pool was implemented. Players gain bonus points every day, and they will gain extra points (up to 2 times more if there is enough bonus pool) when they win.
Although ranking inside a division does not matter when it comes to promotion or demotions, these rankings will entitle players to achievements at the end of each season.
Seasons
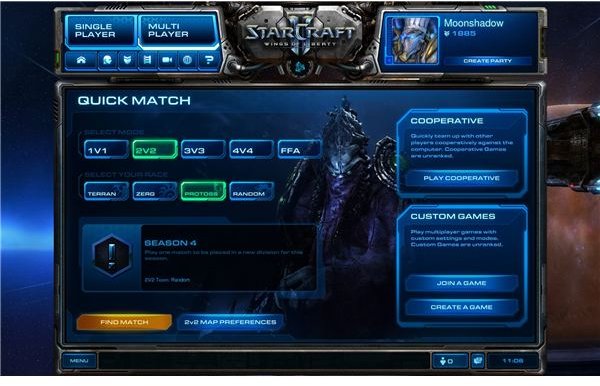
The competitive multiplayer is split into seasons. At the beginning of each season, players will be asked to play one placement match to decide the new league placement (only applies to brackets in which you completed the initial 5 placement matches sometime in the past). This placement match will rarely have any effect on your overall standing. In most cases, you will end up in the same league you were last season. The main point of this match is to sort out the inactive players; however, If a certain amount of ladder points is gained by the end of a season, you are almost guaranteed a promotion at the beginning of the next season. The amount of points needed at the end of a season so that you can advance a league when you played the placement match can be found here.
If a player does not play his placement match the entire season, his MMR will reset at the start of the next, and he can play the 5 placement matches again.
Good luck!
With all this in mind, you can start polishing your player vs player skills and climb up the ladder. Remember, you are not supposed to win more han 50% of your games, so don’t worry if you lose often. All games have a learning curve, and even the best players in the world aren’t undefeated.
References
-
Images and screenshots provided are by the writer
-
Blizzard’s Official Beginner Strategy Guide
www.eu.battle.net http://eu.battle.net/sc2/en/game/guide/whats-sc2
-
Leagues and Ladders
-
Expanding to new resource locations
Liquidpedia Starcraft II Wiki http://wiki.teamliquid.net/starcraft2/Natural_Expansion
-
Mineral gathering efficiency:
Liquidpedia Starcraft II Wiki: http://wiki.teamliquid.net/starcraft2/Mining_Minerals