RPG Maker VX for Beginners: Adding Troops and Encounters
Introduction to Troops and Encounters
In the previous article, we explained how to import your own monsters to your game as well as how to modify their statistics.
In this article, I will begin by explaining how to add Encounters to your game.
An “encounter” in RPG jargon, refers to the random battles you’ll come across as you progress through the game.
The troops are the groups of enemies that will appear during those encounters. Troops are created by selecting one or more enemies.
The enemies are the monsters and foes in your game. They are found in the database for your game by pressing F9 and clicking the enemies tab.
Creating your First Troop
Before adding the encounter to the actual map, you need to fiddle around in the database for a bit beforehand.
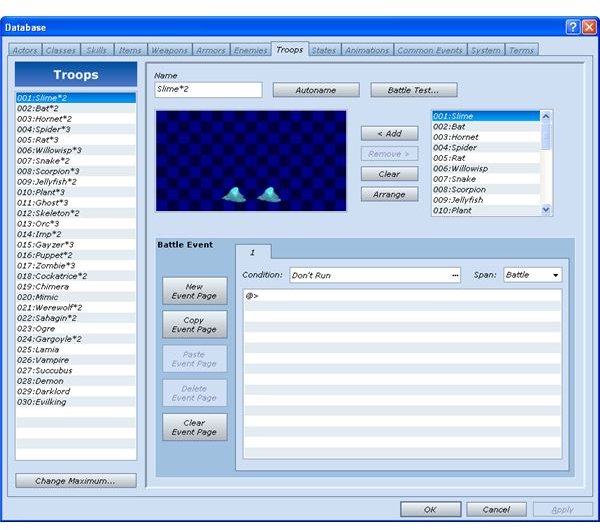
As usual, press F9 to access the database and select the tag “troops”.
The troops are the different combinations of enemies the character will encounter in your game.
The enemy tab is where you will import and edit your monsters whereas the troop tab is where you will select which enemies will appear during the encounters on your maps.
Let’s create a new troop of enemies for your first map. At the very bottom on the left side, you can see “change maximum”.
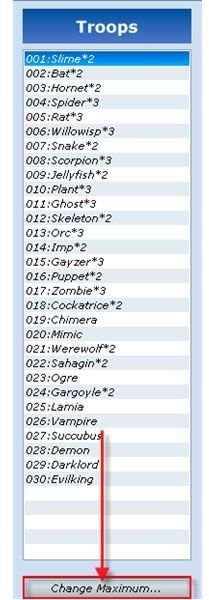
Click ‘’change maximum’’ and input the number 31 (to go from 30 kind of troops to 31) and click OK.
There will now be a new line right underneath 30, the line 31. Click the line 31 to select it like so:
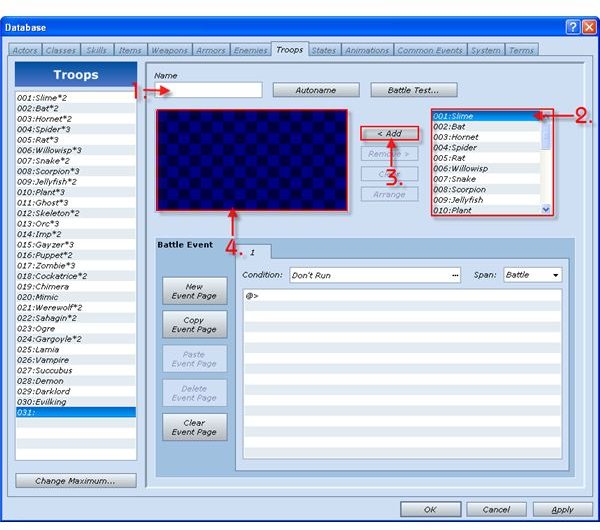
First of all you may type the name of the encounter, although it is recommended to simply click “autoname” once you’re done as it’ll be much quicker.
Let’s make a group of enemies composed of two bats and a spider. Go ahead and select the bat in window #2 and click “Add” twice (#3).
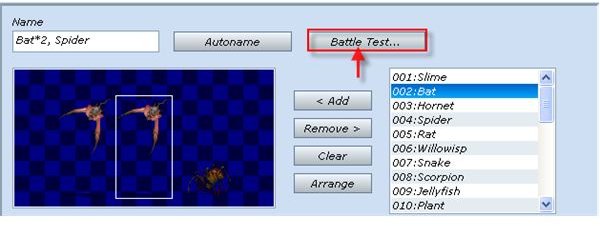
Two bats should have appeared in window #4. Now, if you wish to do so, you may rearrange the position of the enemies. Simply click one of the enemies (you will select it and a white rectangle will appear around it) in window #4 and drag it around.
Once you’re done arranging your foes, click on the “Autoname” button to automatically name your encounter.
Note that you may click “Remove” to remove the selected monster (the monster in the white square in window #4) or “Clear” to remove all the monsters in your troop so far.
You might want to test out the difficulty of that troop in particular. If this is the case, click “Battle Test” to do so.
We’ll leave the bottom half of the window for now as this is more advanced stuff. We’ll come back to it in the more advanced tutorials.
Once you’re done, click OK and you’ll be sent back to the main mapping screen.
Adding the Encounters
Check out the window at the bottom left of your screen, this is where all of the maps in your game are located (there should only be one so far).
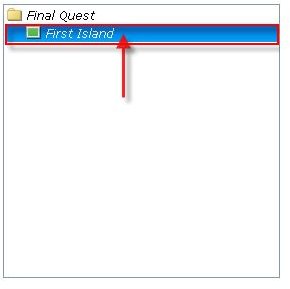
Select the map, by left-clicking it and press SPACE to access the map properties like you did last time.
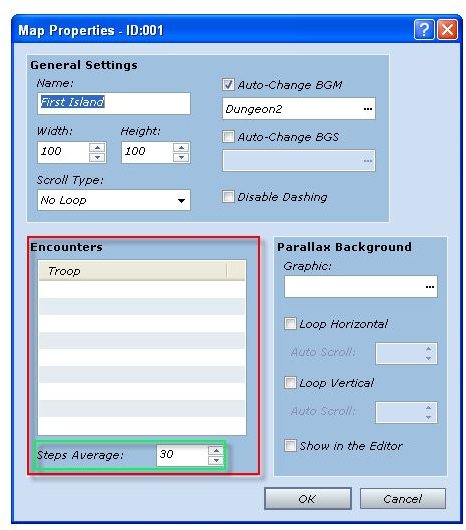
Before adding the actual encounters, pay attention to “step average” in green in the picture. This is the average of steps a character will take before a random encounter (“step” here means every time the character moves from one tile to another).
Make sure to keep the “steps ratio” reasonably high. Players will quickly get tired of being in a random encounter every two steps. A good alternative is to make battles less frequent but more difficult (and with more rewards).
In the troop subwindow, select the first line by left-clicking it (it will become highlighted) and then press ENTER to add your troop, a window will show up.
Scroll all the way to the bottom and select #31 (that’s the troop you just created in the previous section) and press OK.
Now, if your character was to walk around the island, he would eventually encounter 2 bats and a spider. This might get repetitive however so let’s add another troop.
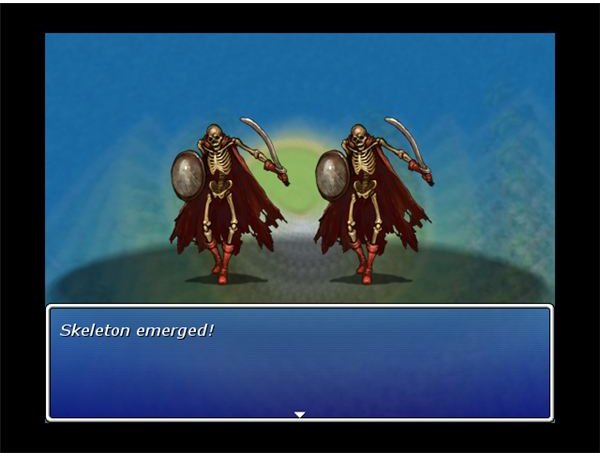
Repeat the process and add #12 this time (2 skeletons) and press OK.
Time to test things out by clicking the green arrow.
Walk around for a bit and eventually you’ll meet some random enemies.
It will either be a group composed of two bats and a spider or a group of two skeletons.
Congratulations, you’ve added your first random encounters to your game!
Take some time to experiment with this if you feel like the encounters are too hard or too easy. You can change the enemies of the troops to change the odds or modify the stats of your enemies.
This post is part of the series: RPG Maker for Beginner: Chapter 2
This is the second chapter of tutorials in learning how to use RPG Maker VX.