Chapter 3 Game Guide - Resident Evil 4 Walkthrough
Chapter 3
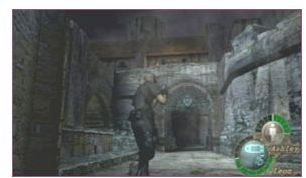
Start by collecting items from the merchant’s hut and start smashing boxes
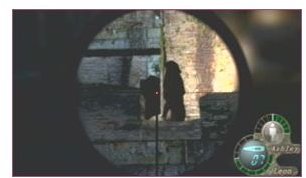
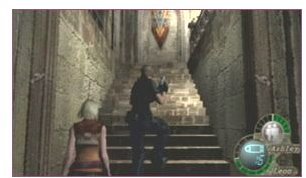
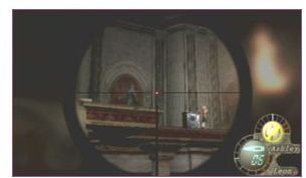
There’s ammo waiting for you in the form of a large crate, then head to the ledge. Snipe down two villagers and head upstairs to your right. At the top, you’ll have a cutscene waiting for you. Lead Ashley to safety and walk to your left for some items.
Courtyard
Now get back to the main courtyard where you faced the catapults. Get west and go upstairs taking down one of the creepos in your way. At the top of the stairs, face the south wing and snipe down another enemy with a catapault. Climb up higher and tell Ashley to wait in the NE corner of the courtyard. Enemies will appear trying to kidnap Ashley so you better protect her.
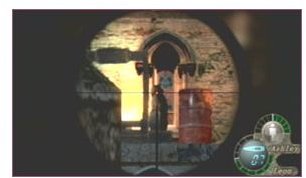
There’s a nearby shed here, leave Ashley there and cross the bridge to the east and onto a circular platform. Take cover quickly in a small hut to your right and snipe down the enemy at the rooftop. When the area’s clean, activate the lever to raise the cannon and blast the doorway in the north courtyard.
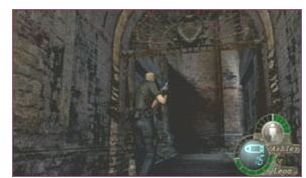
From there, grab the Platinum Sword from the north wall. Leave Ashley and head upstairs. Lead AshlEy to the SW corner of the room, creepos will rush at you from downstairs and upstairs. When they’re all gone, head to the top of the stairs and snipe down the ladder.
Twin Swords
There’s a Gold Sword in the wall, take it and replace it with the Platinum Sword and place that Gold Sword to where you found the other one. Once done, a doorway will open to the next area. You’ll be talking to Luis before entering the courtyard and see the gateway to the north is locked. Leave Ashley here and open the west door. Enemies will come at you. When they’re dead go to the room from whence they came.
There’s an explosive barrel at the end of the hall and two more enemies. Call Ashley to you and leave her in that room. Exit to the NE door and snipe down the enemy with the crossbow. Now around the corner are two more villagers with wooden shields. Snipe one down and shoot at the other. When it’s clear, call Ashley to you. Inside this room, you’ll find some items and a Castle Gate Key in a chest. Take the key and prepare for an attack. Make the barrel by the door explode and use the shotgun if you have too. When it’s all done, head to the north castle gate and use the key to open it.
In the Land of the Blind..

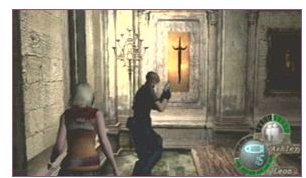
No enemies for now, so run up north to the save point. Then head to the NE doorway, then turn north at the bend to enter a room with two fire breathing statues. To easy, is a the painting with the Prison Key. Take it and get to the previous room. Open the prison and leave Ashley at the south side before getting to the stairway.
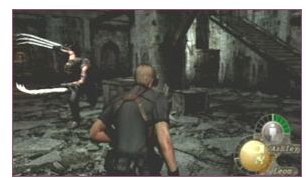
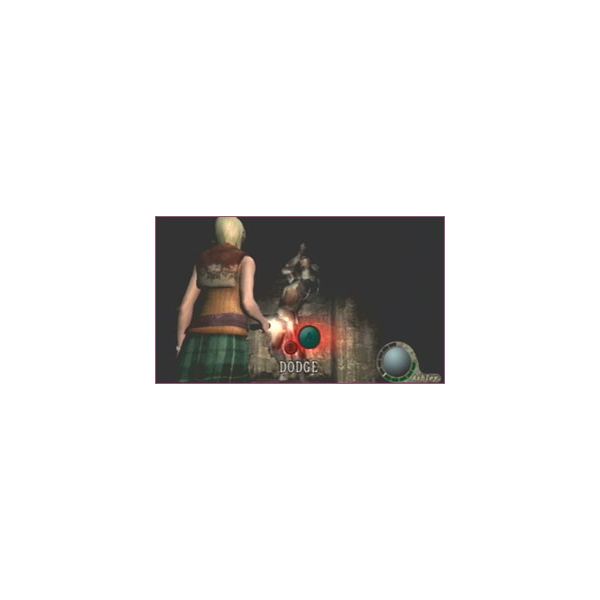
The east end of the prison has a prisoner and wake him up There’s a masked enemy here, and he’s uber blind but with heightened senses. Run to the pillar and avoid the attacks. Dodge the clawed attacks and have him dig his claw into the brick. Take aim with the pistol and go bang bang. Keep attacking until the enemy dies. Run around until he smashes his claws into the walls. Lure the enemy and keep shooting until he dies. Then throw the switch to his cell extinguishing the fire from the statues. Call Ashley to you and get up the stairs. Keep her behind you at all times and take out the creepos in your path. Leave Ashley behind once you’re done and get to the eastern hall, around the corner beyond the statues, take out the zombies and get on to the next doorway. Kill off two more zombies and head to the door to the north. Now as you get to the next hall, take a position and start shooting. Run away if you can, with Ashley at your heels. Keep running and pick at them one by one.
Practice Shooting
Once that’s done, head north. Go to the north and enter the room to solve a puzzle. Tell Ashley to wait by the yellow floor switches and then step on the second floor switch - showing a lever in the hall to the south. Now exit the room and head to the main level. Do what you did earlier to survive and when you’re done work on the handle in the middle, dropping a bridge to help you reach the upper level of the hall.
From here grab items around you and take out the extra ammo. Take Ashley to either the East or West side and make her reach the top level with two more handles to turn. As she does this, take out the enemies around you then catch her as she jumps down. From there, get to the doorway to the next area There’s a save point here and a merchant as well as a shooting gallery mini game. Practice your shooting and earn bonus items and when you’re done, get to the north hall
Insect Bites
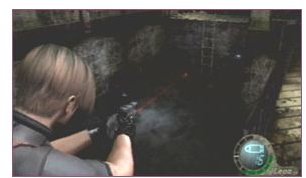
Head down the hall to the east doorway and grab the items before going to the sewers. There’s a new enemy - an invisible insect. Take down the first insect and continue on heading S then N. From here, take down two more insects and then head to the door SE of where you are. To the south is a hole in the ceiling - snipe down the insect there and the way will be clear to you. Continue east and explore the cells and towards the south is a large circular valve handle that lowers the water level. Shoot down enemies around you and continue on to the main area.
Cloaked Enemies
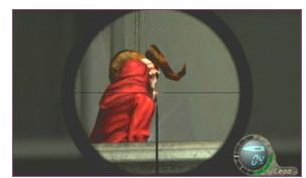
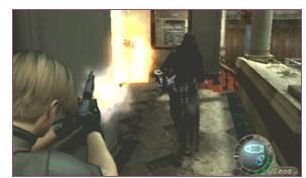
Now jump down the south hall. Dodge the swinging blades by running past it. Pick up items on the other side and climb the ladder to the next area. Head north to a part of the balcony with the broken railing. Toss a grenade at the center and take out about 6 enemies. Either grab the items or swing over to the other end of the balcony. Turn north from here and jump on the chandelier, go south and hit the switch to open the gates. At the west side is a merchant and a door leading to the next area. Mostly items for the first rooms but watch for the closed door, it has the enemies you’re looking for. Get to the southwest, after you take your enemies out and get to the door with a small room and a set of stairs to the east. Take out the enemy at the top and go to a door leading back to the balcony. Keep going north across the balcony to the NW corner and jump down to the west platform. From there, a red cloaked enemy will appear.
To the Gallery
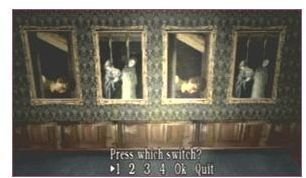
He’ll have the Gallery Key you need - run after him and take him out. Shoot him in the leg as he tries to run away from you, get this done as fast as you can before he reaches the machinegun turret because that’s trouble. Get the key from him when its over and head on to the gallery where a puzzle needs to be solved. Flip the pictures around to have 6 people in the painting. (The combo is, 2nd switch, 3rd switch, 1st switch, 4th switch).
From the next room, run right up as fast as you can and keep running to avoid the archers. When you’re done head to the upper west level and turn on the switch deactivating the security system and raising up a pedestal in the center of the room. Run to the south part and smash a vase, press the button and raise the bridge to the center. Two more bazooka creepos will wait for you as you get to the hallway. Run to the other side, crossing the small bridge and grab the Goat Ornament from the chest. Doors will open up, so head to the west to get to the next area where there’s nothing but items. Keep running northwest to the next area.
Getting to Ashley

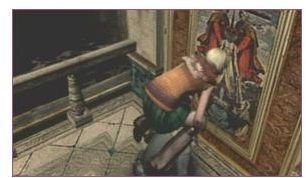
There’s a hedge maze and a door southeast needing a Blue Moonstone to open it. Both pieces are on either end of the hedge maze guarded by wolves. Combine the pieces together and open the southeast door. Collect items and conduct trade with the merchant before heading to the south door. More items await and a door leading southeast, where more items await. When you’re done, head to the dining hall and find a bell at the east end. Ringing the bell flips a picture - target the bottle of wine and break it oepning a door to your left.
At the center, a cage will drop as well as a number of enemies. Skip the cutscene and blast away the lock on the east door. Run back to where you came from. Keep away from the side of the cage opposite of the door to keep the enemies in and kill them off, getting the Hourglass from the chest. Exit to a balcony and take out the enemies there, and when you’re done pull the lever at the center of the room and connect the two balconies together. Return to the first one and reach the west side of the upper level. Watch our for aerial attacks via crossbow.
When you’re done go to the south side and enter the west door, for the merchant and the save point. From this doorway, you’ll get to a large hall where you’ll hear Ashley screaming. Run to the top level and stockup. Find the small island floating in the center of the room and shoot off the three belts tying Ashley. Equip your rifle and prevent Ashley from being hurt. Take out the second wave of enemies and have Ashley grab the key and get to the next area.
As Ashley

As Ashley, get to the southeast hall so get moving fast. A crank on the eastern wall needs to be turned to open a gate to the next room. Toss lamps at enemies and runaway (or crawl to the next room.) Two cranks to turn this time, so kill the enemy first before cranking them and get to the next hall. To the north are more items, but head southeast to the next area. Crawl to the hole in your left when you get to this dark room. Push a shelf aside and press the switch to the north side.
Now crawl under the table, head west to get to the north end of the room. There’s a second switch here, so press that and get to the room where the Stone Table is. Press another switch and open the gate behind you, and then go back to press the shelf switch again letting you into the next hallway. Its a dark hallway but just keep walking til you get to a large sliding puzzle room. Match the emblems correctly by moving the tiles around. Once done, insert the Stone Tablet into the hole in the puzzle, opening the back door. Reach for the Salazar Family Insignia and the Serpent Ornament above the fireplace. Three Knights will come at you to wait at the SE side of the table then run up north and behind them through the door. The knights will come after you, and you’ll need to dodge their attacks.
From there, head to the doorway to the north and return to the room with the mechanism you can’t operate. Place the Insignia on it and turn the handle to reveal a ladder to the upper walkway and end your level
This post is part of the series: Resident Evil 4 Walkthrough
These articles are part of the series for the PC action adventure game, Resident Evil 4 Walkthrough