Portal 2 Walkthrough - Chapter 8: The Itch - Tests 1-3
Reaching the Testing Grounds
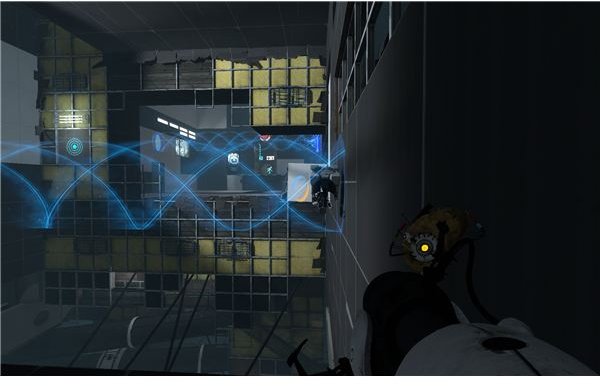
Walk into the new room to see how Wheatley’s test are going. Look through the broken vent in the office to spot some white wall. Put a portal there, and another on the wall. You can use this to get onto the catwalk. Just follow it around to the lift, and then follow that into the chamber. Grab one of the new cubes and drop it onto the button to bring Wheatley back. It seems that GLaDOS overestimated him, so we’ll need to play along a while longer.
Test 1…Twice
Walk out of the exit after he opens it, and follow the path into the next chamber. Push the button to drop the box on the button and solve the test. Cross the empty moat and walk out, but follow the circle and to solve the test again. Wheatley will open the exit for his test afterwards and take you up to the real testing grounds.
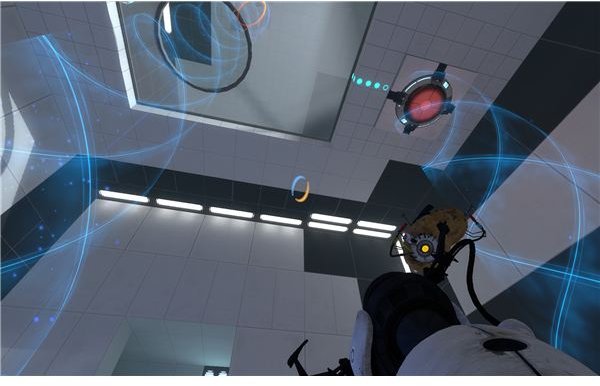
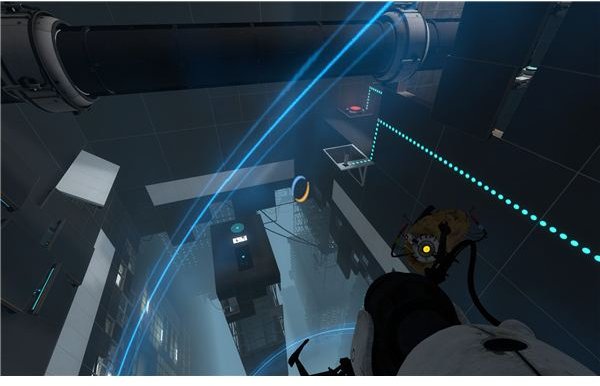
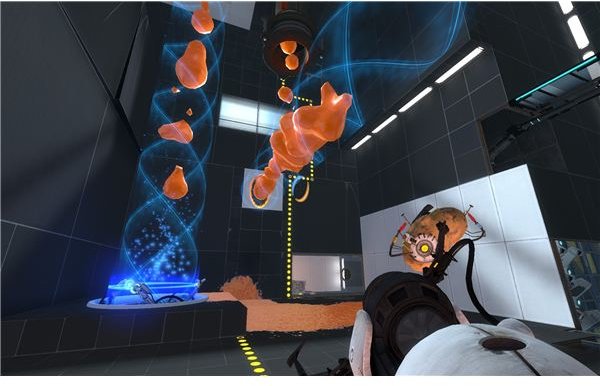
Walk forward to the new swirling light bridge (excursion funnel). Go into it, and look at the top. Put one portal here. Look to the side of the room for the cube, and then look across from it for a section of wall. Put the second portal there and ride the wave over to the cube. Grab it, carry it down and shoot a portal on to the floor and another on the wall to carry it back down to the entrance. Put one portal above the curl again, and another below the button. Put the box into the field, and let the wave carry it to the button.
Ride it up, and then drop off to reach the exit.
Test 2
Once you’re done staring at Wheatley’s “work,” drop down into the curl below you. It will catch you. Put a blue portal at the end, and another on the wall to the left to reach the other portion of the test.
Look over to the floor on the side, and keep an eye on it. As you approach the original light lift, fire a new orange portal onto the floor to carry yourself up to the button. Look below the dispenser, and put an orange portal there to catch the block when you hit the button. Then put another below it on the floor to carry it up to you. Grab it and set it below the button. One more orange portal will push it onto the button. Walk through the exit.
Test 3
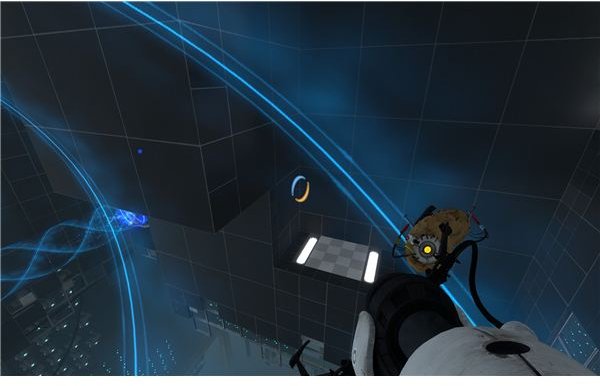
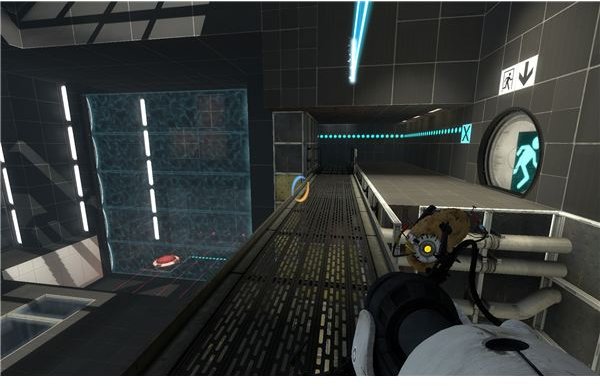
It’s another light tunnel test. Catch the tunnel with a blue portal and create a bridge across the gap and ride it over to the button. Put a portal on the little “L” wall to the left to catch the cube when it drops. When it hits the wall, put a new portal on the small plate to carry it back to you. Pick it up and walk over to the spring. Line up a portal just to the left of the target. You want to pick up the cube, spring across and get caught by the tunnel. Ride it over and wait until you hit the wall, then carefully walk off onto the wreckage.
Fire a new orange portal to create a tunnel up, in front of the low hanging white plate in front of the button. Grab your cube and ride it up, then let go of the cube and look down. Fire a portal onto the piece of the wall that sticks out to ride it to the exit, and carry the box into the button.
Test 4
We need to start by knocking the turret off. Put a portal up to catch the tunnel, and then use another across from the turret to knock it over. Standing on the button makes the tunnels pull instead of push, so put the portal on the wall to the left of the cube, and then stand on the button. Wait for the beam to pull it in front of the white wall, then switch the portal to the back wall and step off of the button to push the cube toward you. Grab it, reposition the tunnel if you need to, and set the cube on the button, preferably on its back so it won’t move.
Create a tunnel to pull yourself over to the other side, and then look back at the box. Make a new tunnel to knock it off the button, and lay a blue tunnel to push yourself up to the exit.
Test 5
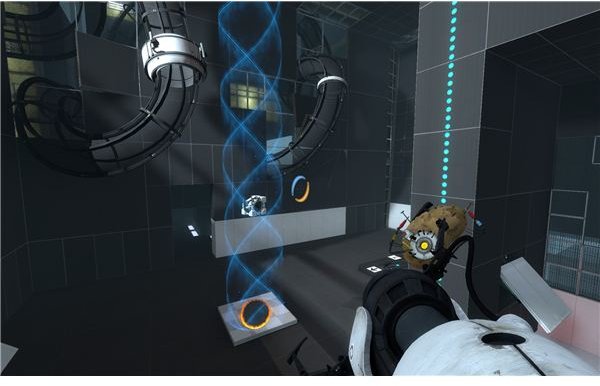
This is a fairly quick one. Catch the blue tunnel with a blue portal, and create a vertical lift with an orange portal to catch you between the two springs. Look to the back left to spot a slanted plate. You need to use your current height to fling across the gap, so look over to the slant and fire a blue portal onto it. You should be flung across the gap.
Pushing the button drops a cube onto the first spring, so you’ll need to repeat this with the cube to get it to you. Drop it on the button and go through the exit.
Test 6
This one has a few parts. First, we need a box for the button. Start by putting a light bridge up to catch the box before it hits the field, then hit the button and watch where it falls. There’s a bunch of turrets down there, so we’ll need to get creative and hope that it fell somewhere good.
Put up a light bridge to catch you before you hit Wheatley, so that you fall on the catwalk. Then look down into the turret pit from this position. Put up a shield for yourself, and then drop down to retrieve the box. Carry it out through the portal.
Repeat this process to get back up onto the catwalk, but this time walk along and drop down all the way to put it on the button behind the emancipation field across turrets. Use portals to get out, and then go to the exit.
Test 11 (We’re Moving Too Fast for Him)
Move forward and look around the room. We need to take the two platforms up to the exit, but that means getting a few things first. Start with the cube on the shelf behind the spring. Catch the blue tunnel and put it on the floor in the path of the spring. Jump on the spring and get caught in the tunnel, then look down at the slanted plate you would have normally hit. Put a portal there so that you fall down and slingshot into the cube. Grab it and take it with you. We’ll need it for the button in a moment, but it’s actually needed for the laser first.
Break the laser beam with the box to turn off the tunnel. Put one portal on the slanted plate here, and another one across from the spring. With that tunnel gone, we can step on the spring to be thrown through one slanted plate and out the other to reach the redirection cube.
Grab it and redirect the laser into the wall, then use a portal to send it out onto the main floor. Carefully jump through the portal, and look for the receiver by the two raised platforms. Put the other portal across from it to complete the connection.
Before you go any further, put the cube onto the white plate below the button on the ceiling. When that’s in place, step onto the platform by the exit.
First, break the beam by firing a new portal anywhere. Now that you have a little height, you can fire a portal below the redirection box to toss it somewhere and restart the tunnel. Put a portal below the tunnel and under your cube to push the button and lower the second platform. Step onto it, and then break that tunnel by creating a new portal anywhere. This will raise you up to the exit. Go through and get into the elevator.
Test 12
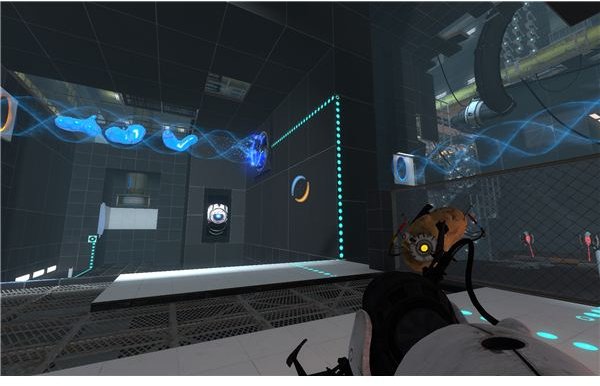
This one is all about mastering a few specific portals. There are three receivers. The one on your side opens the door and the two by the platform handle its operation. The bottom one makes it move, the top one shuts off the field.
Start by putting a blue portal up to catch the laser, and then put an orange one between the two markers to make the platform move. Once it’s on the other side, break the laser beam and put a portal up so that you can jump onto it yourself.
In order to ride it across, you need to reconnect the beam and let about half of it go through the field. Then break the beam, and put the orange portal on the higher set of walls to connect to the second receiver and turn off the beams. Walk to the other side, and reconnect the lower beam once you’re past the field. Ride it to the other side and drop down by the button. Make it stop moving once it goes back to it’s own side by the dispenser. Hit the button and watch to see if the cubes sits on it. Put one portal on the wall and another above the platform to drop down and grab the cube.
Repeat the trick to ride the platform across the field, but stop it once you’re close to the button again. The cube needs to stay up here to be on the right level to hit the receiver. Put an orange field up and arrange the cube until it hits the receiver, then set it down. Drop down to the platform, and use a blue portal to cut the beam and drop through to the original side. You don’t want to have to replace the orange portal after you already set up the cube, so use a blue one to make things really easy for yourself. Once you’re back on the right side, put the blue portal back where it was to catch the laser beam and send it through to the redirection cube.
Go through the exit and into the beam. When you regain control, you’ll be in an office by the manufacturing area. Follow the catwalk, drop down and round the corner into the box at the end.
Test 15
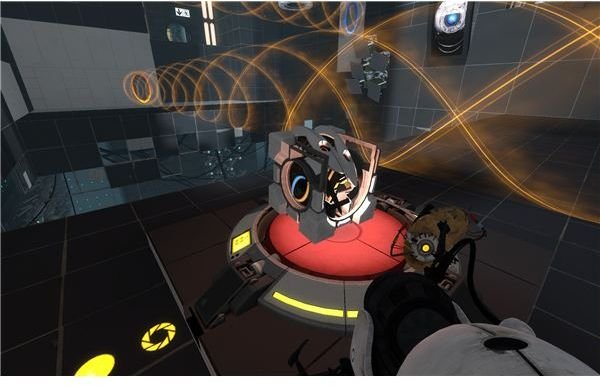
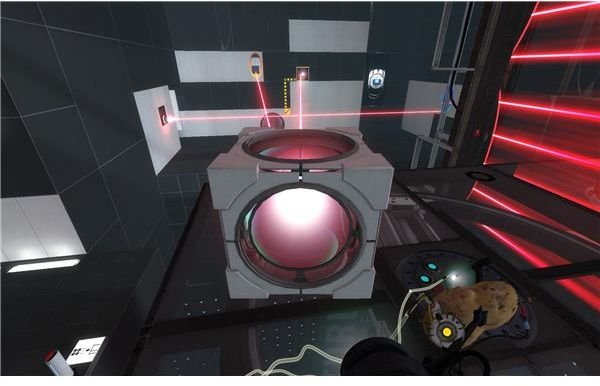
We’ve got some red gel again, and a bit of a complicated box setup. Start by hitting the button to drop a cube onto the glass. Step onto the button to turn on the tunnel, and then put a portal up to catch it and another one to knock the cube off of the platform. Put one right below that to catch the box again, and push it back to you. Grab it and carry it over to the glass with the button behind it. Use a portal to get past it and drop the cube on it to turn on the gel flow.
Walk back out and step onto the button to recreate the field. Catch the tunnel again, and put the tunnel underneath the pipe. This will have the globs travel along the field, until you break it. Wait until it is above the ramp, and then break the beam to grease it all up. Walk back and grab the box. We’ve got enough gel, so put it onto the button to turn on the tunnel again. Approach the ramp and look for the wall on the far right. Extend a horizontal bridge in front of the ramp to catch you and carry you toward the exit. Once that’s done, you can run off the end and hit the tunnel to be taken to the exit. Get into the elevator.
Test 16
Cross the gap using the white gel, then go into the room. Watch out for the three turrets, and look across for the white wall. Portal over there and look. What you need to do, ultimately, is cover the three turrets with gel to knock them off.
To do this, start by putting one portal to catch the tunnel, then put another below the pipe to catch the blue gel. Hit the button, and then break the portal to get a little bit of blue gel on the metal part at the end of our platform. Do it again, but this time, use the blue gel on the edge to jump up into the stream and ride it back to the start. Drop down quickly, before the gel hits the wall, and step onto the button to reverse the flow. Wait for the gel to be in the original stream, then put a new portal at either spot on the wall above the turrets. Step off the button to reset the flow, and wait for the gel to be above the turrets. Use a new portal to break the tunnel and dump the gel on the turrets.
Hit the button to open up a new slanted plate on the wall. Get ready to do the old slingshot trick. Catch the tunnel again with a blue portal, and put a vertical tunnel anyway at the start with an orange one. Ride it to the top, and then put the blue portal onto the slanted plate to drop down and fly across the glass, hit the blue gel on the turret’s old base and fly into the exit.
Test 17
Step onto the spring trap for a bit of a surprise. Just ride it out and get ready for the final chapter.
References
All screenshots from “Portal 2.”
This post is part of the series: Portal 2 Walkthrough - Part 2 - Chapters 6-9
We’ve now got a new target and a new friend…well temporary friend. We’ve also taken a bit of a trip to the past. If you need some help with the blue, red and white gels and all of Cave Johnson’s tests, you can look here for some help.