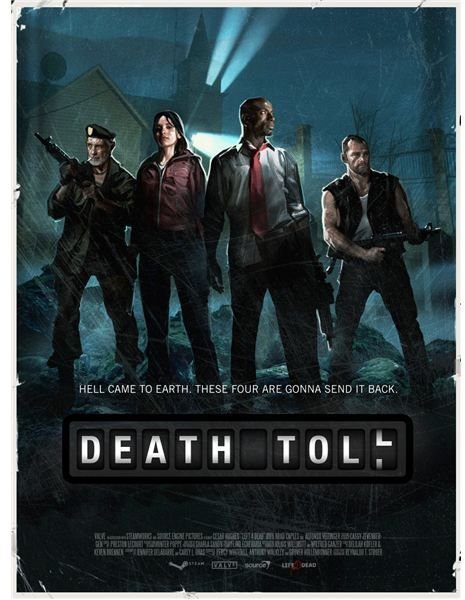
Left 4 Dead Death Toll Walkthrough: The Turnpike and the Drains
Chapter 1: The Turnpike
You’ll start out this freaky campaign at the end of a road. Grab weapons and health out of the trunk of the car, and pick off a couple stray infected before heading out. This part is pretty straightforward, but you can get stuck, so move quickly. Cross the road and go into the ravine beneath the bridge. Go extra fast during this part as it is easy to get swarmed or jumped. Stay close as you climb the ladder back up to the street. Enter the tunnel after dealing with the infected in your way, and check the openings on either side, as they may hold explosives or health.
Move past the first blockade of cars and check the room to the side, then get moving. Jump over the next, bigger blockade, and keep your eyes upward. If your opponents have any sense (then again, they are zombies), they will try and jump you from the hole in the ceiling. When you reach the blockade, take a left, and go down the stairs. You can enter either door to get into the next room, but stay together. Don’t spend too much time looking, as you are a little exposed, but check the room downstairs quickly, then head up and outside. From here, it is a quick trot through the woods to the safe room. Stay together, move quickly, and you should be fine.
Chapter 2: The Drains
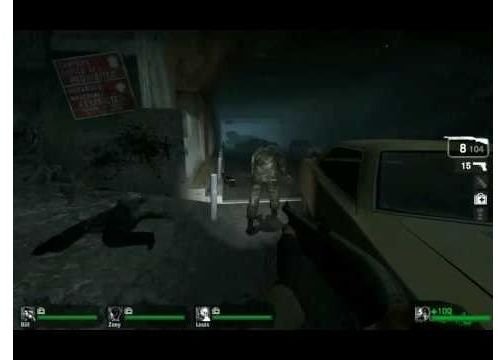
Reload and take the time to kill a few zombies outside before heading out. In this first room, you have a choice of going straight, or right. Go right, as it has a slightly lower chance of getting you killed. Enter the large room and clear it out – there may be weapons here, so be sure to pick them up. There’s nothing else to see here, so head up the ramp. Before you go into the next pipe, check the room at the end of the hall, there may be goodies. Through the pipe is a large, open room, and your first horde event. The best place to set up is in the far corner, across the bridge from the switch. Stack up, and stay alert.
If you’re not fleeing for your life when you cross the bridge, check the room across the way for ammo and health. Keep going through the pipes into the room with pillars. Take the ladder up, and clear out any enemies before moving forward. Head through the building and outside. This is probably the most dangerous place in the level, so book it. As you round the corner of the building, there is a large room where you can look for goodies or hole up to defend yourself. Don’t stay long. Move quickly across the courtyard, shoot out a window, and move quickly into the caboose
Chapter 3: The Church
Head as quickly as you can out of the safe room into the large watchtower on the left. Make a break straight for the top, then stop to end any infected that may have followed you. There might be goodies up at the top, but even better, anyone with an assault rifle or hunting rifle can clear the way from this vantage point. Don’t take too long though, as the railings can be broken and getting pulled from the top by a smoker will hurt. A lot.
Cross the trainyard quickly, watching for ambushes, until you reach the long building that will take you into the next area. Check the room beneath it for weapons and health, then get across. There are a couple of rooms on the top level – spare them a quick look in case there’s anything good in there.
Cross the fence and drop down off of the train car. Head right down the road, and fast. This is a bad place to be. Past the burning school bus is a small hut – check inside for weapons and health, and stop to shake off the inevitable pursuit. Head down the road – again, quickly – until you get to the house. Take the time to check all the rooms here, it is relatively safe.
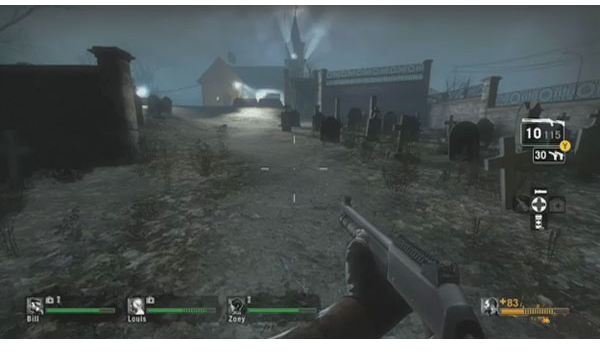
From the house, sprint straight to the ambulance down the road – not only will there be some health there, you can hide inside until you are sure any special infected aren’t lurking about. Move across into the graveyard – check the small shack on the left if you need anything – then make your way up to the church. When you’re ready, talk to the crazy guy inside, and get ready for feeding time. Once you’ve killed all the baddies, get into the safe room as fast as possible.
Chapter 4: The Town
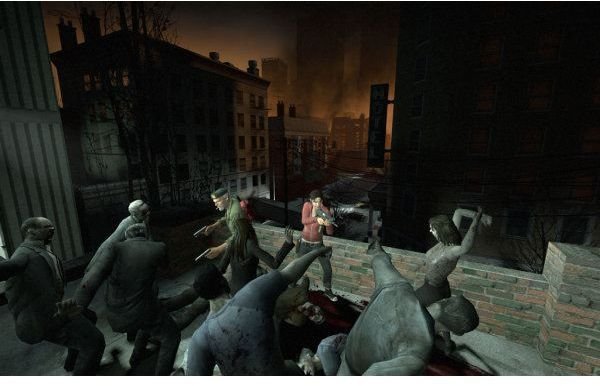
Exit the church at the steeple, and let the people on your team with long range weapons take out the infected below. Hop down, then head straight across into the alley, and into the storage room. Stop to look around and kill any zombies, then it’s back out onto the street, and around the corner where the news van is. There are lots of places to look for goodies here, but don’t take long, it’s easy to get swarmed. Head into the courtyard to the right, and check the big room at the end for weapons and health. Head through the door on the left side (from the way you came in) and move through the building, looking for goodies while you go.
Exit into another courtyard – there are a lot of place to look for weapons and ammo here as well, but they’re more likely to get you killed than save you, so move quickly. After you round the corner, you should enter the room on the right and stock up and heal, as you may encounter a tank soon. Head down the next courtyard, hop up onto the van, then the roof, and then into the office building. Once you can see the street toss a pipe bomb if you have it.
Have someone lower the forklift, and someone get on the minigun. The rest of the team should cover the person with the minigun. Once you’ve beaten the horde, go up the ramp and down the street quickly, watching the rooftop for hunters and smokers. Turn left into the alley and follow the safe room signs. You’ll be able to see the safe room through a fence, but you’ll have to go up onto the rooftops to get to it. As long as you avoid any unpleasant entanglements, you should be fine.
Chapter 5: Boathouse Finale
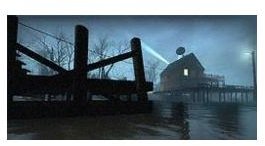
Exit into the small building out of the safe room, and move quickly to the door. Open it, and quickly shoot any infected between you and the building with the burning barrel out front. As soon as its reasonably safe, move as fast as you can to the house, then stop to gather goodies and kill any infected you see. Through the fence and down the hill out of the back of the house, you should see a small building with three cars parked out front. Move quickly to it, check it for weapons and health, and get ready for another dangerous sprint. Enter near the Riverside Park sign, and soon you should be able to see the boathouse.
Follow the path to the open pavilion and look around for goodies, then head into the house. The best place to set up is upstairs, in the corner above the stairs. Infected will come through the walls and windows, so be careful, and watch for smokers – they can pull you through the railing. The best way to kill the tank here is to go outside as soon as you hear the music - it’s too easy to get punted across the map. Stay mobile and use your molotovs. After the second tank, move to the dock, and get ready to cover your escape. The boat will arrive behind the house a short ways along the river. Once you get on the boat, you’re safe.