Kane and Lynch 2: Dog Days Walkthru - Chapter 7 - Double Crossed by Glazer
Glazer’s Ambush
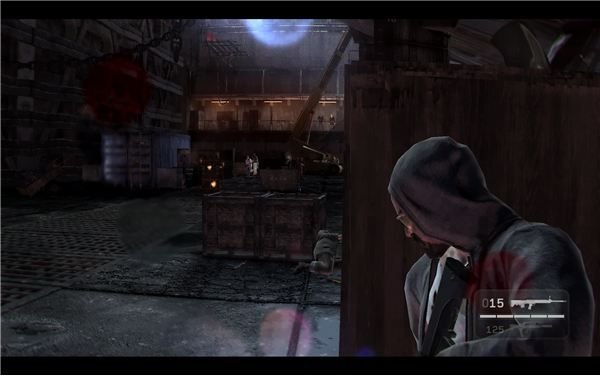
This went as well as could be suspected. It seems like Glazer just wants Shangsi to leave him alone and we’re the peace offering. Get into cover behind the plywood and start firing. The plywood makes for pretty poor cover though. If you get much heat, be ready for a knockdown and a quick recovery to the table itself.
Try to move up to the crates to the left to get into a better firing position. Remember that you can also shoot those tanks scattered around the room to clear out enemies fairly quickly. The crates are also pretty bad for cover, so don’t linger. Run forward and try to get to the metal crates in the center. As you finish off these men, another wave will run down to slow you down and cover Glazer’s escape.
Just hang strong and pick up more guns and ammo from the dead mercenaries. Once the area is finally clear, go up either set of steps and look for the path down to the floor hidden in the scaffolding on the right side (Kane will wait by it, if you’re having trouble finding it).
Glazer’s Ambush
Lift the gate and go through. Follow the path until you get to the dead workers at the poker table. Right around the corner is an ambush. Two men will emerge on the catwalks and one will pop out on the floor. Just return fire and kill them. Run up the stairs and look through the open door. There are another four mercenaries inside covering Glazer’s escape. Take cover in the doorway and keep shooting until the path is clear. Open the door and go through.
Follow the path further and take out the one guard in your way. Turn left down the hallway and watch carefully. Two more men will pop out and fire at you. This becomes a death trap really fast, so get behind some steel and return fire.
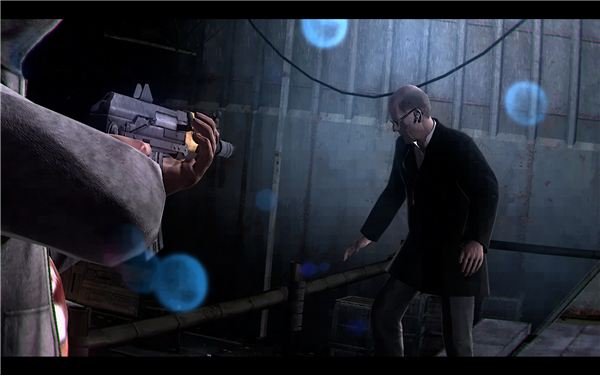
Advance further to make it to Glazer. Enjoy the cutscene and get ready for a lot more fighting. The military is crashing the party. Get used to aiming for the head and moving very carefully. Take cover and pop both of the soldiers in the head. Take your time and you should be fine. Swap out your weapons for their better ones. Try to get a nice assault rifle for the next part.
The Army Arrives
G
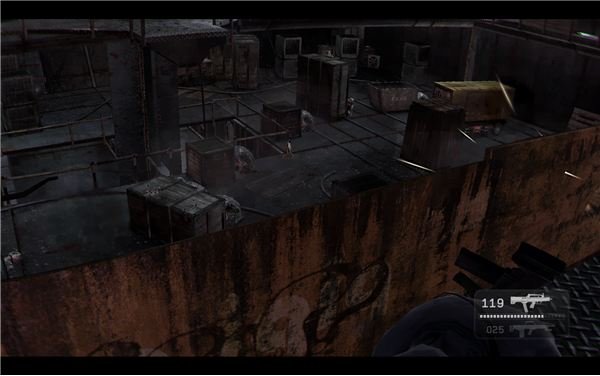
o up the stairs and cut through to the hallway ahead and get back behind the walls. Fire down the middle and aim for the head to clear them out. Try to move up and grab an automatic shotgun from one of the dead soldiers. You should be able to look out to the main catwalk and fire on the men here too. Bound up to the walkway and circle around. Don’t go down the steps though. Let Kane take the hard route. Keep following the upper walkway and get into a firing position. A whole bunch of soldiers will run up and lay down a lot of lead. Keep an eye out for a soldier that might come up the stairs to flank you and just continue to fire on the soldiers on the ground. Hopefully Kane will draw some of their fire away. Once you pick off the first few, it will get much easier. Use blindfire if you can’t stay out long to fire. Once you’ve cleared a path for Kane, you can run down and rejoin him. Go down the next set of steps to run into another group of soldiers.
Once again, go up the steps with a shotgun out and watch for the three soldiers up here. Two should be to the right. Take them out quickly and sweep to the left to get the third. Once this upper area is clear, you should be able to settle in and fire on the men on the ground from this good vantage point. Just wear away at as usual. Drop down and enter the next area.
Sprint into cover and quickly fire at the four soldiers rappelling into the area. Watch out for rushers and then settle in for another firefight. Take the survivors out and run to the next area.
The Final Push
There’s just a few more battles left to this grind. Move into the next room, but don’t go up the stairs. There isn’t much cover on the balcony and you’re better off on the ground. Let Kane handle it. Advance carefully and just continue the fight. Try to get headshots and make it to the center of the room. This should make the remaining soldiers fall back to the final room.
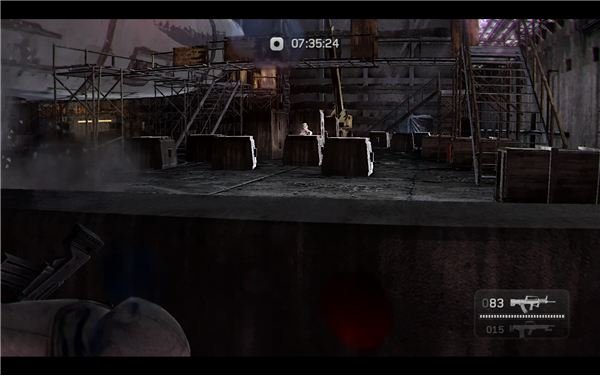
Run inside and get up onto the platform. Shoot down the single soldier up here and just take cover by some crates and pray. Fire carefully and make good use of blind fire with your assault rifle to wear away at soldiers in the open. It’s a grind and there’s just not much to say. If you get knocked down, then a soldier may have run up the stairs to flank you. Always fire off a few rounds as soon as you go down to take out any close assailants.
Once this first area is fairly clear, run out and grab some ammo. Kane should take cover by the machinery and help keep them all pinned down. You can go up the stairs to gain a better position, but it won’t help too much. Stick to blindfire to thin them out, then pick off the rest. Do one last push on the new wave. Repeat the same tricks and clear a path to the door. Make sure that you grab one of their really nice assault rifles to make the next chapter a lot easier. Once you make it to the door, you’re home free.
This post is part of the series: Kane and Lynch 2: Dog Days Walkthrough - Part 2 - Revenge
Things didn’t go so well. Xiu is dead and so is the deal. The only thing left is to get out of Shanghai before it all comes down around Kane and Lynch. I’ll tell you how to escape from Hsing, survive the deal, escape the train station, survive the fight in Shangsi’s Tower and escape the airport.
- Kane and Lynch 2: Dog Days Walkthrough - Chapter 6 - A Thousand Cuts
- Kane and Lynch 2: Dog Days Walkthrough - Chapter 7 - The Deal
- Kane and Lynch 2: Dog Days Walkthrough - Chapter 8 - Out of Shanghai
- Kane and Lynch 2: Dog Days Walkthrough - Chapter 9 and 10 - Airstrike and Resurrection
- Kane and Lynch 2: Dog Days Walkthrough - Chapter 11 - One Way Ticket