Kane and Lynch 2 Walkthrough - Chapter 4 - Laying Low
The Restaurant Shootout
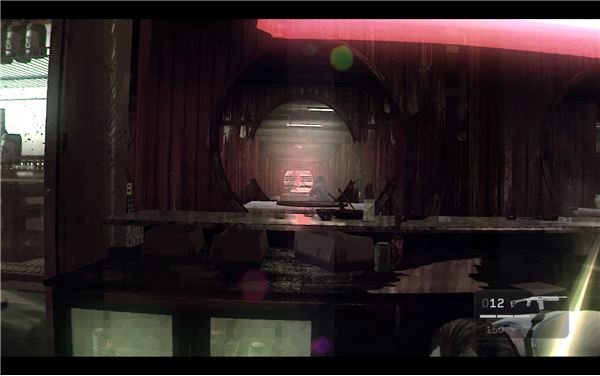
Well, if you played the demo then you’re good to go. It’s the same thing. If not, get ready for a big and long
grind against some new armored enemies. Take cover behind the bar and keep firing. The freezers on the ends aren’t good cover, since you can get nicked by the officers from the sides. Note that chest shots don’t do much damage, so make sure that you let your recoil carry the rounds up and score headshots. That’s the only way to put them down without wasting a whole clip.
Just keep wearing away at them as you go. No trick to this. Just pick them off. If you are having trouble getting good shots, then blow away parts of the wood to expose more of them. Grab an assault rifle and a good shotgun from the dead assault officers then swing around to the far side. More will come in through the side entrance. Run up to the next niche in the wall and keep firing. Move a little bit further and make it to the freezer ahead. The corner of the wall will cover you and the freezer can actually stop bullets, unlike the panels. Once again, just fire on the cops from your central position and wear away at their numbers alongside Kane.
Move up and kick in the door to the kitchen. A cop will do the same on the next door, so get ready for a knockdown unless you’re a really quick shot. Blow him away from the ground and then get back up. Walk past the tied up workers and make your way over to the alley via the stairs.
The Alley Shootout
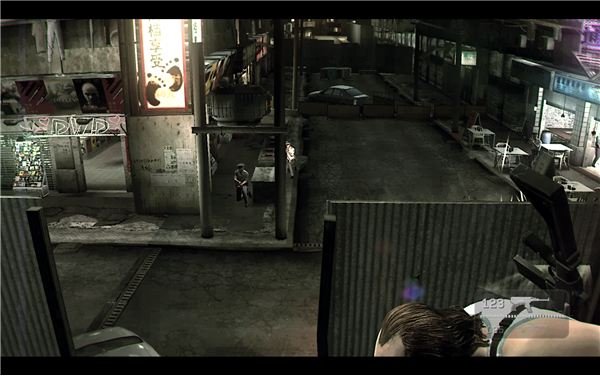
Just keep going, but watch for the stairs on the left. You can use this to get into a nice overlook on the officers in the courtyard. We’re back to normal cops for the time being too, so enjoy a fair bit of superiority with your high powered weapons on the non-armored cops. Kane should tear through the courtyard while you pick them off from the rooftops. Go around and clear them all out, then go through to the gate. There is one officer here who will surrender. You can take him as a human shield, but there’s no where to go. If you’re low on ammo, I suggest you kill him and take his fully loaded SMG.
Advance onto the street and just walk forward. You can’t really disguise yourself or hide, so just walk forward until everyone starts to run away. There should just be two cops ahead, so pick them off and walk forward to the bus and an autosave checkpoint.
The Police Blockade
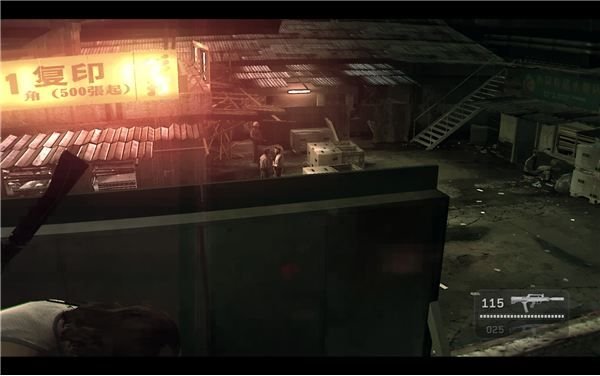
There are probably two good ways to do this next section. There are a ton of cops between you and the kitchen that you need to walk through to get to relative safety. You can cut through the DVD/Video game store to the left and use it to cut through the cops. You should be able to shoot the tanks in the kitchen from inside the store and cause a lot of damage. Note that the DVD stands are not bulletproof. Only the counters and the walls are.
The one that worked best for me was shooting the first group of cops on the left side of the bus and then making a run for the large scaffolding slope on the right side. There is some nice sheet metal up here that will stop the bullets and it will give us a perfect vantage point for taking out the cops at the intersection. Kane should mop up the ones in the store and cover your back.
Bound over the little crate and run down the slope to get behind a van and flank the rest of the cops. Swing into the kitchen and through the backdoor to enter another alley. Climb the wall to reach a new ruined area.
Snipers in the Ruins
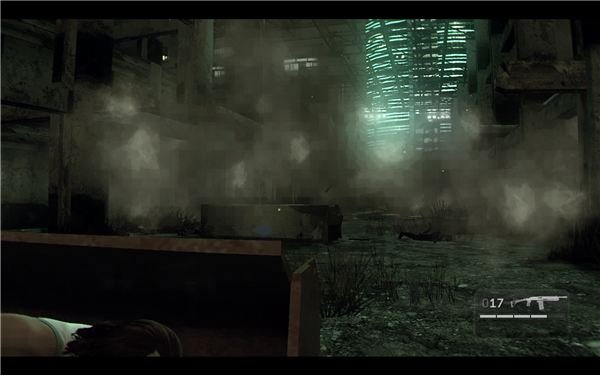
Walk ahead to run into more of the armored cops. Get to the metal scoop and toss the tank behind the first pillar. You can blow it up to take out the bulk of the first wave. Try to grab ammo and guns from the bodies, since you should be running low or using worse weapons. If there are survivors on the right side, lean out and put a bullet into those tanks. They’ll both explode and kill anyone hiding behind the pillars. Leapfrog from pillar to pillar on the left side to clear them out and get ready for the second wave. Just gun them down as they move down and blast the sniper at close range. If you want, you can grab his gun. It’s a guaranteed kill, but it will only have 6 shots. It’s your choice. I stuck with the assault rifle.
Drop down and move up to the raised point to spot the two snipers and cops at the end of the ruined area. Swing far to the right and carefully make your way up to the sniper on the right. Take him out and look to the left. Shoot them down too and then run up to the dead sniper. Grab the rifle and use it to pick off the other sniper. There are two tanks up here that we can toss to thin out the crowd below. You can also use the shots left in the rifle to pick off anyone below. Switch it back to your assault rifle and then keep moving up.
There’s not much left. Just one more sniper ahead and a few more snipers. Clear out the crowd and then make your way to the rusty fence. Climb over it to end the chapter.
This post is part of the series: Kane and Lynch 2: Dog Days Walkthrough - Part 1 - A Simple Arms Deal
Kane and Lynch get off to a bit of a rough start in Shanghai. A bit of a mishap with Brady may put the arms deal with Glazer in danger. I’ll take you through the first chase, the battle on the freeway, the attack on Hsing, the battle in the restaurant and finally the fight in Xiu’s apartment.
- Kane and Lynch 2: Dog Days Walkthrough - Chapter 1: Welcome to Shanghai
- Kane and Lynch 2: Dog Days Walkthrough - Chapter 2 - The Details
- Kane and Lynch 2: Dog Days Walkthrough - Chapter 3 - Blood, Sweat & Tears
- Kane and Lynch 2: Dog Days Walkthrough - Chapter 4 - Laying Low
- Kane and Lynch 2: Dog Days Walkthrough - Chapter 5 - Coming Home