Half-Life 2 Walkthrough - Chapter 10: Anticitizen One - Your Guide to City 17
Overview
The kid gloves are off now. Gordon is really going to have to fight it out with the Combine. Your goal is to take on the many Combine positions and help the rebels advance and take the Citadel. For now, you just have to try and find Barney and his main attack group. This level has you taking on a whole bunch of enemies and a few physics puzzles along the way. You’ll also get to team up with Alyx for a defense mission right before the end. You better be ready for a long fight, because it only gets harder from here on out.
Key Objectives
“Protect” Dog - Yeah…just watch Dog clear you a path.
Link Up With the Rebellion - Gain your first squadmates and do the early training to advance. Once you order them around, you’ll come under a basic attack.
Fight Through the Hopper Field - Some headcrabs and a whole lot of hoppers in the field. Have fun learning the easy way to deal with these guys. They’re scattered through the rest of the game.
Reach the Barricade - You have to breach the barricade and do a bit of a flanking attack.
Disable the Barricade - An easy attack once you get behind them.
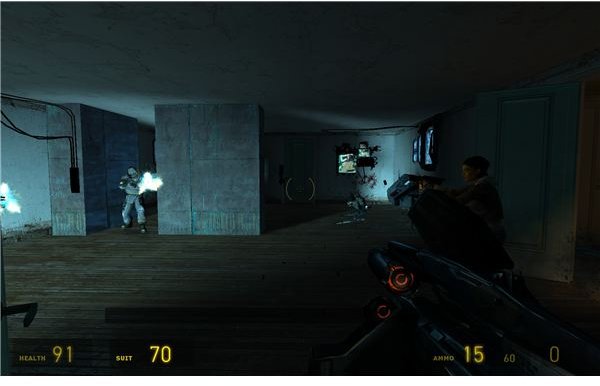
Clear out the Combine Base - This heavily fortified office is right behind the barricade. Be ready for a lot more close quarters fighting.
Clear the Car Park - FIght through the endless waves of man hacks and get to the back of the Combine position.
Defend the Car Park - A bit of a standard defense mission. Hold your ground and try to keep your squad alive while the rebels clear the debris.
Open the Locked Door - This requires one long side path through zombie infested toxic water. Have fun!
Escape the Rebel Base - Your sanctuary is already under attack. Fight through the series of buildings to escape the Combine attack and reunite with Alyx.
Help Alyx Destroy the Generator - You’ll have to keep Alyx safe while she hacks the generator’s shield. Just keep your head down and stay in a safe spot while you hold out against the Combine attacks.
Navigate the Sewers - The sewers are filled with zombies and Combine. Let the two kill each other off to make the actual fighitng limited.
Clear the Factory - Your last goal is to get through the factory. The elites might prove to be a challenge, but you’re almost home free by that point.
NPCs
Dog - Our favorite robot is back for a lot of rampage. He’ll clear a path and then part ways pretty quickly. He’s fun to have around at the start though.
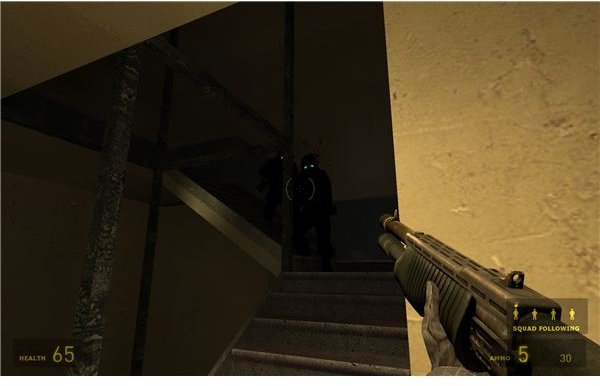
Rebels - Your old friends are back to give you some help. You’ll even be able to issue orders to them now. They don’t exactly have the highest life expectancy, but they are useful as a bullet magnet.
Medics - The medics are very useful. They have the firepower of a rebel and are able to give you health packs if you can keep them alive.
Alyx - Alyx is back again to provide some brief fire support. You’ll have to keep her alive while she disables the generator.
Enemies
Scanners - You’ll see a few of these annoying guys near the beginning. They’re aren’t much of a threat right now.
Civil Protection - There are a few of these weak soldiers hanging around at the start of the battle. You’ll come across them occasionally mixed in with the normal soldiers.
Hoppers - These mines are smart enough to leap up and launch themselves at any nearby enemies. They make one clicking sound when you are dangerously close. They click twice to launch into the air and attack. If they are in the air, switch to the gravity gun and catch them to stop the blast. If you see them in time, then use the gravity gun to rip them out of the ground and switch them over to a friendly AI.
Combine - Average soldiers that are standing between you and the Citadel. Aim for the head.
Combine Elites - These white suited soldiers are well armed and very dangerous. They can use the secondary fire of the AR2 to take off about 1/3 of your health. Use heavy weapons like the crossbow, grenades, or the secondary function on the AR2 to take them out.
Man Hacks - These annoying guys are all over the place. Be ready to fight them off. Just use the gravity gun to grab them and throw them into the wall.
Striders - You won’t have to fight one of these guys just yet. They are around though. If you rush into their line of sight, then they might send a few shots your way.
Headcrabs - These guys are spread throughout some of City 17. Keep an eye out for them.
Zombies - Your old friends are hanging out in the toxic pool and the sewer. Blast them.
Fast Headcrabs - A few of these guys come out of the rockets. Blast them.
Fast Zombies - You’ll see a few of them around the Combine bases and the Sewer. Take them out quickly with the old shotgun.
Poison Headcrabs - These guys are in the sewer for a few bits. Keep an eye out for them.
Barnacles - These guys are still around too. Just don’t step into them. They will actually eat a lot of enemies too, so don’t be too quick to kill them.
Basic Tips
There is usually some type of cover to be found in a gunfight. Remember to crouch behind short walls and any bits of metal lying around. You can also use the gravity gun to create cover by arranging junk into a better pattern.
Aim for the head. The pistol and the SMG are still viable weapons if you can get headshots often.
Use the shotguns for close quarters. There is a lot of close quarters combat in this level. Use the shotgun to absolutely dominate these areas.
Don’t fight if you don’t have to. There is no reason to pick a fight with the striders or a number of the Combine outside the Rebel Base. Safe your health and ammo for now.
The crowbar and the gravity gun are just perfect for the man hacks that plague you throughout the game. Save your ammo and take them out quickly with these handy weapons.
The final part of the level features a lot of three-way gun battles. Let the zombies and the Combine fight it out before you rush in guns blazing.
This post is part of the series: Half-Life 2 Walkthrough - Chapter 10: Anticitizen One
Chapter 10: Anticitizen One is a very difficult combat chapter that has you fighting through the streets, car parks, and abandoned apartments of City 17. If you are stuck with this new challenge, then just check out this guide for the tips and tricks on how to get past the Combine and man hacks.
- Half-Life 2 Walkthrough - Chapter 10: Anticitizen One - Reaching the Barricade
- Half-Life 2 Walkhrough - Chapter 10: Anticitizen One - The Barricade and the Car Park
- Half-Life 2 Walkthrough - Chapter 10: Anticitizen One - A Reunion with the Rebellion
- Half-Life 2 Walkthrough - Chapter 10: Anticitizen One - The Fight to the Factory
- Half-Life 2 Walkthrough - Chapter 10: Anticitizen One - Table of Contents