Gears of War - A Walkthrough for Chapters 3 and 4 in Gears of War Act 3
Belly of The Beast: Coalition Cargo
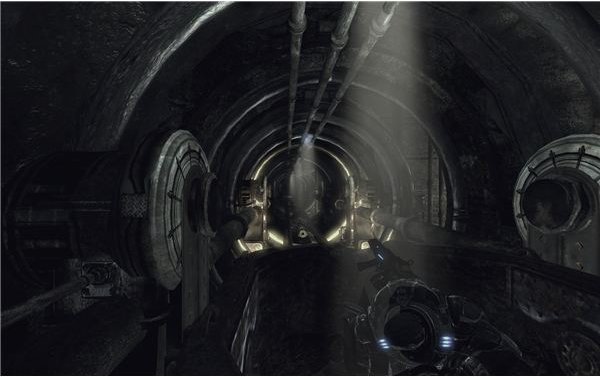
Activate the switch to open the gate. Walk down the ladder where you found the last COG Tag and jump into one of the cargo carts. You can try to shoot the Drones attacking you, but I suggest you to stay in cover. When you enter the tunnel, prepare for shooting Lambent Wretches. They will come directly in front of you on the ceiling. If any of them falls into the cart and explodes, it almost certainly means death, so be very careful and time your shooting.
When the ride takes you out of the corridor in some larger room, you may continue safely to ignore the Drones and prepare for the next tunnel. This part of the ride becomes a bit more dangerous because the cart will stop for a short time near a Drone - shoot this one. Also, two Lambent Wretches will come for you at once.
NOTE: Although in co-op mode both players ride in different carts and take different tunnels after that, I didn’t write a separate walkthrough, because the pattern basically remains the same and there is no option of straying off the course.
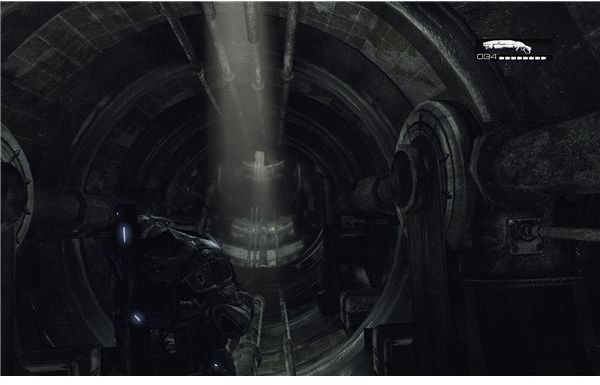
Ride past the Boomer and enter another tunnel. When the ride ends, pick up the ammo and open the door. Proceed through the next door as well. Let no Lambent Wretches stop you and continue fighting your way forwards. Enter the tunnel. No surprises here, just more exploding creeps. Pick up the grenades and run forward. Two circular platforms will arise, each containing a Boomer. I personally found it easier to defeat them by using a shotgun and hiding behind the central column of the platform.
After the Boomers are dead, get on the platforms. Chapter complete.
Belly of The Beast: Darkest Before Dawn
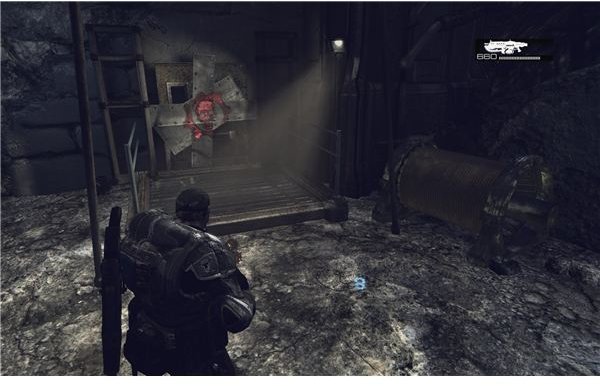
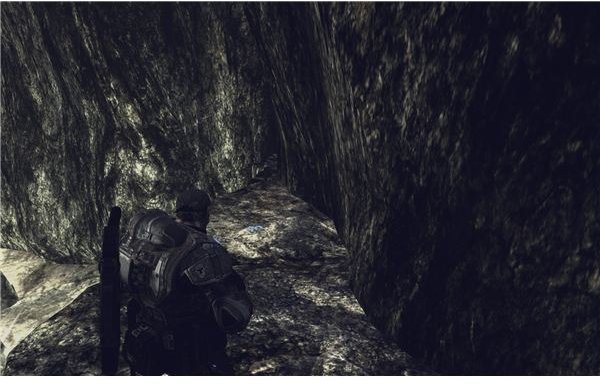
Run to the left, over the pathway. Pick up the ammo and continue your advancement until you reach a sealed door with Gears symbol on it. Here you can pick up both the grenades and a twenty-second COG Tag. Now move back a bit and take the path down from the crossroads.
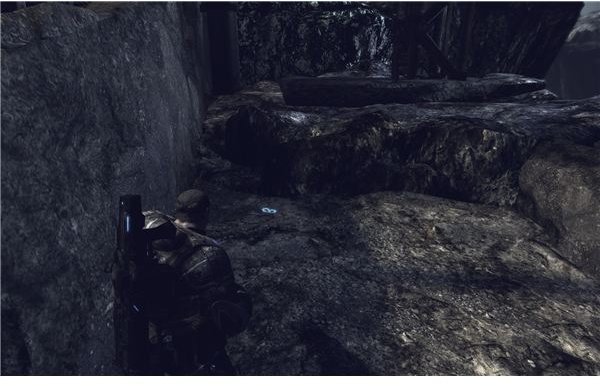
Deal with a group of annoying Lambent Wretches. Pick up the ammunition in a cave to the left and continue onwards. Fight off another group of the exploding crawlers. After the falling down, take more ammo if you need it. A group of Drones will engage you - I believe it’s a nice refreshment after the streams of volatile Wretches. After your inevitable victory, pick up the twenty-third COG Tag near the base of the ladder.You can get up the ladder and kick open the door if you need ammo or grenades.
Continue on your path. A lone Locust will start shooting at you; you can shoot the column at his side to cause a rock slide as an answer. After some more running, rocks falling and Lambent Wretches exploding,you will eventually meet up with a Boomer. If you need to get closer, run from cover to cover and deal wit the brute at your optimum range.
Turn left, pick up ammo and continue running downwards. After another rapid descent, you can get more ammo if there is any need. I suggest defeating Lambent Wretches first. Soon you will come to a point where your path splits in two. Again, no need for a separate
walkthrough here, as both paths are essentially the same: Run forward, deal with the attacking Locust, and pick up the ammo. If your friend needs help, shoot the enemies on his side as well. Keep an eye out for each other’s situation, and everything will be OK.
After you meet up, take the path down for the ammunition and grenades, then get back up and take the turn to the left. The tunnel is full of both cover and enemies, so fight your way through like a true Gear should. Soon you’ll reach a clearing. An ammo box can be found to the left. Near it, behind a rock wall, you can find the twenty-fourth COG Tag. After that, continue moving forward, and the chapter will end.
This post is part of the series: Gears of War Walkthrough, Part 3
The walkthrough for Gears of War continues, showing you the locations forr the COG Tags as well as some tactical advice to help you in your fight through the Locust.