Final Act Walkthrough for Gears of War 3
Chapter 1 - Home Away from Home
After the harrowing submarine rail shooter, you’re finally at Azura. Time to finish this.
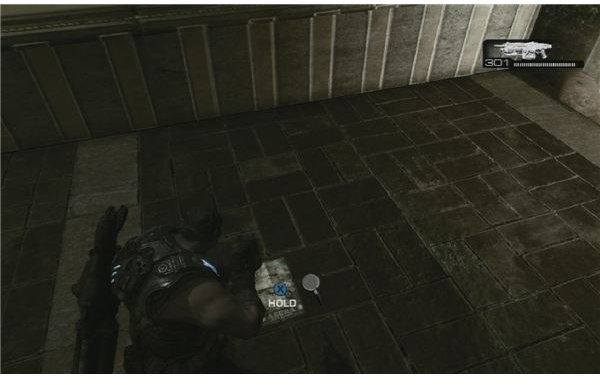
Before you can make it very far, Locust attack. Looks like they killed all the civilians and are waiting here in ambush for Marcus. Once you go up the stairs to the station area, head to the left and find a pamphlet on the ground. One of a few collectables left.
Suddenly, plot! Marcus’s dad gets a chance to tell you the stakes you’re fighting for. Turns out, the whole planet is going to die when the Imulsion, which isn’t a fuel at all, reaches critical mass.
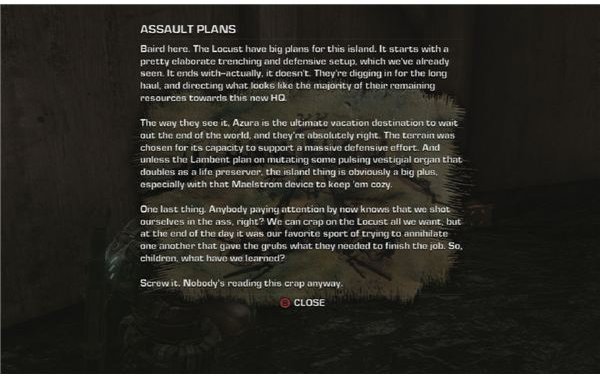
After that exposition dump, it’s time to hop on a Silverback and push past yet more embedded Locust. As you make your way towards the Maelstrom Controls, you will come across a cave. Look for an area inside the cave where there is a rail. Use the Silverback to kick it. The Assault Plan is on the ground nearby. Careful playing this section on higher difficulties, the Silverback is fragile.
Deal with Locust, reavers, barges, mortars, and everything else the same way. Shoot it with your main gun until it dies. Eventually you’ll may have to abandon the Silverback, but the challenges become a little smaller, and you have plenty of ammo to deal with them. Try to keep it though, you’ll need it for a collectable soon.
Chapter 2 - Blackout
There’s very little transition from chapter 1 to chapter 2 here. It just comes up as you press past a few more Locust. You’re directed to a lift, but don’t go up it yet. Find a Silverback (or use your old one if it is somehow still alive) and bring it up the lift. When you exit, there should be a room marked with 3s. Inside is a COG logo and a barrier, which you can kick down with the Silverback to find yourself a COG tag.
Make your way past the scorchers and wretches. Once you press outside you’ll have to face down a couple of reavers, one at a time. A little bit further and you’ll have to take down another Armored Kantus. Remember them? Shouldn’t be too difficult with the equipment we have.
Once you defeat him and go down an elevator you’ll be in an office lobby area. Behind one of the desks is a switch that slides a painting up the wall, revealing Schematics. Fight off some Locust and flip switches to turn off the Maelstrom. It doesn’t work, so you’ll have to make it to the next room and flip five more switches. Turning off the coolant should finally shut down the storm. Various Locust will try to stop you, ranging from queen guards to Armored Kantus. Flip all the switches and just run! You have a timer to escape the explosion, so don’t stay and try to fight.
Chapter 3 - Shattered Paradise
Baird and Cole show up with Jack, and you have helicopter support for now. It’s a fun-filled romp in a sunny plaza, murdering hordes of Locust as they try to keep you out. Soon enough your chopper is shot down, and enemy air support comes in. You have the perfect chance to use their own anti-air against them.
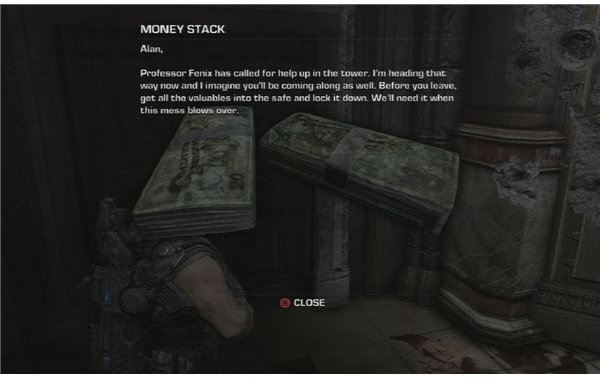
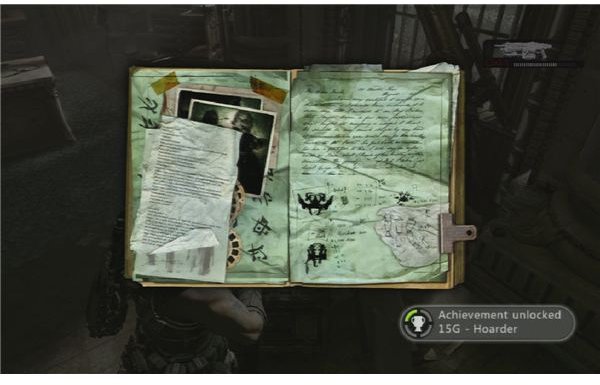
Once inside the main building, go down the hallway and find a door with some suitcases in front of it. Check the floor in front of the door to find a secret removable panel with the Money Stack. Next you have to take out some more elite guards and siege beasts. Blow the dam, and then enter the next room. It has a large angelic statue in it. On a table near it is a Diary. Only one more to go for this chapter!
Then, in the plaza area right after the white angel statue room, look in the right corner to see a COG logo. The COG tag is near it on the ground by a dead body. You’ll have to fight off boomers and other Locust in the area to get to it.
The final siege beast is protected by a pair of armored Kantus enemies. By now you should know how to deal with them. As if that wasn’t enough, there’s a gas barge laying down fire. A couple of shield-bearing enemies also show up. Take care of the barge with the siege beast and push the beast off the cliff.
Chapter 4 - Threshold
As if the Locust weren’t enough, now that you get your reinforcements, Lambent start showing up. It’s almost like they know the end is near, and are trying to stop you. At the beginning of the chapter, look for the statue head of a girl in the middle. Near it is the Memorial Announcement.
You have to deal with a mortar-using guard and his Armored Kantus guardians. Take them all out and you’ll enter the tower. Well, you would, but just when you to open the door, Lambent pop up. Take them out while Jack rips the door open. Flashbacks to Gears 1 anyone?
When you reach the top floor in the elevator, call the elevator again, and grab the poster off the wall. It’s your last collectable for the chapter.
Chapter 5 - Ascension
All that’s left between Marcus and his father is a building full of Locust, the Locust Queen, and who knows what lambent oddities. Easy, right?
The lobby is full of guards and boomers, which are barely a challenge at this point. Unfortunately, the Lambent are going to break in any minute now. To top it all off, mounted guards are coming through. Make it past the Locust and some Lambent pop up. Make it past them and you will find an elevator. After getting off the elevator, go down to the lower floor and head to the north-west corner, where a Brochure is. Only two more collectables in the game!
The Queen will burst in and drop both plot bombs and light beam lasers on you. Avoid them by focusing on running up the stairs. You’ll have to cut some cables with these lasers frying you every time you try to move. Keep to cover! It only takes a second of light to drop you down. Once you’re able, hop in an elevator.
When you reach the top, to your right will be a dead-end area. At the start of a dark room, use your highlight ability to show some wooden crates near a COG logo. Destroy them to find the COG tag behind them. Last one! Feels good, right? Only one more collectable to go!
Ambush the guards and deal with certain obstacles, such as the troika set up outside Marcus’s Dad’s lab. You will then have to follow floor wires to disable the security laser grid protecting his lab. Take out the selection of Locust guarding the security panels and disable it. It shouldn’t be too hard.
Once you rescue Marcus’s dad, pick up the report beside you on the table. It’s the last collectable! Congrats! Now you just need to beat the game.
Chapter 6 - Reckoning
The day of reckoning is at hand. Immediately upon starting the chapter you’re swarmed with Lambent and tasked with killing them all and securing the rooftop. Thankfully a chopper comes in to help support you.
The queen, not dead, comes to mess up your day. Stay out of the light and be careful of cover! The beam can fry some cover next to you, and still get you. Keep pumping ammo into her and she’ll crash. Grab a Hammer of Dawn and start blasting judgement from on high! She’ll take off again and you’ll have to shoot her until she lands before you can use the hammer again.
Eventually she’ll start to attack the machine. Shoot it off with bullets and hammer it like the bug it is! Another round or two of that and it’s game over. Enjoy your ending!
Final Thoughts
So what do you think? Did you snatch up all the collectables in one playthrough? How did you like the ending, or the fabulous plot twists involved? Tell us in the comments! Also let us know if you think they should make a Gears of War 4, or if the trilogy is good enough. Who knows? Epic is a great company and knows how to please its fans.
References
- Source: User’s Own Experience
- Images of Gears of War 3 - Copyright of Epic Games
- Hidden Item Locations from Cheat.CC
This post is part of the series: Ultimate Gears of War 3 Walkthrough and Collectable Guide
This guide will point you in the right direction to find each collectable item in the game, locate all of the COG tags to remember your fallen friends, and fight your way past all the tough boss battles and new enemies. Tips and Tricks for every chapter within!